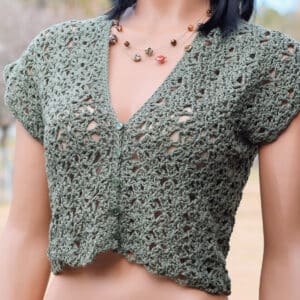
This Easy Button Front Cardigan will surprise you. Make 2 lacy crochet rectangles, add buttons and wear it! Six sizes provided.
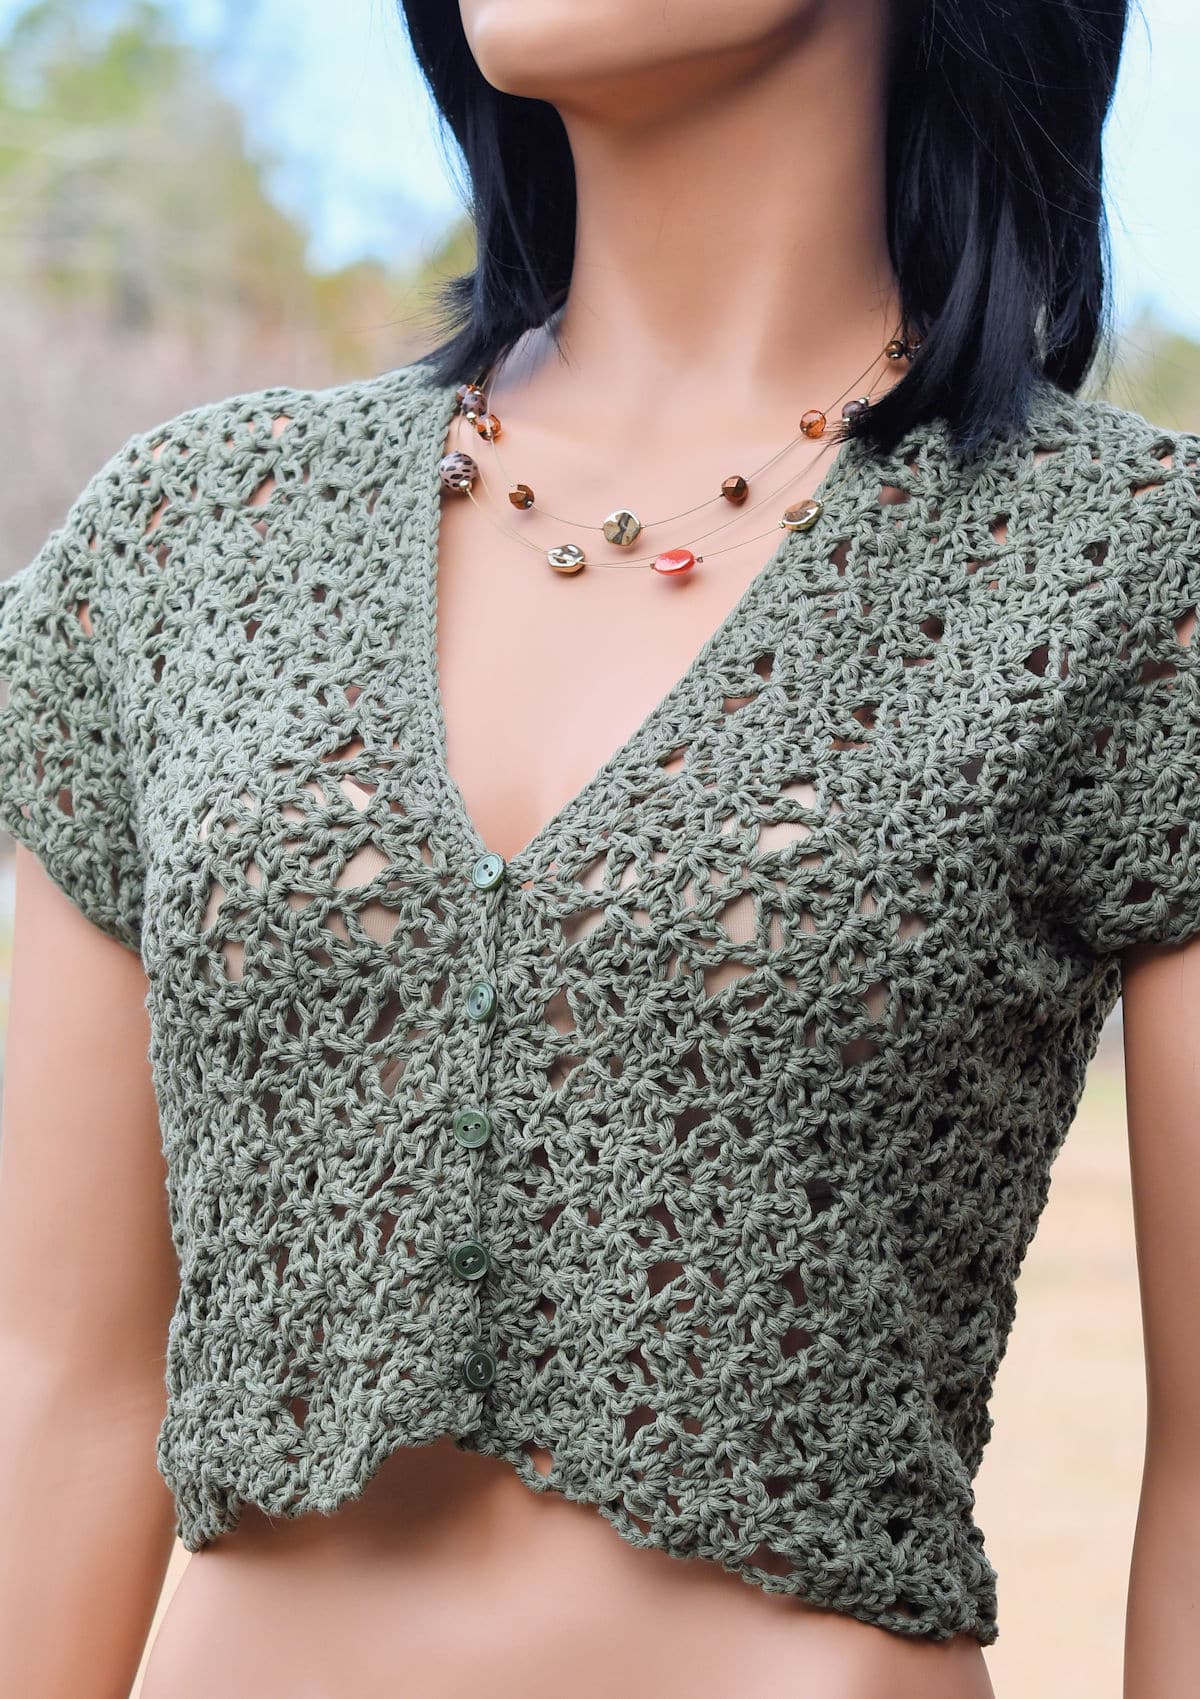
“Spring Button Front Cardigan” free crochet sweater pattern by Kim Guzman © Feb. 2024. All rights reserved.
Technique: Regular Crochet.

Crochet Pattern At A Glance
Spring Button Front Cardigan
Designer: Kim Guzman © 2022-24. All rights reserved.Rate the Pattern
Yarn
- Drops Garnstudio “Cotton Light” yarn, size 3 weight, 50% cotton/50% polyester, 115 yds/105m per 1.76 oz/50g skein, 6 (8, 9, 10, 12, 13) skeins or 690 (830, 930, 1100, 1270, 1400) yards in color green khaki
Other Materials
- Suggested Crochet Hook Size I-9 (5.5mm) or hook needed to meet gauge
- Hook for Trim: Use a hook one size smaller than the regular hook that meets gauge. I used a size H-8 (5mm)
- Yarn Needle for seaming and weaving ends
- Buttons: 5 (5, 5, 6, 6, 7) size 1/2″ round buttons
Instructions
- The womens cardigan is made of two simple crochet lace rectangles. Instructions are provided for six sizes.
- Once the rectangles are completed, the back will be partially seamed, then seam the sides up to the armholes.
- Work a 1-row trim with buttonholes and sew on the buttons.
- Weave in all ends securely. Block as desired.
Full Free Crochet Pattern Below
This is a free crochet pattern and the written instructions are below. If you prefer a printable download, a PDF is also available for purchase.
My Crochet Pattern Notes
This pattern is worked from side to side and consists only of two identical rectangles. There is no shaping and is a perfect beginner garment.
The lace stitch pattern is made with a row of single crochet on every fourth row to help keep the fabric from stretching too much. The yarn is half cotton and half polyester. The cotton can still get a little heavy but I didn’t notice any significant stretching while blocking. In fact, the garment pretty much stayed the same as its original measurements.
The design has no shaping in the sleeves so the “flutter” sleeves will reach further down the arm with the larger sizes. This can’t be helped since it is a design style. Adjustments would need to be made by individual to create a different style, as desired. If you prefer more tailored sleeves, especially for the larger sizes, I’ll be working on other garments in the future.
The cardigan can be lengthened if the hips are about the same as the bust and I would recommend leaving about 3 or 4″ of the side seam unfinished so that there are flaps.
Pin It For Later

Finished Sizes
The model size is intended to fit up to 34″ bust (size small) with no ease. The pattern is written for sizes small (up to 34″), medium (up to 38″), large (up to 42″), 1X (up to 46″), 2X (up to 50″) and 3X (up to 54″). The first number in all instructions will be for the smallest size in that section and the rest of the sizes will be in parenthesis.
It’s necessary for the instructions for the sizes to be split up. Small, large and 2X are in one section, then medium, 1X and 3X are in the second section.
Yarn
Drops Garnstudio “Cotton Light” yarn, size 3 weight, 50% cotton/50% polyester, 115 yds/105m per 1.76 oz/50g skein, 6 (8, 9, 10, 12, 13) skeins or 690 (830, 930, 1100, 1270, 1400) yards in color green khaki.
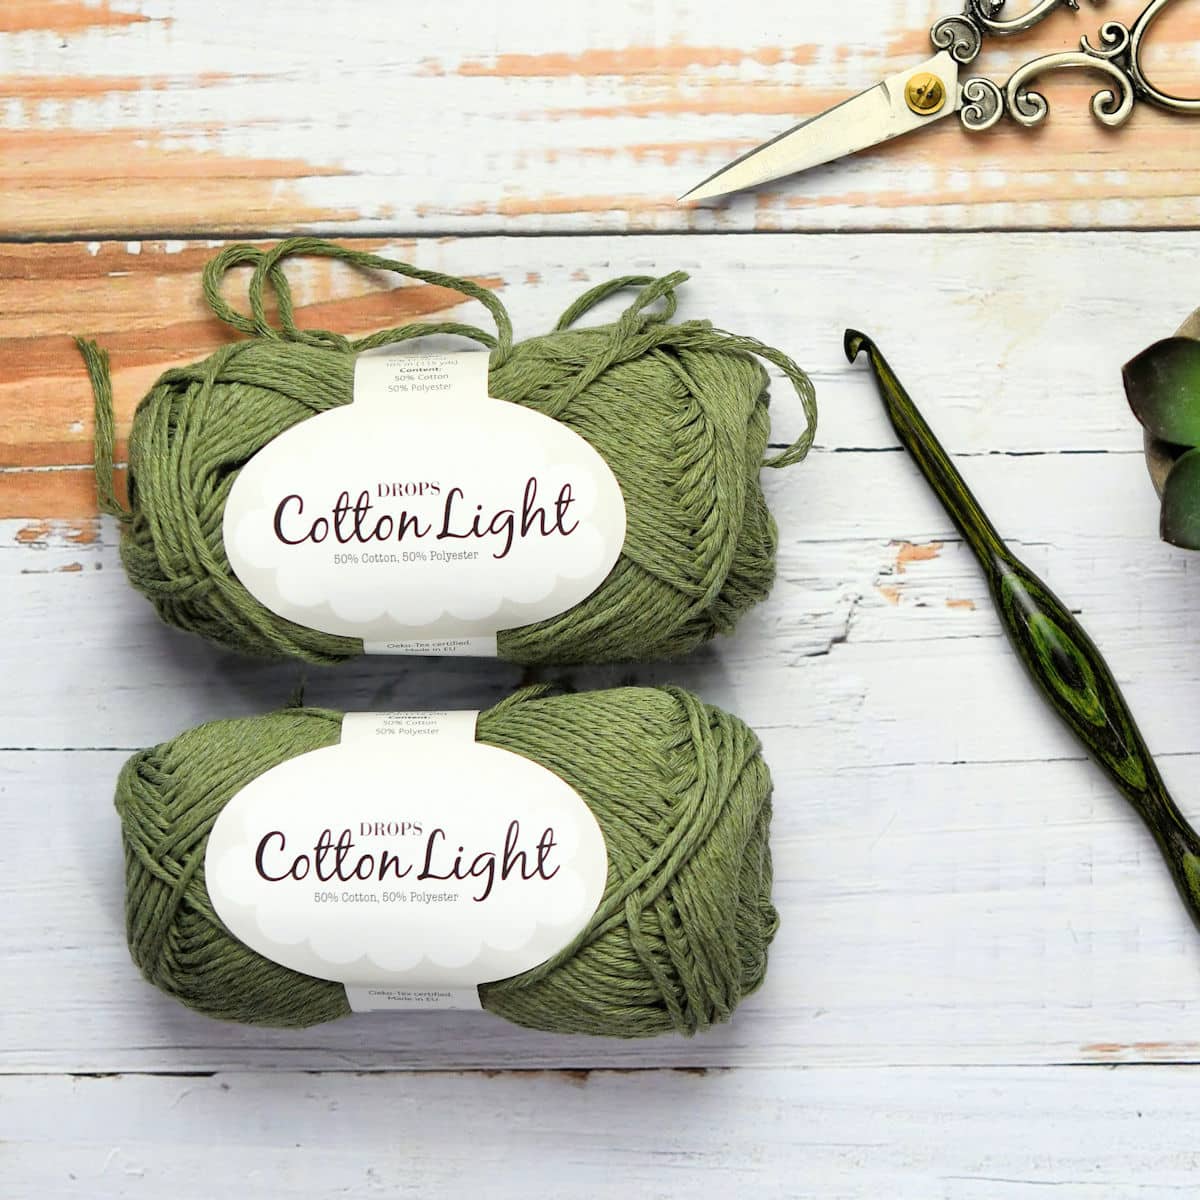
At the time of writing this pattern, “Cotton Light”, a DK weight yarn, is available in 34 solid shades.
I was able to find it at Wool Warehouse.
Other Materials
Suggested Crochet Hook Size I-9 (5.5mm) or hook needed to meet gauge.
Hook for Trim: Use a hook one size smaller than the regular hook that meets gauge. I used a size H-8 (5mm).
Yarn Needle for seaming and weaving ends.
Buttons: 5 (5, 5, 6, 6, 7) size 1/2″ round buttons.
Gauge
In stitch pattern, approximately 14 stitches for 8 rows measures 4″ x 4″.
Each rectangle measures approximately 8 (9, 10, 11, 12, 13)” wide and 34 (36, 36, 38, 38, 40)” long.
Stitch Multiple
To make changes to the stitch count, make your initial chain any multiple of 6, then add 8.
Special Stitches
Fan (fan): [Dc, ch 1, dc, ch 1, dc] in same indicated st or ch.
Shell (sh): [Sc, ch 3, sc] in same indicated st or ch.
Other Abbreviations
This crochet cardigan pattern is written in US crochet terminology.
beg=beginning; ch=chain; dc=double crochet; hdc=half double crochet; RS=right side; rep=repeat; sc=single crochet; sk=skip; sp=space; st(s)=stitch(es); tr=treble crochet.
Since there are so many sizes, you may want to print out the pattern and circle only those numbers that apply to the size you are making.
The numbers at the end of an instruction, after a colon, indicate the stitch count for that row.
New Pattern Free PDF Download Weekend
This promotion is concluded. Please sign up for the email newsletter to make sure you don’t miss any weekly promotions. Scroll down for the free online pattern.
The PDF download for the Spring Button Front Cardigan pattern is available for free this weekend only. This promotion ends at 11:59pm CST, Monday, February 19.
Free Crochet Pattern Instructions
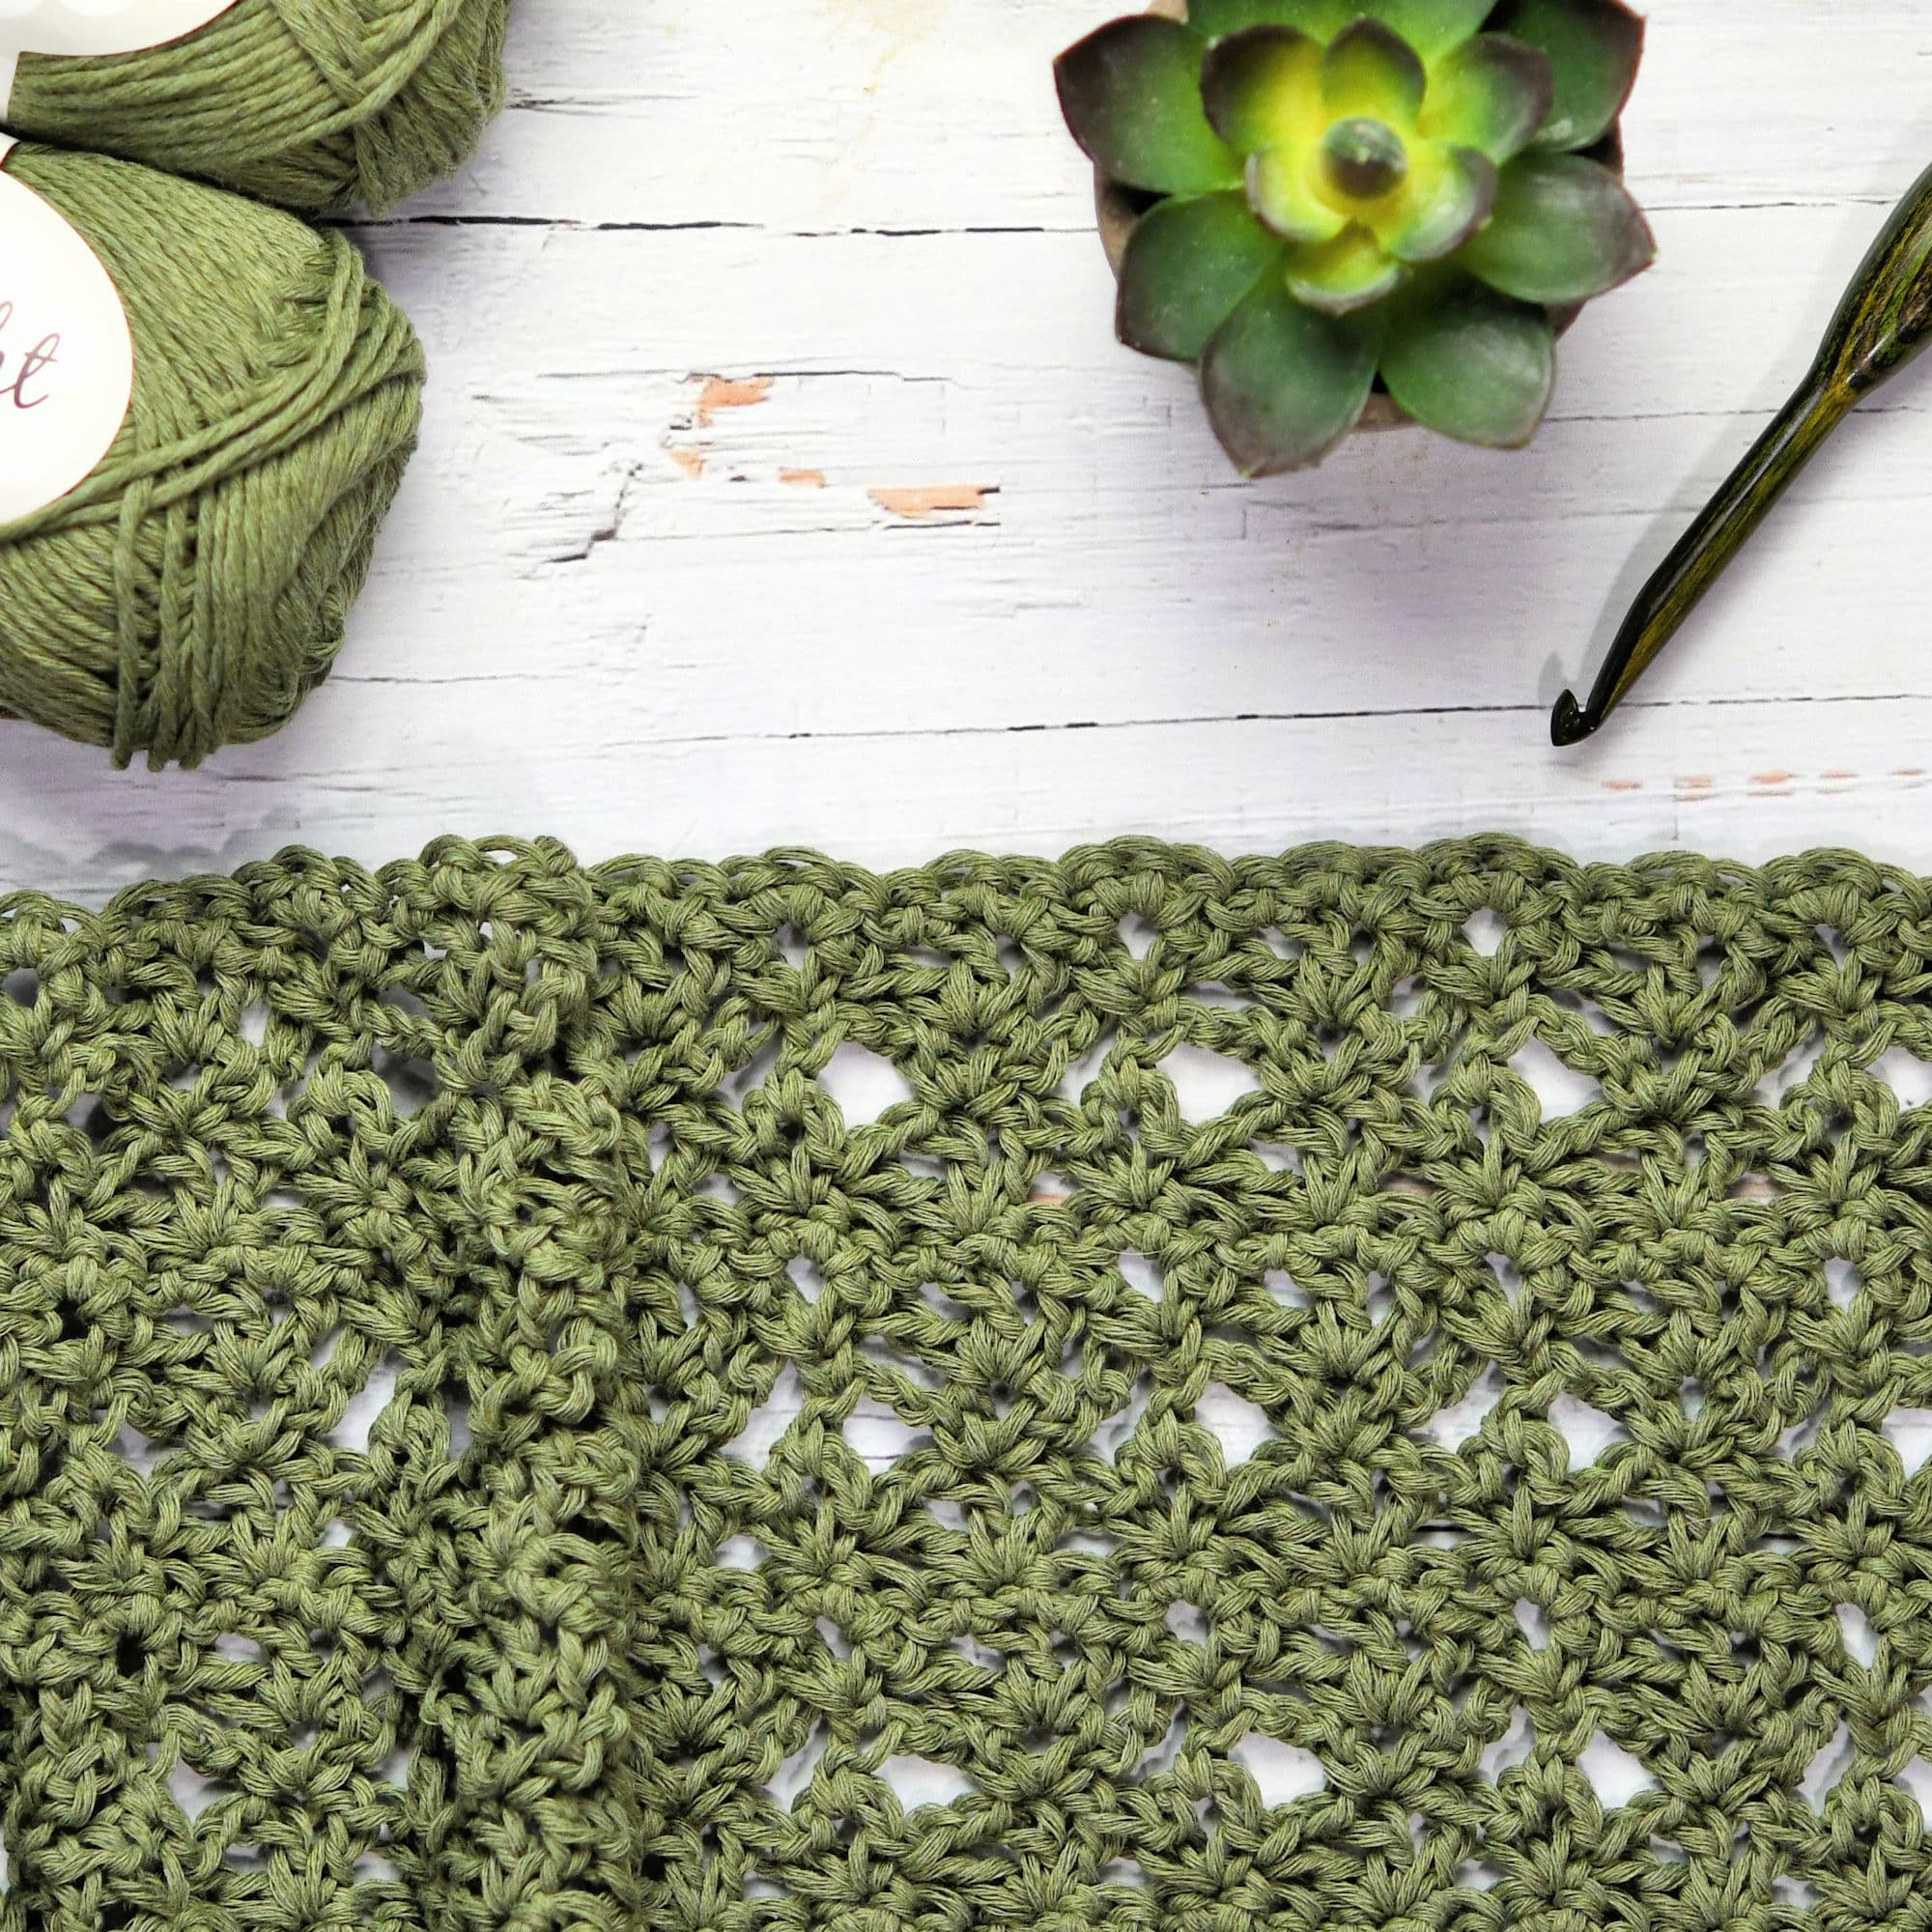
Make two identical rectangles.
For Sizes Small, Large and 2X
Note: The beginning chain needs to be very loose. Go up in hook size by one or two sizes, as necessary. Change to the regular hook once the initial chain is made. If you make nice foundation single crochet that doesn’t pull or curve, use the numbers at the end of the instruction. For best results, turn the chain over and work into the back horizontal bar throughout.
Row 1 (RS): With larger hook (see Materials above), ch 122 (128, 134) very loosely, working only in the one back horizontal bar of the chain throughout, sc in second ch from hook and in each remaining ch across, turn: 121 (127, 133) sc.
Row 2: Ch 1, sc in first sc, *sk 2 ch, fan (see Special Stitches above) in next ch, sk 2 ch, sh (see Special Stitches above) in next ch, rep from * to last 6 ch, sk 2 ch, fan in next ch, sk 2 ch, sc in last ch, turn.
Row 3: Ch 6, *sh in center dc of fan, ch 3, hdc in ch-3 sp of sh, ch 3, rep from * to last fan, sh in center dc of fan, ch 3, tr in last sc, turn.
Row 4: Ch 1, sc in tr, *fan in ch-3 sp of sh, sh in hdc, rep from * to last sh, fan in ch-3 sp of sh, sc in beg ch-6 sp, turn.
Row 5: Ch 1, 2 sc in first sc, *sc in first ch-1 sp of fan, sc in center dc of fan, sc in last ch-1 sp of fan, 3 sc in ch-3 sp of sh, rep from * to last fan, sc in first ch-1 sp of fan, sc in center dc of fan, sc in last ch-1 sp of fan, 2 sc in last sc, turn: 121 (127, 133) sc.
Rows 6-21 (25, 29): Rep rows 2-5. Fasten off after final row.
For Sizes Medium, 1X and 3X
Note: The beginning chain needs to be very loose. Go up in hook size by one or two sizes, as necessary. Change to the regular hook once the initial chain is made. If you make nice foundation single crochet that doesn’t pull or curve, use the numbers at the end of the instruction.
Row 1 (RS): With larger hook (see Materials above), ch 128 (134, 140) very loosely, sc in second ch from hook and in each remaining ch across, turn: 127 (133, 139) sc.
Rows 2-3: Ch 1, sc in each sc across, turn: 127 (133, 139) sc.
Row 4: Ch 1, sc in first sc, *sk 2 ch, fan (see Special Stitches above) in next ch, sk 2 ch, sh (see Special Stitches above) in next ch, rep from * to last 6 ch, sk 2 ch, fan in next ch, sk 2 ch, sc in last ch, turn.
Row 5: Ch 6, *sh in center dc of fan, ch 3, hdc in ch-3 sp of sh, ch 3, rep from * to last fan, sh in center dc of fan, ch 3, tr in last sc, turn.
Row 6: Ch 1, sc in tr, *fan in ch-3 sp of sh, sh in hdc, rep from * to last sh, fan in ch-3 sp of sh, sc in beg ch-6 sp, turn.
Row 7: Ch 1, 2 sc in first sc, *sc in first ch-1 sp of fan, sc in center dc of fan, sc in last ch-1 sp of fan, 3 sc in ch-3 sp of sh, rep from * to last fan, sc in first ch-1 sp of fan, sc in center dc of fan, sc in last ch-1 sp of fan, 2 sc in last sc, turn: 121 (127, 133) sc.
Rows 8-23 (27, 31): Rep rows 4-7.
Row 24 (28, 32): Rep row 4.
Row 25 (29, 33): Rep row 7, fasten off.
Continue For All Sizes

To seam up the center back, beginning at the hem and RS facing, using yarn needle, seam row 1 to row 1 for 13 (14, 14, 14, 14, 15)” only, matching stitch for stitch, leaving the remaining unseamed.
Fold over the cardigan and seam up the sides, beginning at the hem and RS facing for 8.5 (9, 9, 9, 9, 9)” only, matching stitch for stitch, leaving the remaining unseamed (creating the armhole).

Buttonhole Trim
With RS facing you, using small pieces of yarn or stitch markers, mark 5 (5, 5, 6, 6, 7) buttonhole positions on the right front of the cardigan with the first button 1/2″ from hem and the last button at 7 (7.5, 7.5, 8.5, 8.5, 9)” from hem, with the remaining buttons evenly distributed between those two.
With smaller hook (see Materials above), with RS facing you, join yarn with slip stitch to begin working along the center fronts of the cardigan, working into the 2 loops of the beginning chain from row 1 of each piece. Ch 1, work sc around, except at buttonhole positions, work [ch 1, sk 1 sc] and at top center back, work [yo, insert hook in next st, yo, pull lp through, yo, insert hook in next st, yo, pull lp through, yo, pull through 3 lps on hook] (sc decrease made). After working around the two center fronts, fasten off.
Finishing
Attach buttons on the left front, corresponding with the buttonhole positions. Weave in all ends securely. Rather than trying to find matching thread, I split the strands of the yarn and used 2 strands each when sewing on the buttons. It was easier than trying to match colors.
Block as desired.

Twitter | Facebook | Pinterest
All the patterns at Make It Crochet are free. Since many of you have asked how to help with the costs of running a site like this, I’ve made all the patterns into print-ready PDFs and the cost is about the same as a cup of coffee. Every little bit helps.
TERMS: To my fellow crafters, you have my permission to use my patterns to make and sell your projects* anywhere you like. You cannot use my images to sell your projects, though. You must take photos of your own work. All patterns have been tested but mistakes can happen. If you find a mistake, please let me know. Everything at MakeItCrochet.com is protected by copyright to Kim Guzman. Other than the permissions previously given, no one other than Kim Guzman has permission to: reproduce, copy, publish or distribute this pattern, its parts or photos in any way or form, including, but not limited to, translations into foreign languages & video production.
*Not intended to be blanket permission for mass production.

Adrienneplus says
Hello Kim I am very excited to start this, I have six grown granddaughters that I know will love this since it’s hard to find a pattern that all six would enjoy and I think I finally found one they’re all in their 20s but first nan is going to make one for herself for a change usually while doing a project they come first. I’m sure every grandmother has the same issue but I called 2024 more fine part of the more so I thank you for this pattern I am going to send it for the written pattern as I do like to have some thing right in front of me, I will let you know how all turns out your friend Dianne from Canada information, I
Kim Guzman says
Wonderful! I hope that you love it as much as I do. 🙂
Mary says
Thank you, this pattern is so lovely. And I know lots of chunkier ladies who will love having this piece.
Kim Guzman says
You’re welcome! I’m glad you like it. Thank you for writing! 🙂
Lesley Field says
Hi is it possible to make 2 more rectangles to insert sleeves I have to wear sleeves but love the pattern thank you
Kim Guzman says
Yes, you can do that. It won’t have any shaping or set-in sleeves so it will be pretty comfy around the armholes. I look forward to hearing how it works out for you. Thank you for writing!