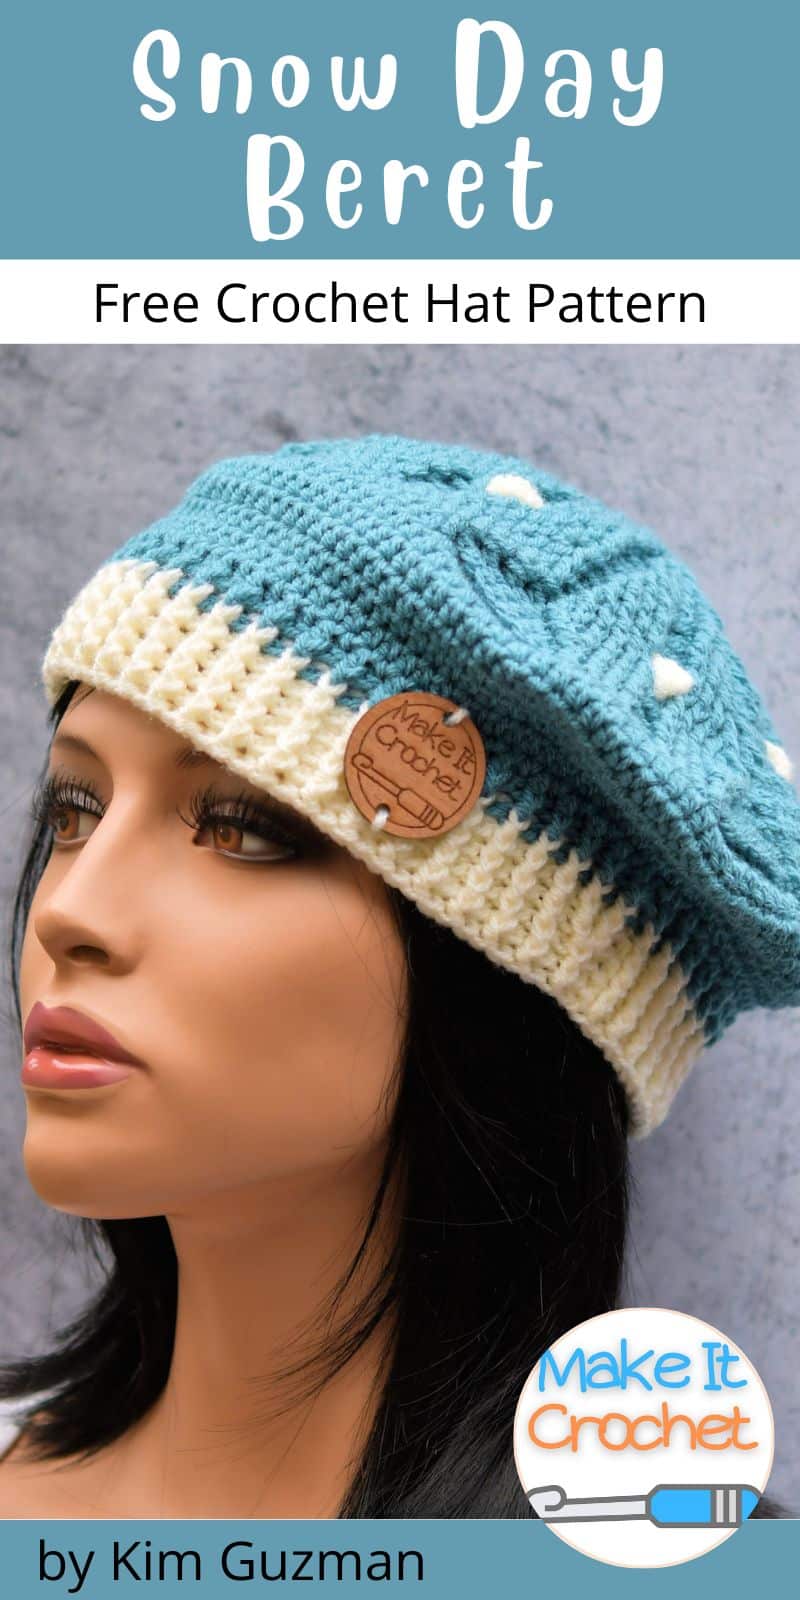
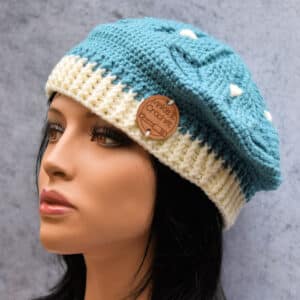
The Snow Day Crochet Beret pattern is both warm and stylish. The hat’s slouchy crown features a beautiful textured snowflake for a trendy and cozy accessory.
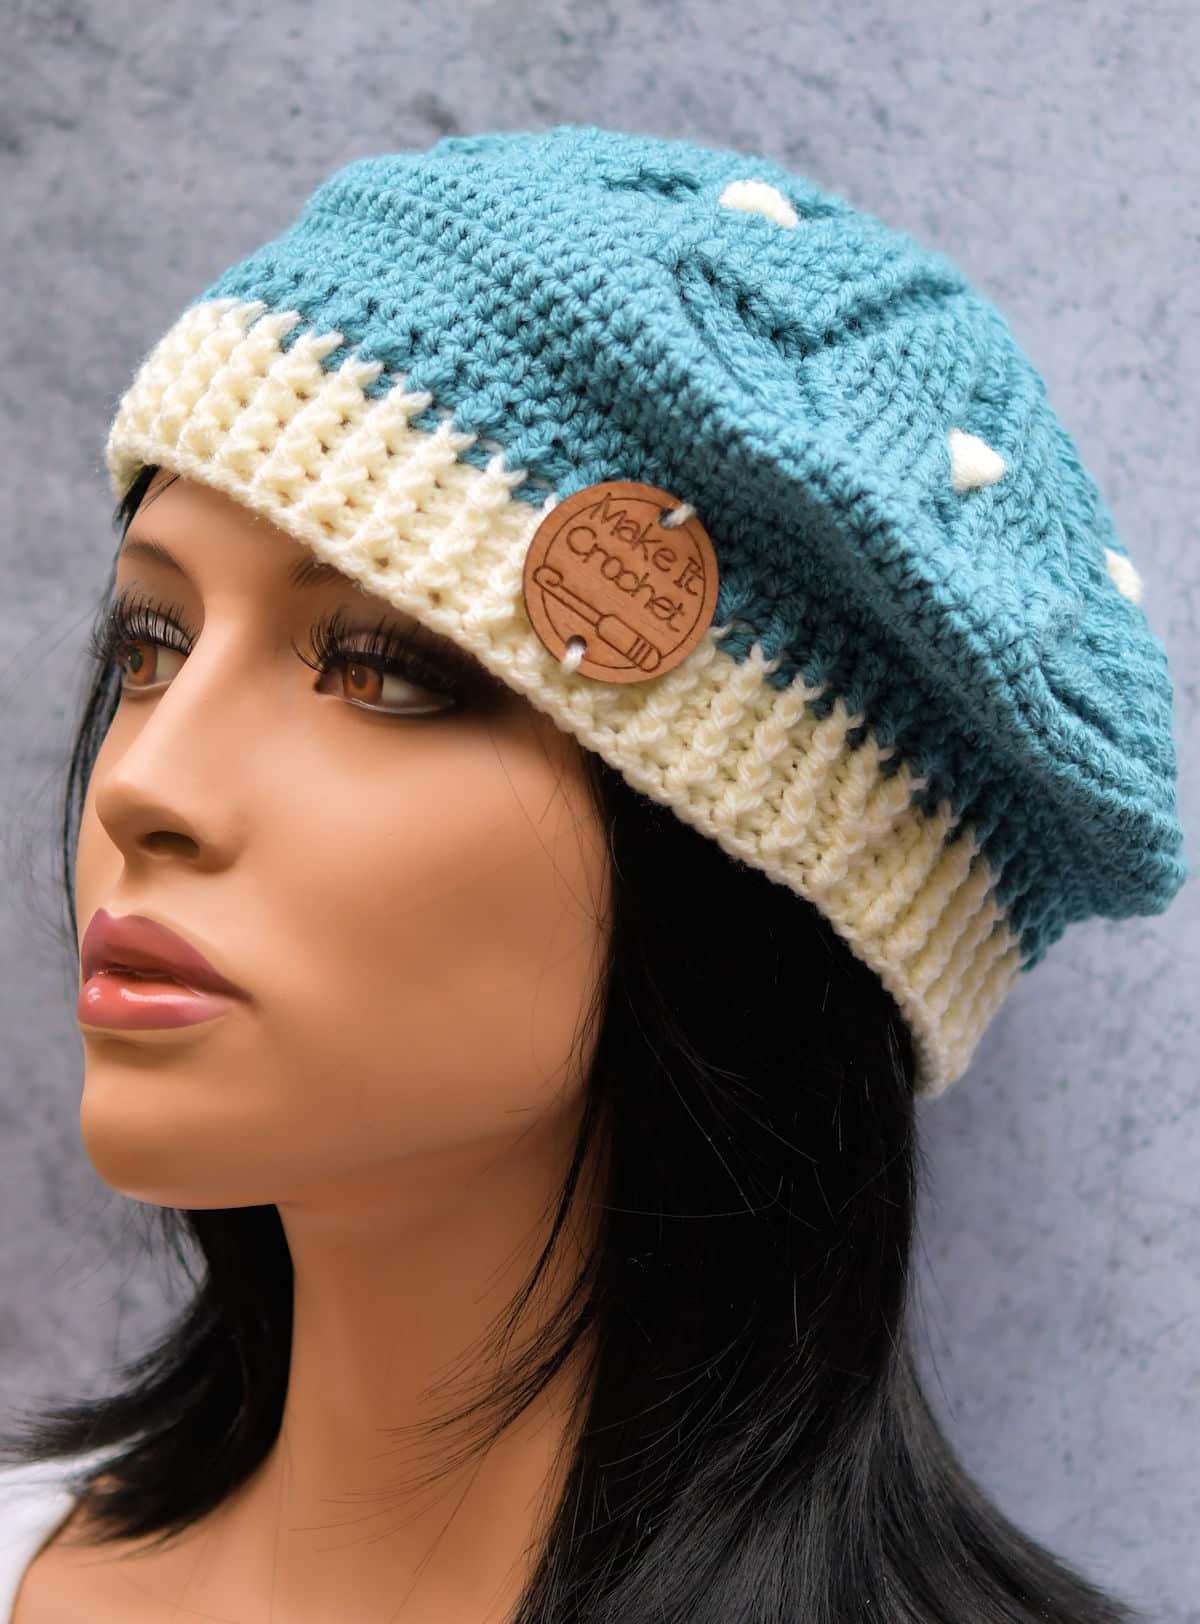
“Snow Day Crochet Beret” free crochet pattern by Kim Guzman, © Nov. 2023. All rights reserved.
Technique: Regular Crochet.
Skill Level: Intermediate.

Crochet Pattern At A Glance
Snow Day Crochet Beret Free Pattern
Designer: Kim Guzman © 2022-24. All rights reserved.Rate the Pattern
Yarn
- Stylecraft “Special DK”, size 3 weight 100% acrylic, 322 yds/295m per 3.5 oz/100g per skein: 1 skein each of “Storm Blue” and “Cream”, approx. 200 yards used of blue and 100 yards used of cream
Other Materials
- Size H-8 (5mm) (larger hook) or hook needed to meet gauge
- Size G-7 (4.5mm) (smaller hook) for ribbing
- Yarn Needle for weaving ends
Instructions
- A flat crochet circle to form the top of the hat is made in 16 rounds of highly textured stitches to resemble a 6-pointed snowflake.
- The height of the hat is made in a non-textured stitch for 7 rounds.
- The ribbing is worked in post stitches for 5 rounds.
- Weave in all ends securely.
Full Free Crochet Pattern Below
This is a free crochet pattern and the written instructions are below. If you prefer a printable download, a PDF is also available for purchase.
My Crochet Pattern Notes
The stitches are a little fiddly so I’ve labeled this as an intermediate skill level. There’s not much in crochet that is super difficult, but there are times when you have to manipulate the hook in certain ways to complete more challenging stitches.
This crochet hat is made in a beret style which means that it starts with a large disc that is larger than the head circumference then it’s reduced quickly for the brim.
The large circle is made from the center out, which makes this a top down design. It’s all made in one piece and there is no seaming.
You may know this hat style by different names. I’ve seen it called beret, tam and slouch. No matter what you call it, you’ll love making it and wearing it!
Self Publishing Crochet Patterns
What I like about self publishing is that I don’t have to condense the text so much that it makes it difficult to understand. While basic stitches can be easily explained this way, there are times that I would have loved to have given some extra instruction in my traditional published books. Now, I’m free to do that on the internet and you’ll find extra notes where they are necessary.
I feel like the most difficult parts in this pattern are 1) making two back post stitches in the same spot and 2) the embellishment stitches in the secondary color. Just take it slow and easy. This isn’t a marathon. You can do it!
Pin It For Later
Finished Size
Made to fit adult women up to 22″ head circumference. Flat disc: 9″ across, approx. circumference: 28″. Total height: 7.5″. Ribbing: 20″.
Yarn
Stylecraft “Special DK”, size 3 weight 100% acrylic, 322 yds/295m per 3.5 oz/100g per skein: 1 skein each of “Storm Blue” and “Cream”, approx. 200 yards used of blue and 100 yards used of cream.
“Special Double Knit” is classified as a DK weight (size 3) yarn and is currently available in 100 shades.
Available at LoveCrafts (aff link). If you’re in the US, look up at the top right to switch to US Dollars. I’ve purchased from them for years and love the selection.
The primary photos of this hat on my mannequin are shown lighter than the actual color. I tried to get an accurate color but I take many of my primary photos outside. My camera always messes that up when it’s raining. The flat shots were taken inside and show the color more accurately.
Other Materials
Suggested Crochet Hook Size H-8 (5mm) (larger hook) or hook needed to meet gauge and Size G-7 (4.5mm) (smaller hook) for ribbing.
Yarn Needle for weaving ends.
Special Stitches
Front Post Double Crochet (FPdc): Yarn over, insert hook to the side of the indicated stitch, move hook around the back of the stitch and out the other side of same stitch, yarn over, pull loop through, [yarn over, pull through 2 loops on hook] twice.
Back Post Double Crochet (BPdc): Yarn over, with hook in back of work, insert hook to the side of the indicated stitch, move hook around the front of the stitch and out the other side of same stitch with the hook now again on the back of work, yarn over, pull loop through, [yarn over, pull through 2 loops on hook] twice.
Front Post Double Crochet 2 Together (fpdc2tog): Start as a regular front post double crochet (above), but insert your hook around the back of next 2 double crochet at the same time then pull yarn through to complete the double crochet.
Front Post Double Crochet 3 Together (fpdc3tog): This is the same as working 2 together except it’s now 3 stitches. This stitch is only worked in the ribbing portion. Although you could wrap the hook around 3 stitches, I found that the stitch looks better if you insert your hook around 2 front post double crochet, ignoring the back post double crochet in the back instead of forcing it in there too. It’s easier to work as well. Either way, you’ll decrease by two stitches. So, around all three, or just around the two in the front. It’s up to you. Try it both ways and see which you prefer.
Note: The cluster stitch used here is worked across two stitches. It’s 3 partial double crochets in one stitch then 3 in the other and you close them at the top by pulling through all 7 loops. Don’t forget the chain at the end. The instructions are a little long so I wanted to give you the basic information first.
6-Double Crochet Cluster (6-dc cl): Yarn over, insert hook in stitch indicated, yarn over, pull loop through, yarn over, pull through 2 loops on hook, [yarn over, insert hook in same stitch, yarn over, pull loop through, yarn over, pull through 2 loops on hook] twice, yarn over, insert hook in next stitch, yarn over, pull loop through, yarn over, pull through 2 loops on hook, [yarn over, insert hook in same stitch, yarn over, pull loop through, yarn over, pull through 2 loops on hook] twice, yarn over, pull through 7 loops on hook, ch 1.

Other Abbreviations
This crochet beret pattern is written in US crochet terminology.
beg=beginning; ch(s)=chain(s); dc=double crochet; hdc=half double crochet; rep=repeat; sl=slip; st(s)=stitch(es).
All numbers after the colon at the end of an instruction are stitch counts. Use the stitch count to check your work.

Gauge
To measure gauge for this hat style, place the crocheted circle on a flat surface and measure across the top from side to side. Gauge is provided in this method since typical row by row gauge doesn’t work the same when working in the round.
No need to do a lot of calculating before you start crocheting. Just crochet and have your tape measure handy.
After round 4=3″.
After round 6=4″.
After round 8=5″.
After round 11=6.5″.
Free Crochet Pattern Instructions
Hat
Round 1: With color blue and larger hook (see Materials above), ch 3, 11 dc in third ch from hook, sl st to top of beg ch-3.
Note: The following rounds begin with a ch-1, which will be skipped and ignored when joining rounds.
Round 2: Ch 1, 2 fpdc (see Special Stitches above) around same st as joining, [bpdc around next dc, 2 fpdc around next dc] 5 times, bpdc (see Special Stitches above) around last dc, sl st to first dc: 18 dc.
Round 3: Ch 1, *[2 fpdc around next dc] twice, bpdc around next dc, rep from * around, sl st to first dc: 30 dc.
Round 4: Ch 1, *fpdc around next 4 dc, 2 bpdc around next dc, rep from * around, sl st to first dc: 36 dc.
Round 5: Ch 1, *2 fpdc around next dc, fpdc around next 2 dc, 2 fpdc around next dc, bpdc around next 2 dc, rep from * around, sl st to first dc: 48 dc.
Round 6: Ch 1, *2 fpdc around next dc, fpdc around next dc, bpdc around next 2 dc, fpdc around next dc, 2 fpdc around next dc, bpdc around next 2 dc, rep from * around, sl st to first dc: 60 dc.
Round 7: Ch 1, *2 fpdc around next dc, fpdc around next 2 dc, bpdc around next 2 dc, fpdc around next 2 dc, 2 fpdc around next dc, bpdc around next 2 dc, rep from * around, sl st to first dc: 72 dc.
Round 8: Ch 1, *fpdc around next 4 dc, bpdc around next 2 dc, rep from * around, sl st to first dc: 72 dc.
Round 9: Ch 1, *2 fpdc around next dc, fpdc around next 3 dc, sk 2 dc, fpdc around next 3 dc, 2 fpdc around next dc, bpdc around next 2 dc, rep from * around, sl st to first dc, changing to color cream: 72 dc.
Note: Drop color blue to back, but don’t cut off.
Round 10: With color cream, sl st in next 4 dc, working in round below, keeping previous rounds sts to back, 6-dc cl across 2 skipped dc, sl st in next 5 dc, ch 2, sk 2 dc, *sl st in next 5 dc, working in rounds below, keeping previous rounds sts to back, 6-dc cl across 2 skipped dc, sl st in next 5 dc, ch 2, rep from * around, sl st to first dc (below the sl st), changing to color blue, cut off cream.
Note: The post stitches worked in the following round will be worked around the double crochets, ignoring the slip stitches created in the previous round. You’ll just dip down a little more. Once this round is complete, you can adjust the cluster embellishments, if they are sideways or otherwise misshappen.
Round 11: With color blue, ch 1, *2 fpdc around next dc, fpdc around next 3 dc, 2 fpdc around next dc, sk cluster, 2 fpdc around next dc, fpdc around next 3 dc, 2 fpdc around next dc, working behind 2 chs and into skipped sts below, bpdc around next 2 dc, rep from * around, sl st to first dc: 96 dc.
Round 12: Ch 1, *fpdc around next 6 dc, bpdc around next 2 dc, fpdc around next 6 dc, [2 bpdc around next dc] twice, rep from * around, sl st to first dc: 108 dc.
Round 13: Ch 1, *fpdc2tog (see Special Stitches above), fpdc around next 4 dc, bpdc around next 2 dc, fpdc around next 4 dc, fpdc2tog, 2 bpdc around next dc, bpdc around next 2 dc, 2 bpdc around next dc, rep from * around, sl st to first dc: 108 dc.
Round 14: Ch 1, *fpdc2tog, fpdc around next 3 dc, bpdc around next 2 dc, fpdc around next 3 dc, fpdc2tog, 2 bpdc around next dc, bpdc around next 4 dc, 2 bpdc around next dc, rep from * around, sl st to first dc: 108 dc.
Round 15: Ch 1, *fpdc around next 10 dc, bpdc around next 8 dc, rep from * around, sl st to first dc: 108 dc.
Round 16: With smaller hook (here and for remainder of hat), ch 1, hdc in each dc around, sl st to first hdc: 108 hdc.
Rounds 17-22: Ch 1, hdc in each hdc around, sl st to first hdc: 108 hdc.
Ribbing
Round 23: Ch 1, [fpdc around next hdc, bpdc around next hdc] around, sl st to first dc, changing to color cream: 108 dc. Cut off color blue.
Round 24-26: With color cream, ch 1, [fpdc around next dc, bpdc around next dc] around, sl st to first dc: 108 dc.
Round 27: Ch 1, *[fpdc around next dc, bpdc around next dc] 16 times, fpdc3tog (see Special Stitches above), bpdc around next dc, rep from * twice more, sl st to first dc: 102 dc.
Round 28: Ch 1, [fpdc around next dc, bpdc around next dc] around, sl st to first dc, fasten off.
Finishing
With yarn needle, weave in ends securely.

Twitter | Facebook | Pinterest
All the patterns at Make It Crochet are free. Since many of you have asked how to help with the costs of running a site like this, I’ve made all the patterns into print-ready PDFs and the cost is about the same as a cup of coffee. Every little bit helps.
TERMS: To my fellow crafters, you have my permission to use my patterns to make and sell your projects* anywhere you like. You cannot use my images to sell your projects, though. You must take photos of your own work. All patterns have been tested but mistakes can happen. If you find a mistake, please let me know. Everything at MakeItCrochet.com is protected by copyright to Kim Guzman. Other than the permissions previously given, no one other than Kim Guzman has permission to: reproduce, copy, publish or distribute this pattern, its parts or photos in any way or form, including, but not limited to, translations into foreign languages & video production.
*Not intended to be blanket permission for mass production.

Sharon says
It’s so pretty! Thank you xx
Kim Guzman says
Thank you! I’m glad you like it. Thank you for writing!
suz says
I’m not understanding r12. It says fpdc around next 6, but there are 7. Have i missed something?
Kim Guzman says
Do you have 96 dc in round 11? If so, have you continued with the bpdc around the next 2 dc? I believe this is the part where the front post sections start going straight down instead of continuing to grow out. Does it not seem to match up for you? It’s possible that you just need to continue and see where it goes. If this doesn’t help, please send me photos at [email protected]