
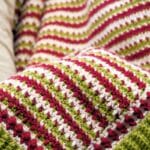
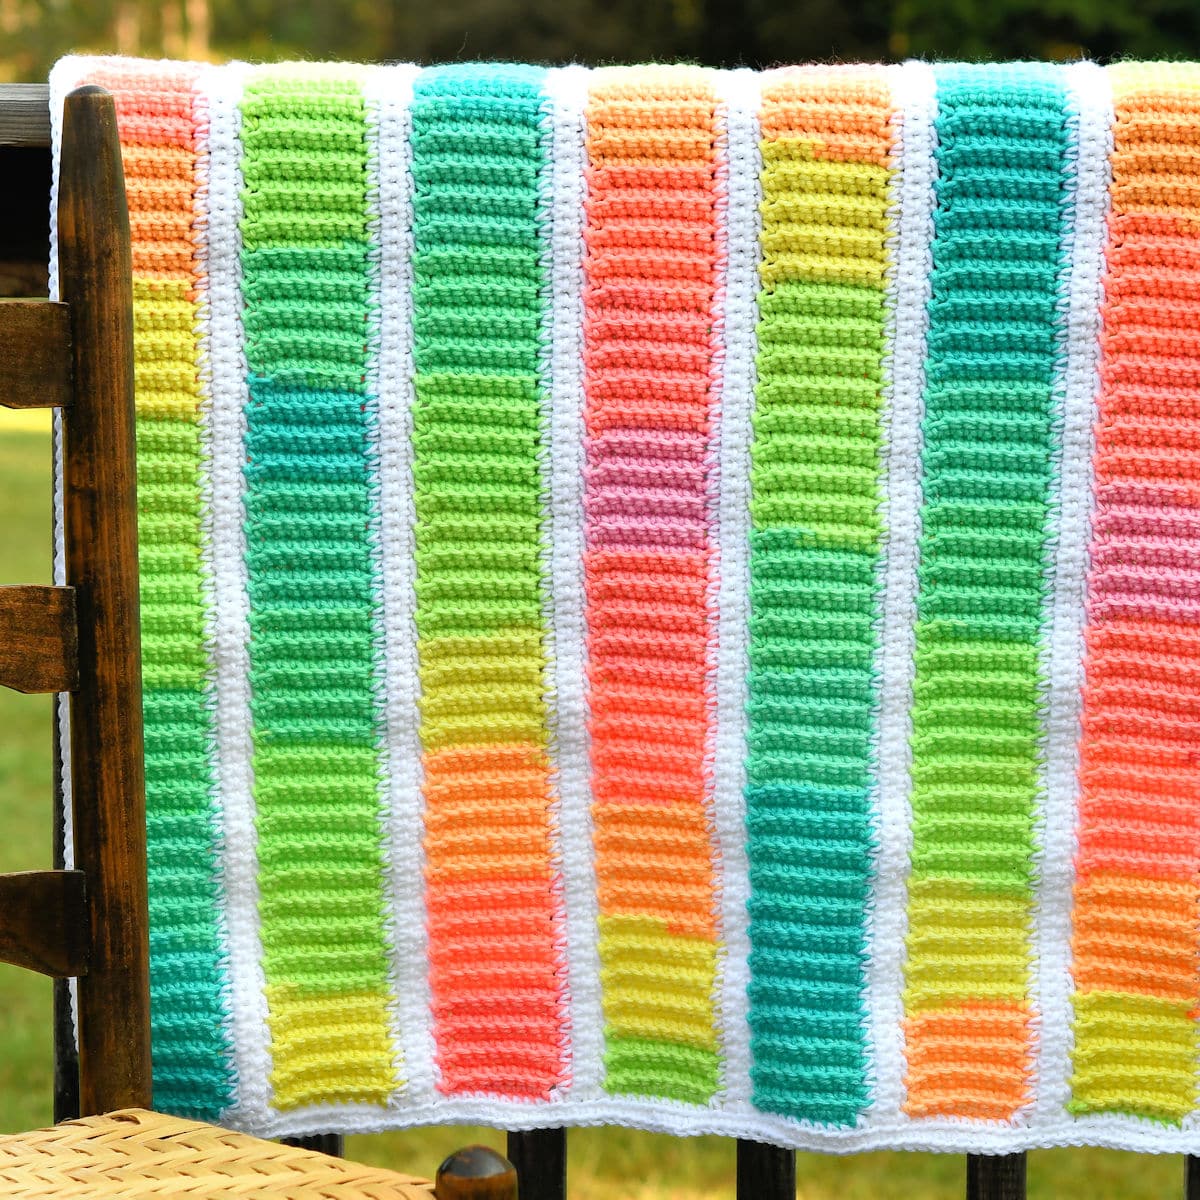
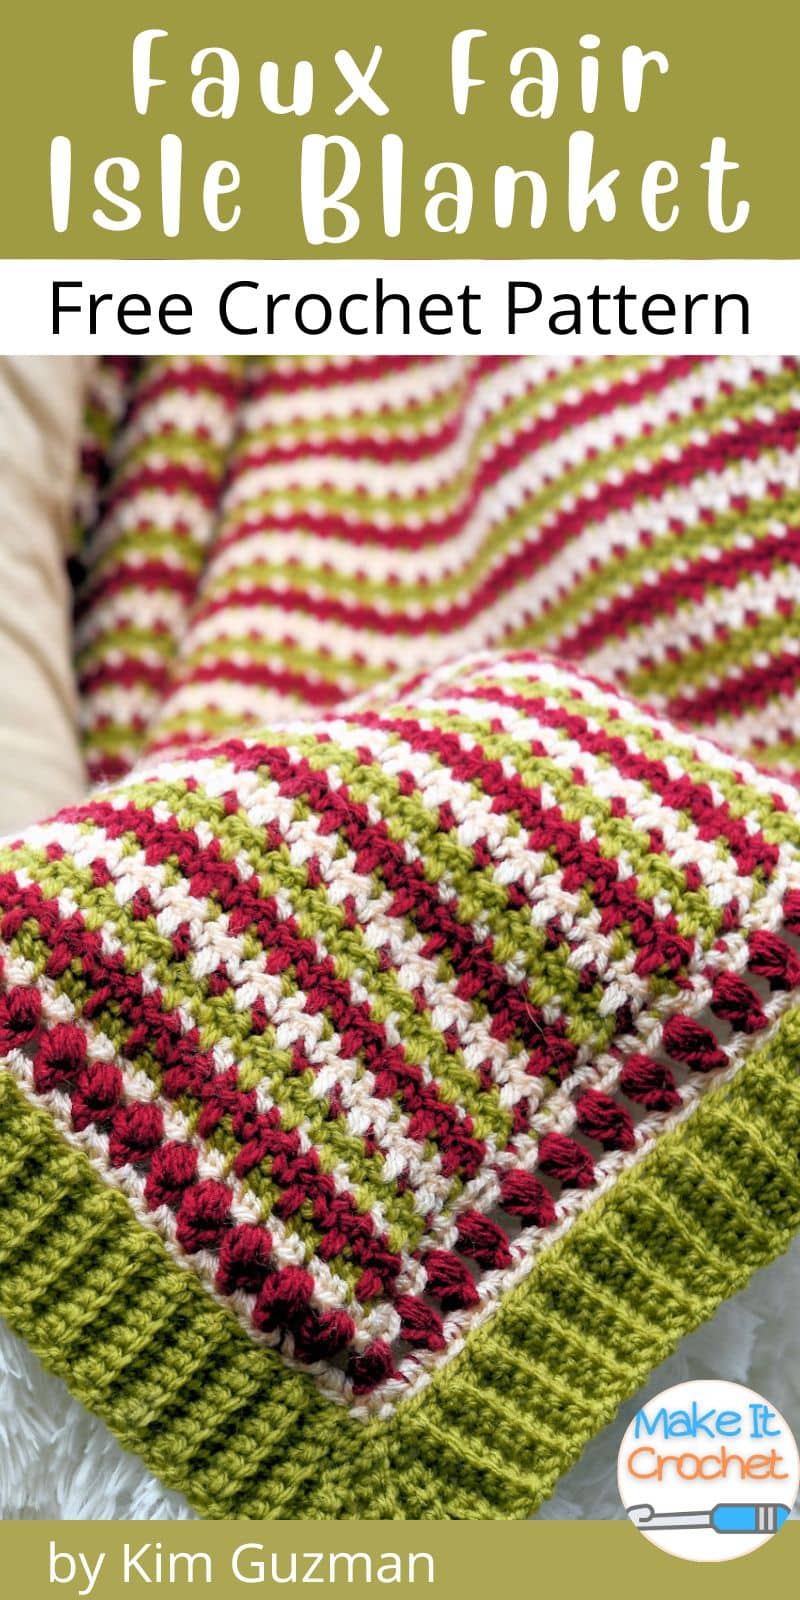
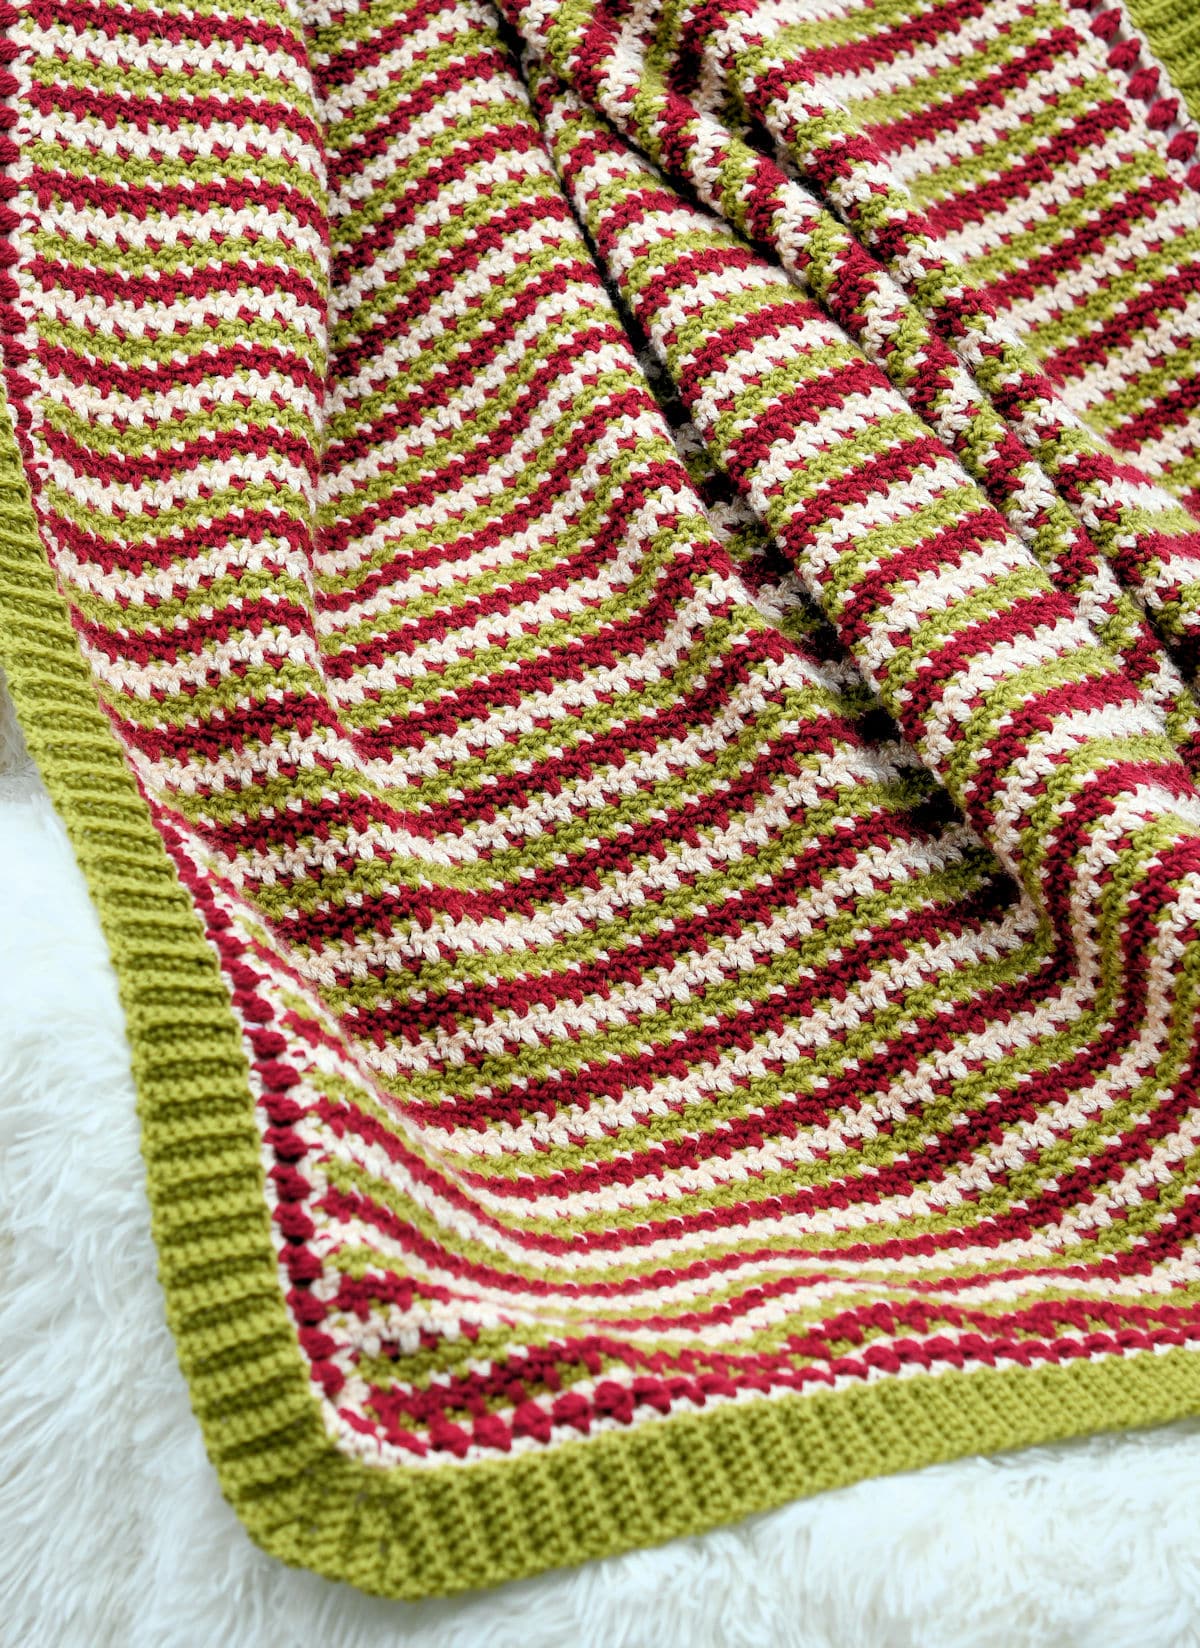
The Faux Fair Isle Christmas Afghan is designed to mimic the Fair Isle effect yarns, not actually Fair Isle, of course. The same effect except with more precision. Pick your own colors for different looks and seasons.
“Faux Fair Isle Christmas Afghan” free crochet pattern by Kim Guzman, © Nov. 2025. All rights reserved.
Technique: Regular Crochet
Skill Level: Intermediate

Crochet Pattern At A Glance
Faux Fair Isle Christmas Afghan
Designer: Kim Guzman © 2022-2025. All rights reserved.Rate the Pattern
Yarn
- Stylecraft “Special Double Knit”, 100% acrylic, 322 yds/295m per 3.5 oz/100g per skein: 4 skeins of Mistletoe and 3 skeins each of Merlot and Toy.
Other Materials
- Suggested Crochet Hook Size H-8 (5mm) or hook needed to meet gauge.
- Yarn Needle for weaving ends.
Instructions
- Rows 1-2: Complete the set up rows on an odd number of stitches.
- Rows 3-4: Begin the stitch repeat and set up the color sequence.
- Rows 5-214: Maintaining the color sequence, repeat the 2 row-repeat.
- Work a standard 3-round border with single crochet for the first and third round and Puff stitches in between, on the 2nd round.
- Work an After Thought Ribbing border to finish. Weave in all ends securely.
Full Free Crochet Pattern Below

This is a free crochet pattern and the written instructions are below. If you prefer a printable download, a PDF is also available for purchase.
My Crochet Pattern Notes
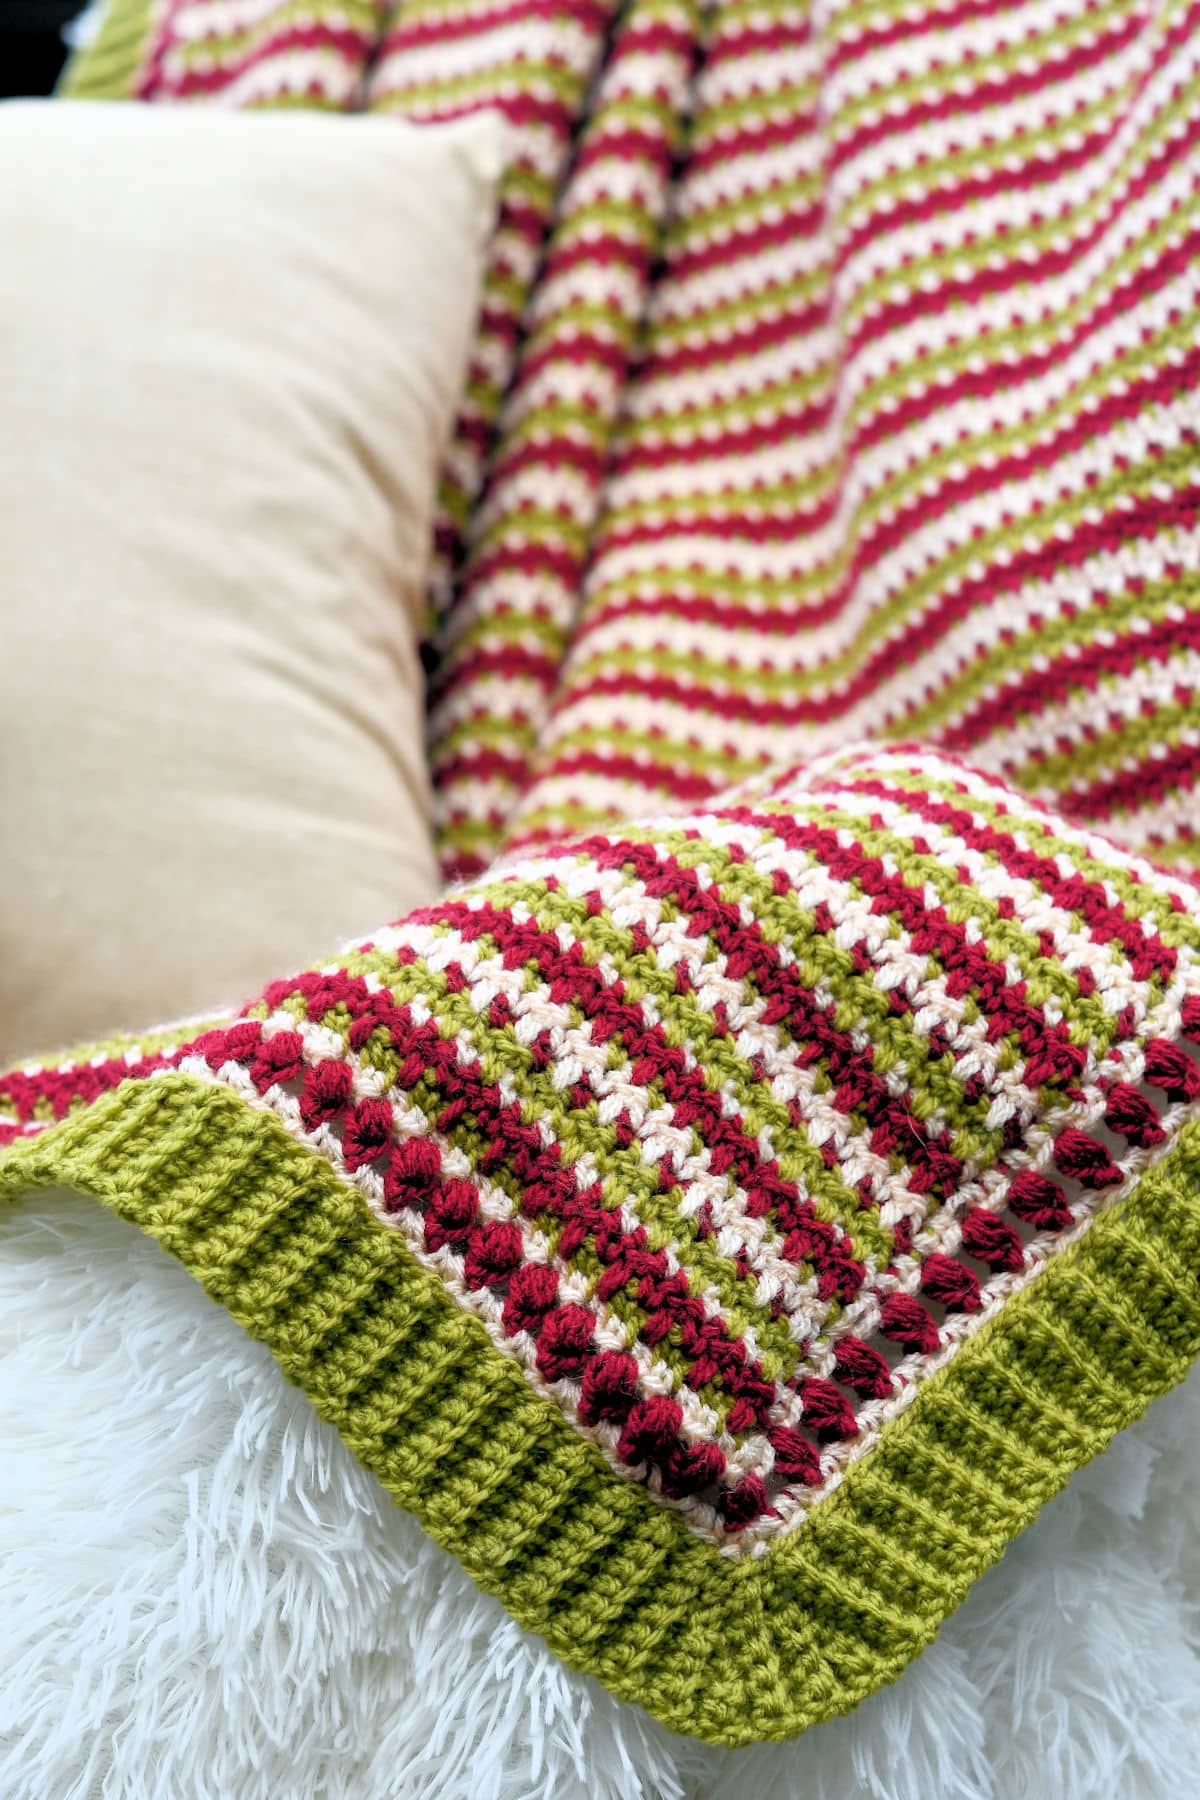
This blanket is made in stripes with three colors. You don’t cut off after each color change. Instead, you drop a color, work in the new color, then drop that color and work on the other color, carrying up the yarn along the side edges. It’s an easy way to have a different color for each stripe without all those pesky ends to weave in later.

The biggest problem I have with this technique is the yarn gets really tangled up. Take the time to stop and rearrange your skeins of yarn every once in awhile.
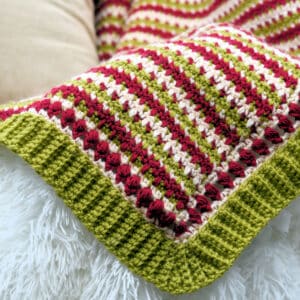
The border is three rounds then what has now been termed an “after-thought ribbing”.
The only reason I’ve given this project a skill rating of Intermediate is because of the border. If you take the Border away and make your own border, the skill level could be considered Beginner.
What Is After Thought Ribbing?
Way back in 2012, I first developed a ribbing worked in slip stitch worked not at the beginning of the project, but at the end. I worked it row by row, in a join-as-you-go method.
I made it up and this was the first time I had ever seen this technique being used, but it worked so well in this Stockinette Hat from my book called Ultimate Beginner’s Guide to Tunisian Crochet. Since the time that I created this technique, I’ve used it many times and, now that it’s started to catch on with other designers, they’ve even given it a name: After-Thought Ribbing. So clever!
I love the technique so much that I’ve even used it as an allover repeat for the Retro Stripes Baby Blanket! If anyone has seen the technique in publications prior to 2012, please let me know. I’m always interested in learning about the evolution of crochet.
Making A Christmas Afghan
This is my first time making a Christmas Afghan. Ever. I always thought that I wouldn’t be able to make it in time for Christmas. And, here we are, only a few weeks before Christmas and I finished it. Whew!
Just a reminder that the only reason why I’m calling this a Christmas Afghan is because of the colors. It’s got that perfect Grinch-y color of green. But, you could choose any three colors to match your favorites or match the colors in your home. If you include this same green with purple and orange, for instance, you can suddenly have a Halloween blanket!
Pin It For Later
Finished Size
48″ x 58″.
Yarn
Stylecraft “Special Double Knit”, 100% acrylic, 322 yds/295m per 3.5 oz/100g per skein: 4 skeins of Mistletoe and 3 skeins each of Merlot and Toy. Note: I used almost every bit of this yardage. If you think you may work outside of gauge at all, you may need to buy extra skeins.

“Special Double Knit” is classified as a DK weight (size 3) yarn and is currently available in over 120 shades.
Available at LoveCrafts (aff link).
See more projects in Stylecraft Special DK yarn.
Yarn Substitution
I’ve used DK weight yarn (size 3) because I love this size. There’s a lot of yardage on a 100g skein of Stylecraft Special DK. You could use any yarn you like, using the hook size you prefer. You may need to make changes to the number of stitches and the amount of yarn required.
If you are unable to use Stylecraft Special DK, a nice substitution is Deramores Studio DK. It’s currently available in 23 shades. The skeins are smaller so you’ll need to make sure to get enough yardage.
I think this blanket would also be a candidate for a striping yarn, if the color runs aren’t overly long. It could produce the color changes in each row, as long as they’re short enough, otherwise, it would just be a solid and wouldn’t give the same fair isle effect.
If you want to use a different weight of yarn, the stitch pattern will work on any even number of chains. You’ll need to do some tension swatches to see how many chains to make for the foundation of the size you would like to make.
Other Materials
Suggested Crochet Hook Size H-8 (5mm) or hook needed to meet gauge.
Yarn Needle for weaving ends.
Gauge
Working in main stitch pattern, a swatch made of 17 stitches for approx. 16 rows measures 4-inch square.
Working at a different tension may require additional materials.
Special Stitches
Puff Stitch: Working in same indicated stitch, [yarn over, insert hook, yarn over, pull loop through] 3 times, yarn over, pull through 7 loops on hook.
Other Abbreviations
This crochet pattern is written in US crochet terminology.
ch=chain; dc=double crochet; RS=right side; rep=repeat; sc=single crochet; sk=skip; sl=slip; st(s)=stitch(es).
All numbers after the colon at the end of an instruction are stitch counts. Use the stitch count to check your work.
New Pattern Free PDF Download Weekend
This pattern is made free through ad support below, but the PDF download for the Faux Fair Isle Christmas Afghan pattern is available for free this weekend only. This promotion ends at 11:59pm CST, Sunday, November 30.
This promotion is concluded. Please sign up for the email newsletter to make sure you don’t miss any weekly promotions. Scroll down for the free online pattern.
Free Crochet Pattern Instructions
Notes: Each row changes color in the last stitch of that row. When the last stitch is made and there are 2 loops remaining on the hook, pull through with the new color. Drop the old color and carry up the new color along the side. I have marked the Right Side as odd numbered rows simply because I like that side better. If you like the even numbered side better, begin the Border on that side instead.
Row 1 (RS): With Mistletoe, ch 180, sc in 2nd ch from hook, [ch 1, sk 1 ch, sc in next ch] across, changing to Merlot on last st.
Row 2: With Merlot, ch 1, sc in first sc, [dc in skipped ch in row below, sc in next sc] across, changing to Toy on last st.
Row 3: With Toy, ch 1, sc in first sc, [ch 1, sk 1 dc, sc in next sc] across, changing to Mistletoe on last st.
Row 4: With Mistletoe, ch 1, sc in first sc, [dc in skipped dc in row below, sc in next sc] across, changing to Merlot on last st.
Row 5-214: Rep rows 3-4, maintaining the same color sequence of Mistletoe, Merlot, Toy. Fasten off all colors.
Border
Note: Begin working in rounds.
Round 1: With RS facing, join Toy with sl st at any corner, ch 1, *3 sc in corner, sc evenly across side, rep from * three times more, sl st to first sc, fasten off. Notes: When I made this border, I made stitch for stitch for the top and bottom edges. For the sides, I worked at a rate of 1 sc in the side of 7 rows then skipped the 8th row, more or less, I had to adjust a little once I got close to the corners.
Round 2: Join Merlot with sl st at any 2nd sc of corner, ch 1 loosely, Puff (see Special Stitches above) in same sc as joining, [ch 2, sk 1 sc, Puff in next sc] around, adjusting slightly when necessary to ensure that the Puff lands in each 2nd sc of corner, ch 2, sl st to first Puff, fasten off.
Round 3: Join Toy with sl st at any Puff of corner, ch 1, working sc around, make 3 sc in each Puff of corner and 2 sc in each ch-2 sp, skipping all Puffs except for the ones at the corners, sl st to first sc, fasten off.
After Thought Ribbing
This is my favorite Border style since first developing it in 2012. After it was discovered and started being used by other designers, someone has coined “After Thought Ribbing” which is super clever. Describes it perfectly. But, I know that it’s also labor intensive. It won’t hurt a thing if you decide not to use it. You could simply make single crochet rounds in both loops or maybe in the back loop throughout.

A short row is a section of the Border that forms a little wedge to reach around a corner. It mimics the same type of increase that you would normally see in standard borders where each corner has increases.
If you continue with the Ribbing without this Short Row Corner, you will end up having too many rows and the lower portion of the ribbing could bubble up because, essentially, there are too many stitches there.
To complete a full corner with this height of stitches, you will need two Short Row segments. Check frequently to make certain that the edges aren’t ruffling. It could be necessary to skip a few stitches if it looks like you have too many.
Row 1: Join Mistletoe with sl st in any first sc of corner, ch 7, sc in 2nd ch from hook and in each remaining 5 ch, sl st in 2nd sc of Border, turn: 7 sc.
Row 2 (Short Row): Working in back loops here and throughout, sk 1 sc of Ribbing, sc in remaining 6 sc of Ribbing, turn: 6 sc.
Row 3 (Short Row): Ch 1, sc in 5 sc of Ribbing, leaving remaining sc unworked, turn: 5 sc.
Row 4 (Short Row): Sk 1 sc of Ribbing, sc in remaining 4 sc of Ribbing, turn: 4 sc.
Row 5 (Short Row): Ch 1, sc in 3 sc of Ribbing, leaving remaining sc unworked, turn: 3 sc.
Row 6 (Short Row): Sk 1 sc of Ribbing, sc in remaining 2 sc of Ribbing, turn: 2 sc.
Row 7 (Short Row): Ch 1, sc in next 2 sc of Ribbing, work 1 sc in each end st of previous 5 rows of Ribbing, sl st in same 2nd sc of Border, turn.
Rows 8-12 (Second Short Row Segment): Rep Rows 2-6 of Short Row segment.
Row 13: Ch 1, sc in next 2 sc of Ribbing, work 1 sc in each end st of previous 5 rows of Ribbing, sl st in 3rd sc of Border, turn.
Continue Ribbing
Next Row: Sc in 7 sc of Ribbing, turn: 7 sc.
Next Row: Ch 1, sc in 7 sc of Ribbing, sk 1 sc of Border, sl st in next sc of Border: 7 sc.
Rep previous 2 rows across the entire side edge, ending with sl st in first sc of corner, adjusting slightly where necessary to ensure the Short Row Segments start in the first sc of corner.
Continue Ribbing and Short Row Corners around, ending with sl st in first sc of corner of the first corner of Border, fasten off.
Finishing
With yarn needle, seam the first row of the Ribbing to the last row of the Ribbing. Weave in all ends securely.

Twitter | Facebook | Pinterest
All the patterns at Make It Crochet are free. Since many of you have asked how to help with the costs of running a site like this, I’ve made all the patterns into print-ready PDFs and the cost is about the same as a cup of coffee. Every little bit helps.
TERMS: To my fellow crafters, you have my permission to use my patterns to make and sell your projects* anywhere you like. You cannot use my images to sell your projects, though. You must take photos of your own work. All patterns have been tested but mistakes can happen. If you find a mistake, please let me know. Everything at MakeItCrochet.com is protected by copyright to Kim Guzman. Other than the permissions previously given, no one other than Kim Guzman has permission to: reproduce, copy, publish or distribute this pattern, its parts or photos in any way or form, including, but not limited to, translations into foreign languages & video production.
*Not intended to be blanket permission for mass production.
Bill says
very nice
I hope you enjoy this blanket pattern. Please let me know if you have any questions.
Jill says
Thanks – this looks so festive!