

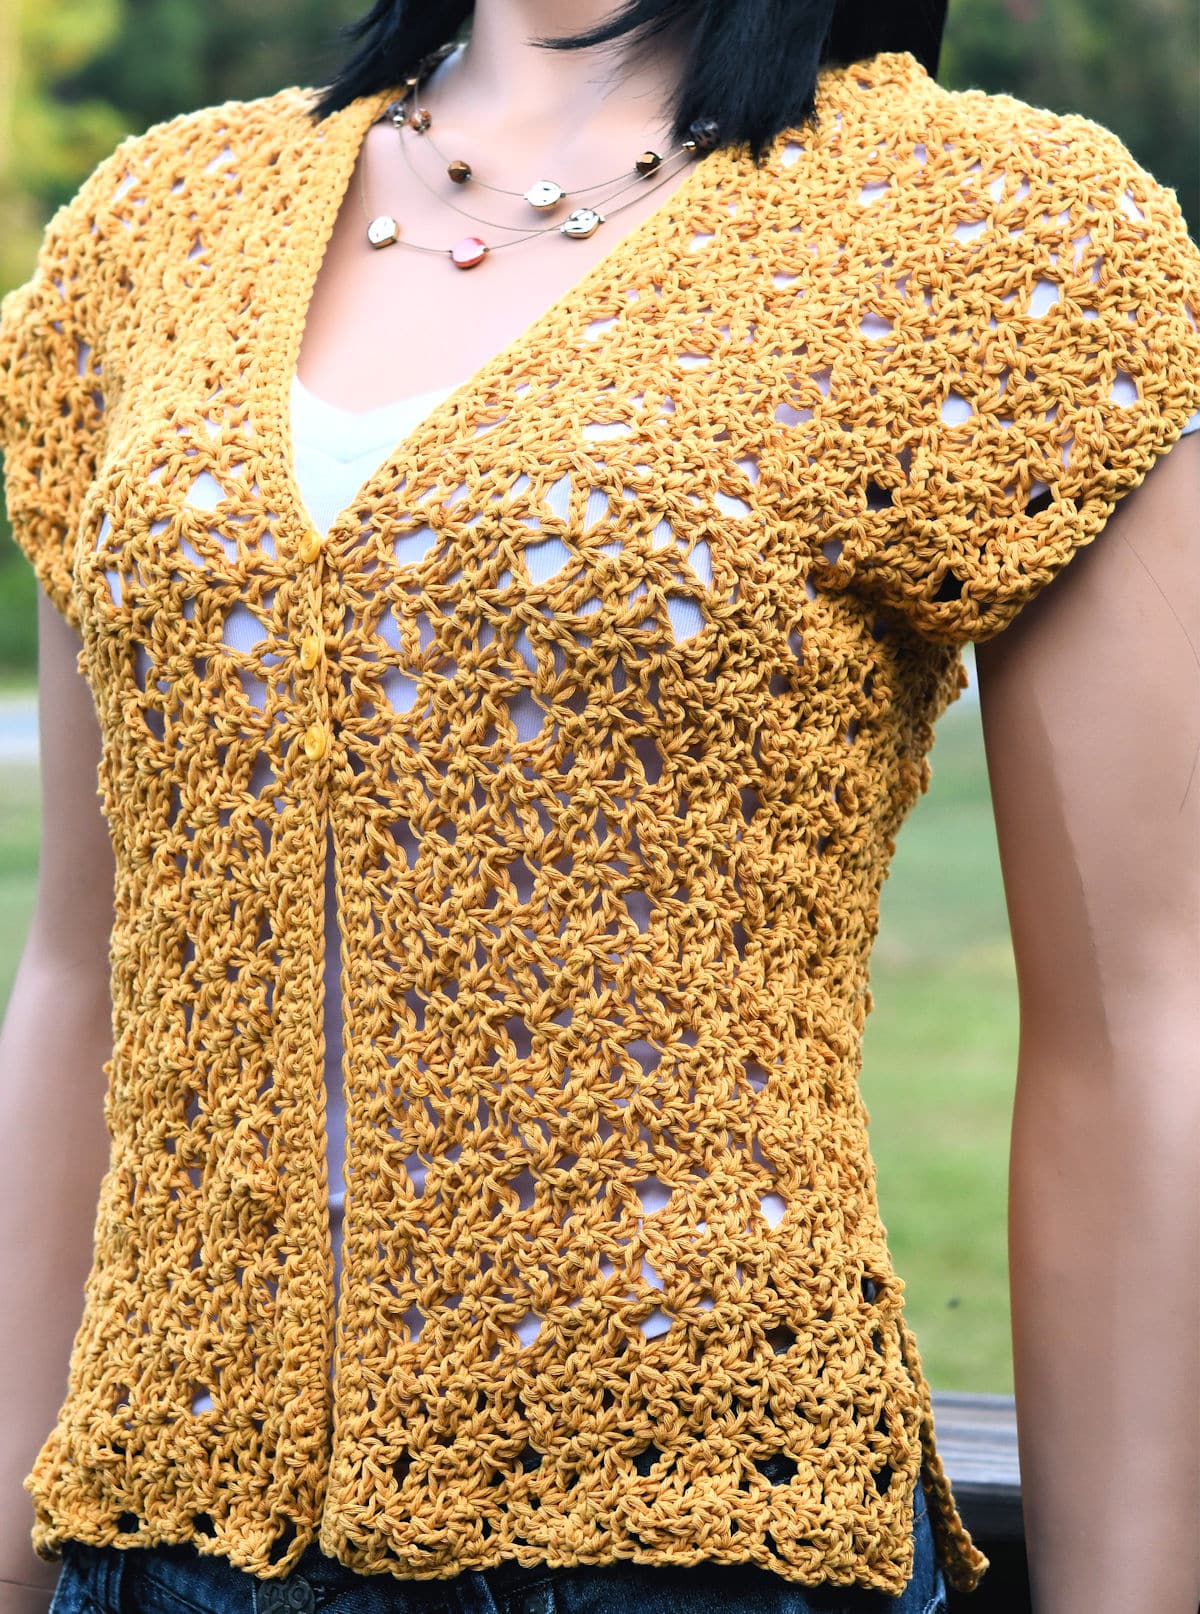
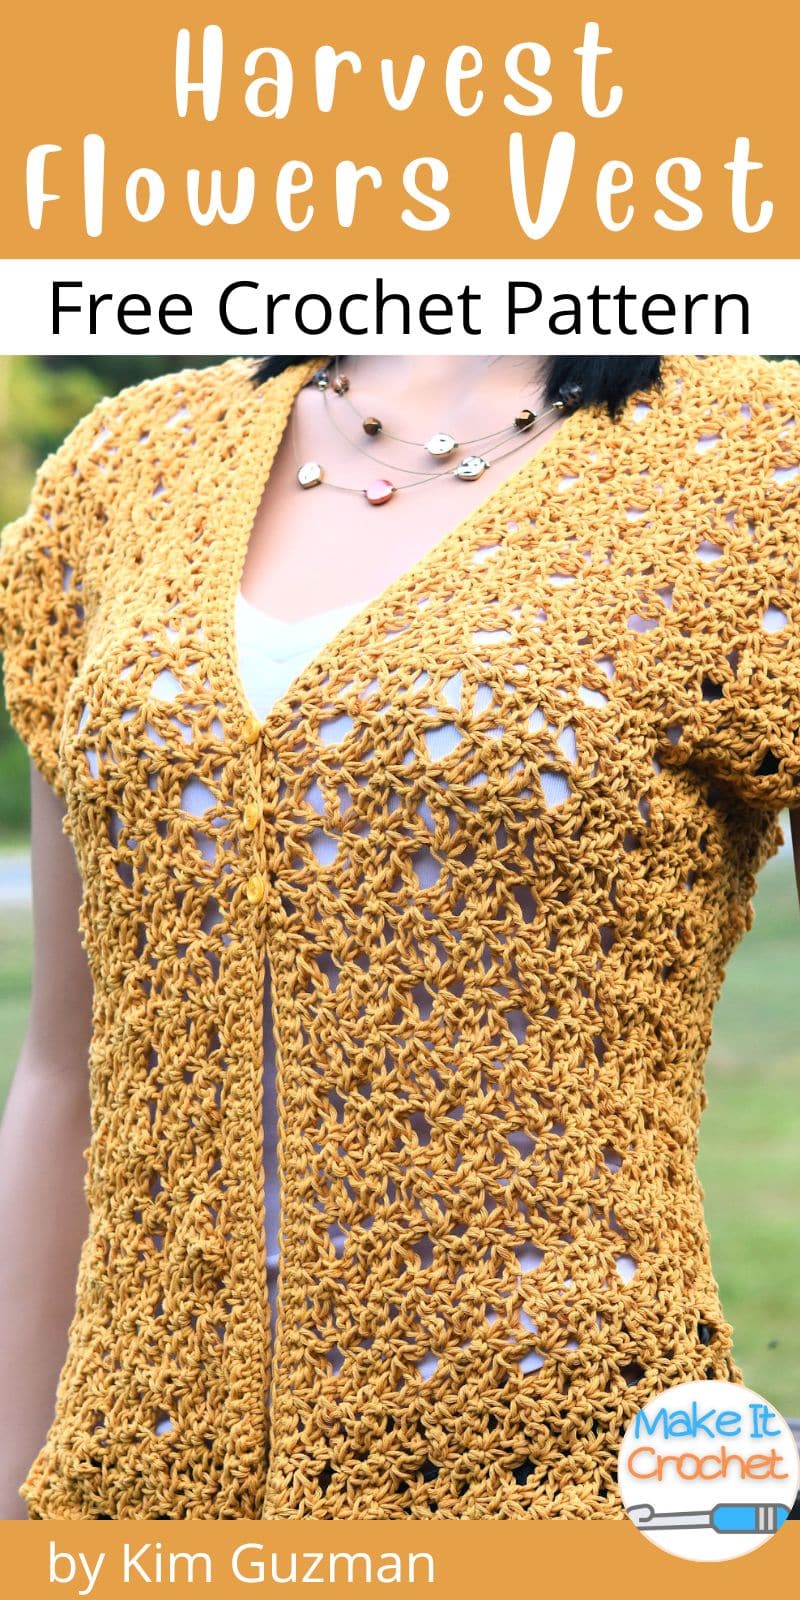
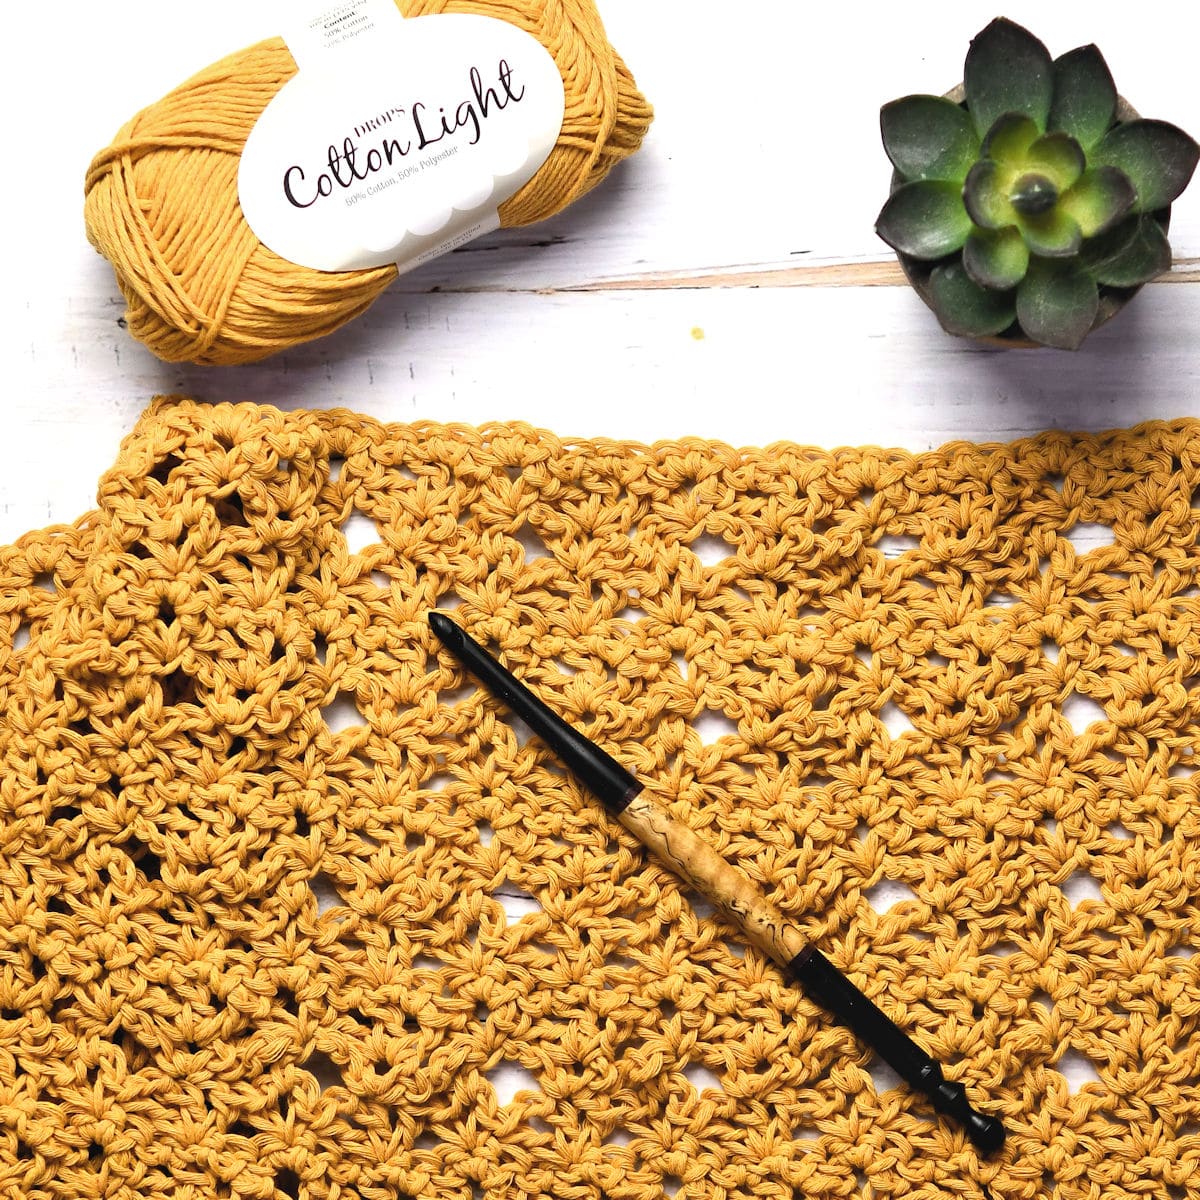
The Harvest Flowers Vest is the perfect lightweight addition for late summer into autumn. The crochet lace is easy to make and you can choose to make it with or without the side vents. Six sizes provided.
“Harvest Flowers Vest” free crochet pattern by Kim Guzman © Sep. 2025. All rights reserved.
Technique: Regular Crochet.

Crochet Pattern At A Glance

Harvest Flowers Vest Topper
Designer: Kim Guzman © 2022-2025. All rights reserved.Rate the Pattern
Yarn
- Drops Garnstudio "Cotton Light" yarn, size 3 weight, 50% cotton/50% polyester, 115 yds/105m per 1.76 oz/50g skein, 8 (8, 9, 11, 12, 13) skeins or approx. 800 (900, 1000, 1200, 1350, 1450) yards in color no. 28 Golden Rod
Other Materials
- Suggested Crochet Hook Size I-9 (5.5mm) or hook needed to meet gauge
- Hook for Trim: Use a hook one size smaller than the regular hook that meets gauge I used a size H-8 (5mm)
- Yarn Needle for seaming and weaving ends
- 3 size 3/8" Round Buttons
Instructions
- This vest is made of two identiical, easy crochet lace rectangles. Instructions are provided for six sizes.
- Once the rectangles are completed, the back will be partially seamed, then seam the sides up to the armholes.
- Work a 1-row trim with buttonholes and sew on the buttons.
- Weave in all ends securely. Block as desired.
Full Free Crochet Pattern Below

This is a free crochet pattern and the written instructions are below. If you prefer a printable download, a PDF is also available for purchase.
My Crochet Pattern Notes
This pattern is worked from side to side and consists of only two identical long rectangles. There is no shaping and it is a perfect beginner garment.
The lace stitch pattern is made with a full row of single crochet on every fourth row to help keep the fabric from stretching too much. The density of single crochet provides the stability to maintain the shape better.
The design has no shaping in the sleeves so the “flutter” sleeves will reach further down the arm with the larger sizes. This can’t be helped since it is a design style. Adjustments would need to be made by individual to create a different style, as desired.
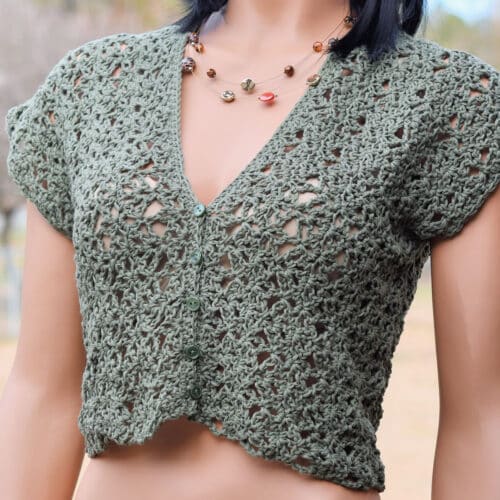
This Harvest Flowers Vest is the longer version of the Spring Button Front Cardigan. Keeping with the same theme, I have also made this Wild Flowers Striped Afghan using the same stitch pattern.
I have purposely kept the raw edges of the fabric at the hem since I preferred the little chain scallops instead of the structure of a trim.
Pin It For Later
Finished Sizes
The model size is intended to fit up to 34″ bust (size small) with no ease. The pattern is written for sizes small (up to 34″), medium (up to 38″), large (up to 42″), 1X (up to 46″), 2X (up to 50″) and 3X (up to 54″). The first number in all instructions will be for the smallest size in that section and the rest of the sizes will be in parenthesis.
Because the 4-row repeat is larger than the increase in the sizes, it’s necessary for the instructions for the sizes to be split up. Small, large and 2X are in one section, then medium, 1X and 3X are in the second section.
Yarn
Drops Garnstudio “Cotton Light” yarn, size 3 weight, 50% cotton/50% polyester, 115 yds/105m per 1.76 oz/50g skein, 8 (8, 9, 11, 12, 13) skeins or approx. 800 (900, 1000, 1200, 1350, 1450) yards in color no. 28 Golden Rod.

At the time of writing this pattern, “Cotton Light”, a DK weight yarn, is available in 34 solid shades.
I was able to find it at Wool Warehouse.
There is currently an issue with shipping to the US due to equipment upgrades needed to meet shipping guidelines. I am looking for an alternate source in the meantime.
Other Materials
Suggested Crochet Hook Size I-9 (5.5mm) or hook needed to meet gauge.
Hook for Trim: Use a hook one size smaller than the regular hook that meets gauge. I used a size H-8 (5mm).
Yarn Needle for seaming and weaving ends.
Buttons: 3 size 3/8″ round buttons.
Gauge
In stitch pattern, approximately 14 stitches for 8 rows measures 4″ x 4″.
Each rectangle measures approximately 8 (9, 10, 11, 12, 13)” wide and 44 (46, 46, 48, 48, 50)” long.
Stitch Multiple
To make changes to the stitch count, make your initial chain any multiple of 6, then add 8.
Special Stitches
Fan (fan): [Dc, ch 1, dc, ch 1, dc] in same indicated st or ch.
Shell (sh): [Sc, ch 3, sc] in same indicated st or ch.
Other Abbreviations
This crochet cardigan pattern is written in US crochet terminology.
beg=beginning; ch=chain; dc=double crochet; hdc=half double crochet; RS=right side; rep=repeat; sc=single crochet; sk=skip; sp=space; st(s)=stitch(es); tr=treble crochet.
Since there are so many sizes, you may want to print out the pattern and circle only those numbers that apply to the size you are making.
The numbers at the end of an instruction, after a colon, indicate the stitch count for that row.
New Pattern Free PDF Download Weekend

This pattern is made free through ad support below, but the PDF download for the Harvest Flowers Vest pattern is available for free this weekend only. This promotion ends at 11:59pm CST, Monday, September 8.
This promotion is concluded. Please sign up for the email newsletter to make sure you don’t miss any weekly promotions. Scroll down for the free online pattern.
Free Crochet Pattern Instructions
Make two identical rectangles.
For Sizes Small, Large and 2X
Note: The beginning chain needs to be very loose. Go up in hook size by one or two sizes, as necessary. Change to the regular hook once the initial chain is made. If you make nice foundation single crochet that doesn’t pull or curve, use the numbers at the end of the instruction. For best results, turn the chain over and work into the back horizontal bar throughout.
Row 1 (RS): With larger hook (see Materials above), ch 152 (158, 164) very loosely, working only in the one back horizontal bar of the chain throughout, sc in second ch from hook and in each remaining ch across, turn: 151 (157, 163) sc.
Row 2: Ch 1, sc in first sc, *sk 2 ch, fan (see Special Stitches above) in next ch, sk 2 ch, sh (see Special Stitches above) in next ch, rep from * to last 6 ch, sk 2 ch, fan in next ch, sk 2 ch, sc in last ch, turn.
Row 3: Ch 6, *sh in center dc of fan, ch 3, hdc in ch-3 sp of sh, ch 3, rep from * to last fan, sh in center dc of fan, ch 3, tr in last sc, turn.
Row 4: Ch 1, sc in tr, *fan in ch-3 sp of sh, sh in hdc, rep from * to last sh, fan in ch-3 sp of sh, sc in beg ch-6 sp, turn.
Row 5: Ch 1, 2 sc in first sc, *sc in first ch-1 sp of fan, sc in center dc of fan, sc in last ch-1 sp of fan, 3 sc in ch-3 sp of sh, rep from * to last fan, sc in first ch-1 sp of fan, sc in center dc of fan, sc in last ch-1 sp of fan, 2 sc in last sc, turn: 151 (157, 163) sc.
Rows 6-21 (25, 29): Rep rows 2-5. Fasten off after final row.
For Sizes Medium, 1X and 3X
Note: The beginning chain needs to be very loose. Go up in hook size by one or two sizes, as necessary. Change to the regular hook once the initial chain is made. If you make nice foundation single crochet that doesn’t pull or curve, use the numbers at the end of the instruction.
Row 1 (RS): With larger hook (see Materials above), ch 158 (164, 176) very loosely, sc in second ch from hook and in each remaining ch across, turn: 157 (163, 175) sc.
Rows 2-3: Ch 1, sc in each sc across, turn: 157 (163, 175) sc.
Row 4: Ch 1, sc in first sc, *sk 2 ch, fan (see Special Stitches above) in next ch, sk 2 ch, sh (see Special Stitches above) in next ch, rep from * to last 6 ch, sk 2 ch, fan in next ch, sk 2 ch, sc in last ch, turn.
Row 5: Ch 6, *sh in center dc of fan, ch 3, hdc in ch-3 sp of sh, ch 3, rep from * to last fan, sh in center dc of fan, ch 3, tr in last sc, turn.
Row 6: Ch 1, sc in tr, *fan in ch-3 sp of sh, sh in hdc, rep from * to last sh, fan in ch-3 sp of sh, sc in beg ch-6 sp, turn.
Row 7: Ch 1, 2 sc in first sc, *sc in first ch-1 sp of fan, sc in center dc of fan, sc in last ch-1 sp of fan, 3 sc in ch-3 sp of sh, rep from * to last fan, sc in first ch-1 sp of fan, sc in center dc of fan, sc in last ch-1 sp of fan, 2 sc in last sc, turn: 151 (163, 175) sc.
Rows 8-23 (27, 31): Rep rows 4-7.
Row 24 (28, 32): Rep row 4.
Row 25 (29, 33): Rep row 7, fasten off.
Continue For All Sizes
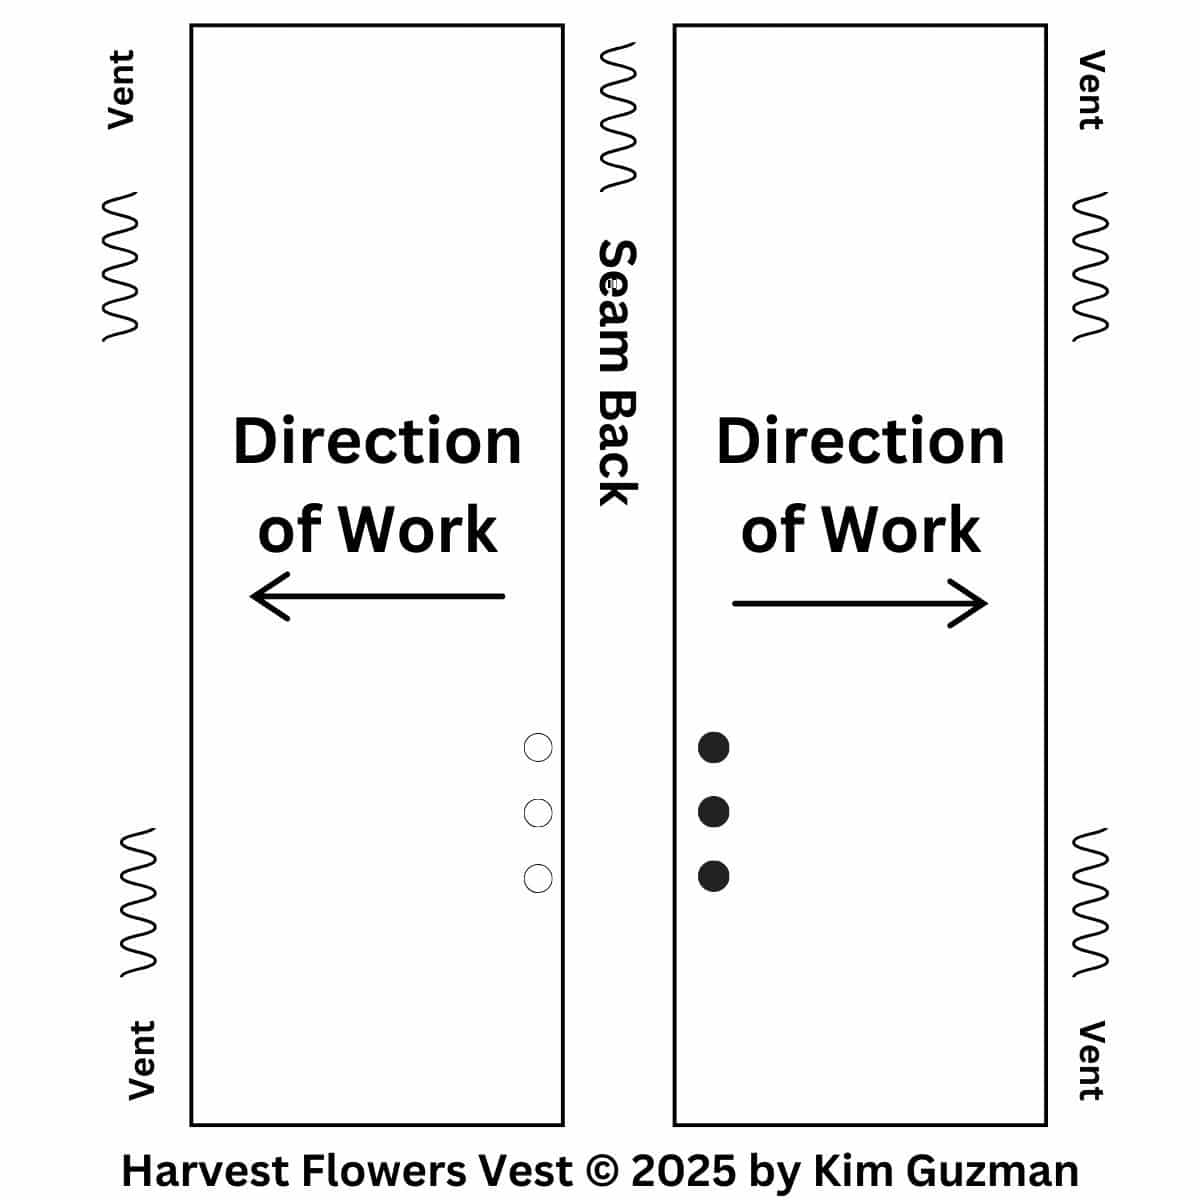
The schematic below will show more detail on construction.
To seam up the center back, beginning at the hem and RS facing, using yarn needle, seam row 1 to row 1 for 17 (17, 17, 17.5, 17.5, 18.5)” only, matching stitch for stitch, leaving the remaining unseamed.
Without side vents: Fold over the cardigan and seam up the sides, beginning at the hem and RS facing for 14 (14, 14, 14.5, 14, 15.5)” only, matching stitch for stitch, leaving the remaining unseamed (creating the armhole). This leaves 8 (9, 9, 9.5, 10, 10)” unseamed for armhole opening.
With side vents: Fold over the cardigan and mark the sides for seaming, beginning at the hem edge and measure up 5 (5, 5, 5, 6, 6)” to leave unseamed for side vents. Then, seam 9 (9, 9, 9.5, 8, 9.5)”, leaving the remaining unseamed (creating the armhole). This leaves 8 (9, 9, 9.5, 10, 10)” unseamed for armhole opening.
Buttonhole Trim
With RS facing you, using small pieces of yarn or stitch markers, mark 3 buttonhole positions on the right front of the cardigan with the top button 10 (10.5, 10.5, 10.5, 11, 11)” from hem, with the 2 remaining buttons under it, about 3/4-1″ apart.
With smaller hook (see Materials above), with RS facing you, join yarn with slip stitch to begin working along the center fronts of the cardigan, working into the 2 loops of the beginning chain from row 1 of each piece. Ch 1, work sc around, except at buttonhole positions, work [ch 1, sk 1 sc] and at top center back, work [yo, insert hook in next st, yo, pull lp through, yo, insert hook in next st, yo, pull lp through, yo, pull through 3 lps on hook] (sc decrease made). After working around the two center fronts, fasten off.
Finishing
Attach buttons on the left front, corresponding with the buttonhole positions. Weave in all ends securely. Rather than trying to find matching thread, I split the strands of the yarn and used 2 strands each when sewing on the buttons. It was easier than trying to match colors.
Block as desired.

Twitter | Facebook | Pinterest
All the patterns at Make It Crochet are free. Since many of you have asked how to help with the costs of running a site like this, I’ve made all the patterns into print-ready PDFs and the cost is about the same as a cup of coffee. Every little bit helps.
TERMS: To my fellow crafters, you have my permission to use my patterns to make and sell your projects* anywhere you like. You cannot use my images to sell your projects, though. You must take photos of your own work. All patterns have been tested but mistakes can happen. If you find a mistake, please let me know. Everything at MakeItCrochet.com is protected by copyright to Kim Guzman. Other than the permissions previously given, no one other than Kim Guzman has permission to: reproduce, copy, publish or distribute this pattern, its parts or photos in any way or form, including, but not limited to, translations into foreign languages & video production.
*Not intended to be blanket permission for mass production.
I hope you enjoy this crochet pattern. Please write if you have any questions.
Trisha says
Love it ♥️
Thank you so much! I have always enjoyed your patterns!
Thanks so much! I hope you enjoy this one too. 🙂