This Tunisian crochet pattern for a warm and fashionable cowl lets you advance beyond the basics by alternating the Tunisian Simple Stitch with the Twisted Knit Stitch for an easy, unique pattern repeat.
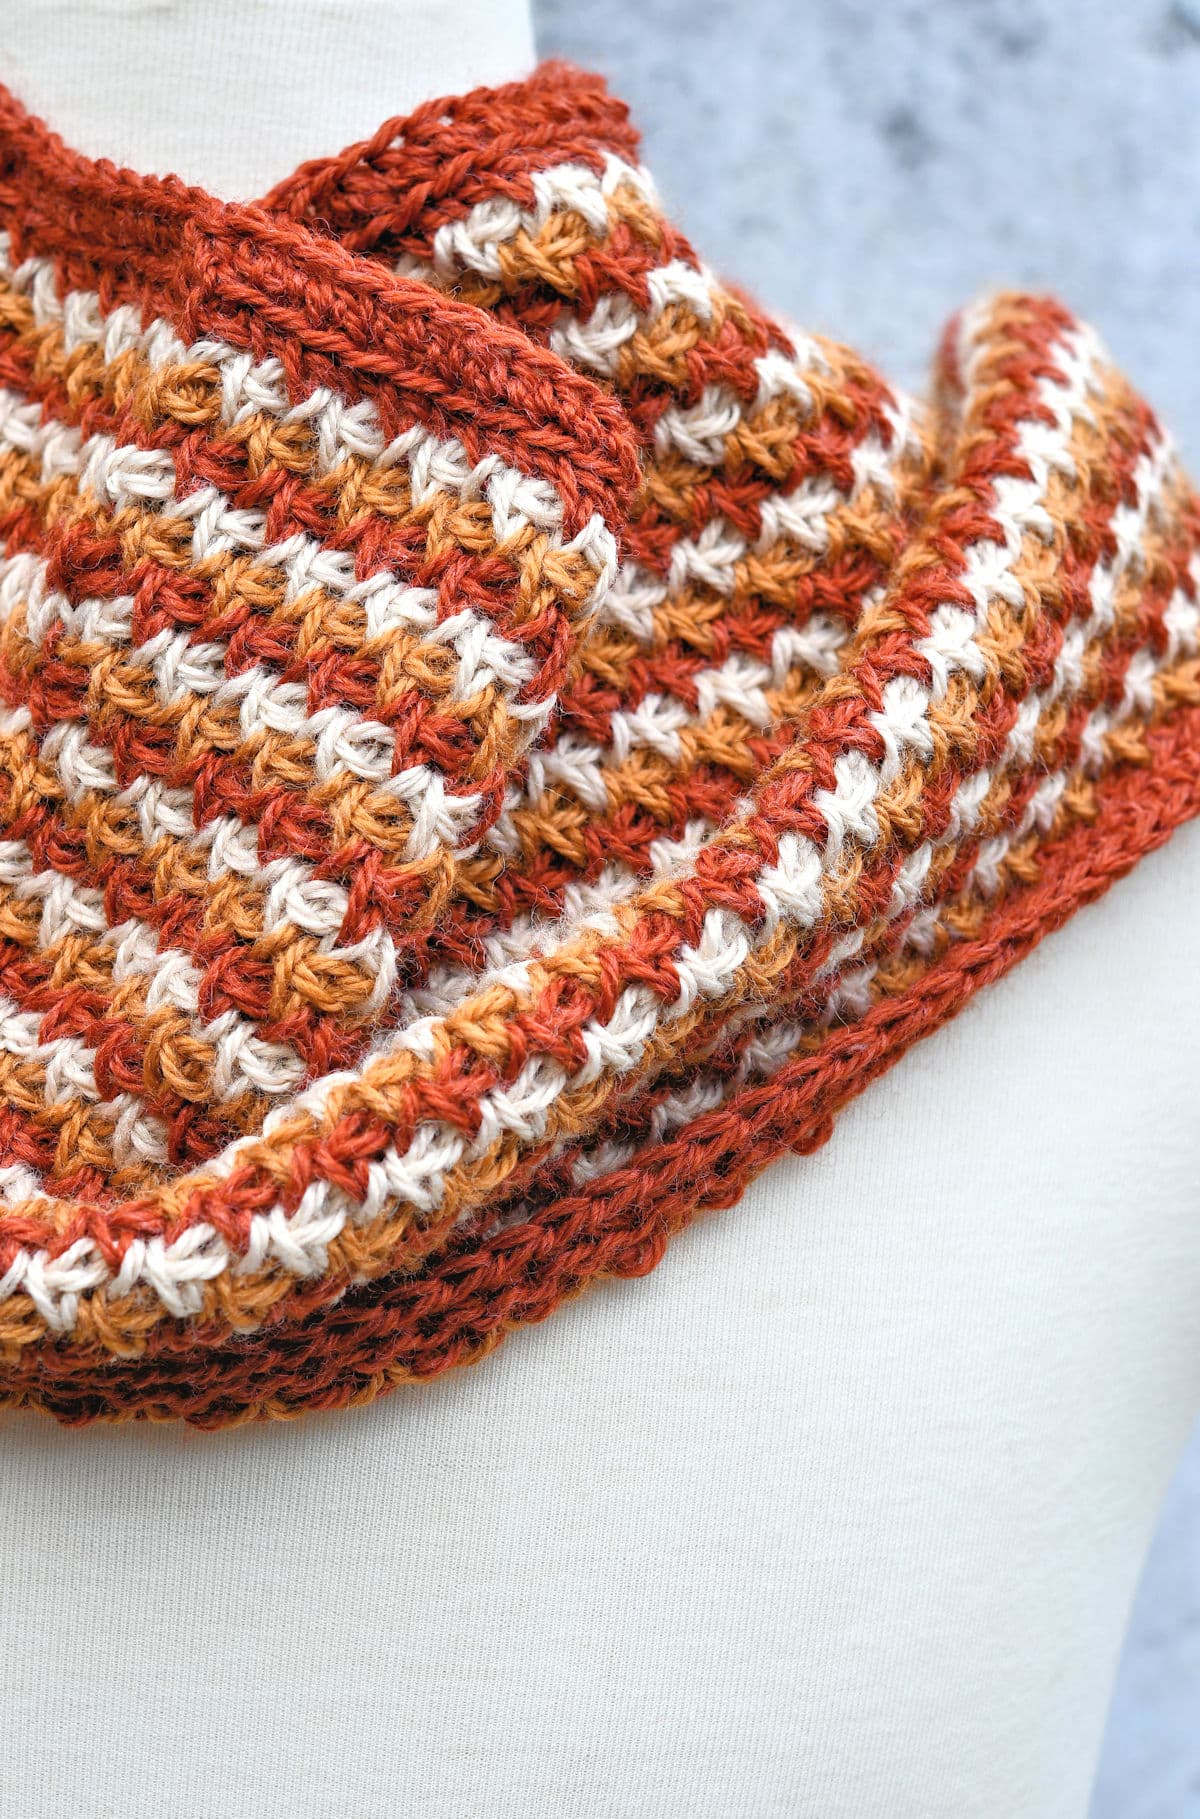
“Campfire Cowl” free crochet pattern by Kim Guzman © Sep. 2023. All rights reserved.
Technique: Tunisian crochet.
Skill Level: Easy.

Crochet Pattern At A Glance
Tunisian Crochet Campfire Cowl
Designer: Kim Guzman © 2022-24. All rights reserved.Rate the Pattern
Yarn
- Lion Brand “Re-Spun Bonus Bundle” yarn, size 4 weight, 100% recycled polyester, 658 yds/602m per 10 oz/284g skein: 1 skein each of Amber, Cornsilk and Parchment, approx. 150 yards of each color.
Other Materials
- Suggested Tunisian Crochet Hook Size 7mm, or size needed to meet gauge with at least 12" flexible cord.
- Suggested Crochet Hook Size H-8 (5mm).
- Yarn Needle, for seaming and weaving loose ends.
Instructions
- Begin by making a chain and the Tunisian foundation row.
- The next two rows set up the 2-row repeat of alternating stitches.
- Repeat the 2 rows until a total of 33 rows are completed, then 1 more row to mirror the beginning.
- Create slip stitch bind off.
- Work a row of regular crochet on the top and bottom, then seam.
Full Free Crochet Pattern Below
This is a free crochet pattern and the written instructions are below. If you prefer a printable download, a PDF is also available for purchase.
My Crochet Pattern Notes
I have tried to be as thorough as possible with this pattern to keep it in a range of skill suitable for someone new to Tunisian crochet.
This crochet cowl is worked flat then seamed. It’s made in 3 colors but would also be beautiful in 2 colors.
If you’ve taught yourself Tunisian crochet and you’re only using the Simple Stitch, this project is perfect for you. You will alternate the Simple Stitch with a new stitch, Twisted Knit Stitch, to create a unique stitch pattern, perfect for multiple colors.
The total cost above is for three colors of the yarn. It’s deceiving, though. The skeins of yarn are regular price $9 each. The full skeins aren’t used and you have a lot remaining.
I bought these three skeins of yarn and I’ve already made these three projects with it and still have plenty of yarn remaining:
- Tunisian Crochet Cable Beanie
- Raised Diamonds Beanie, one in Cornsilk and one in Parchment.
How To Make Stripes in Tunisian Crochet
There are three primary methods of creating stripes in Tunisian crochet that I like to use.
When you’re doing the Closing chain along the top to close all your stitches, you can yarn over and pull through the last 2 loops on your hook with a second skein of yarn. This closes the last stitch with the new color.
Closing the last stitch with the new color is the method I’ve used in this design. It typically makes more defined stripes as shown here.
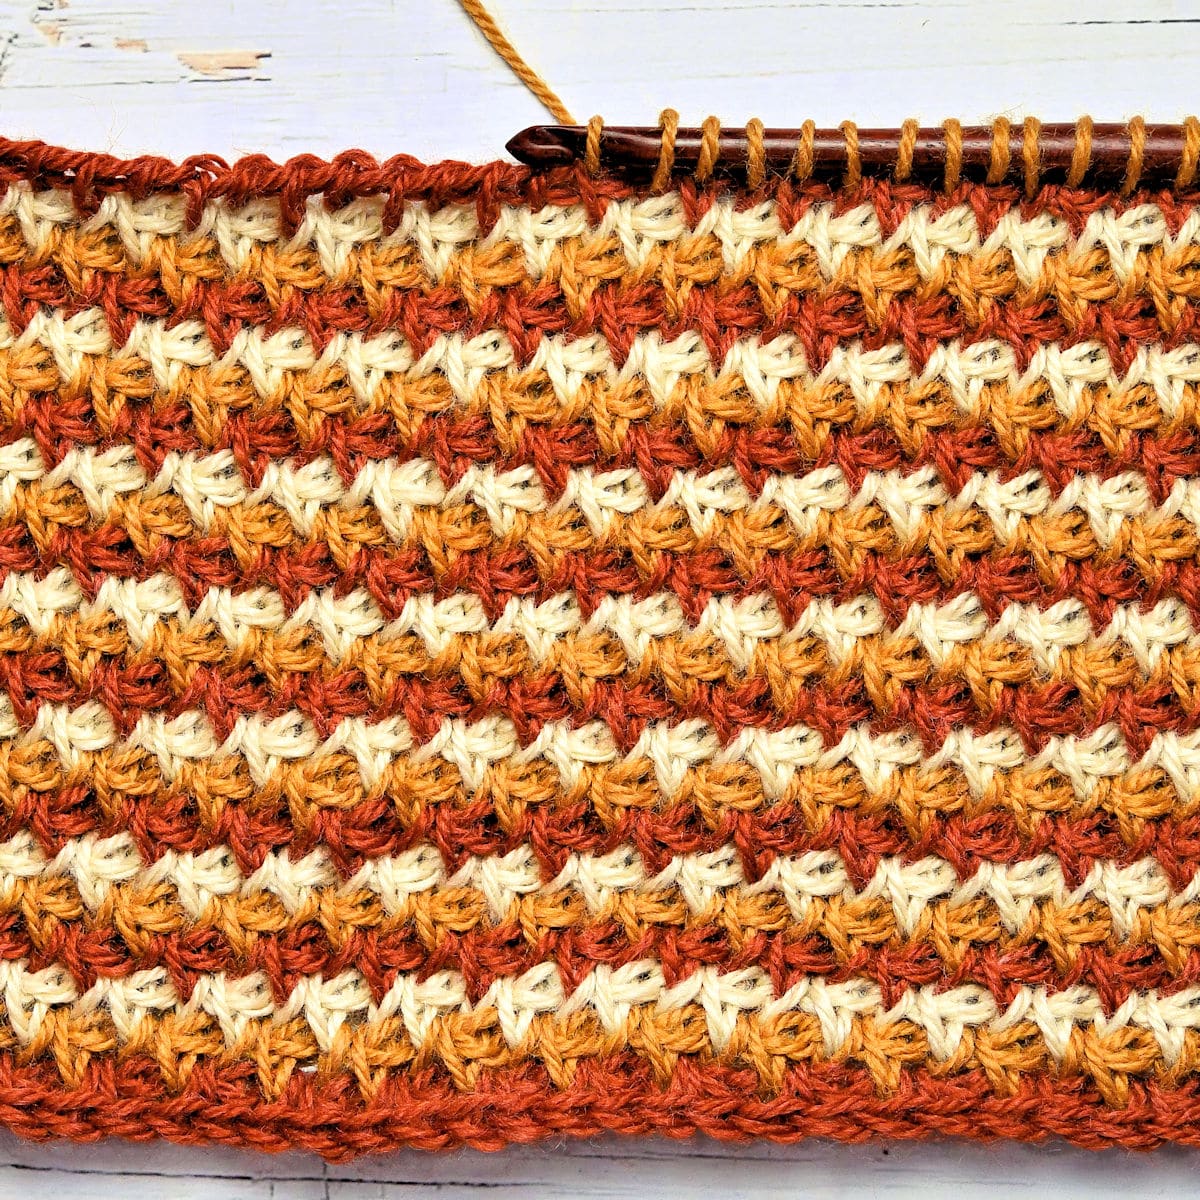
Another method is to begin the Closing with the new color. When you start the “yarn over and pull through” section, you begin by pulling through with the new color at the start of the Closing. Then, you pull up the loops in that same color, only changing color when starting the Closing. It usually gives a more “mottled” appearance instead of defined rows.
The third method is to change colors on each side. This one is especially fun when working with three colors. It will typically give a more woven appearance.

You can see the three-color technique in my Cotton Candy Baby Blanket here. It’s available in my Tunisian Baby Blankets book (aff link).
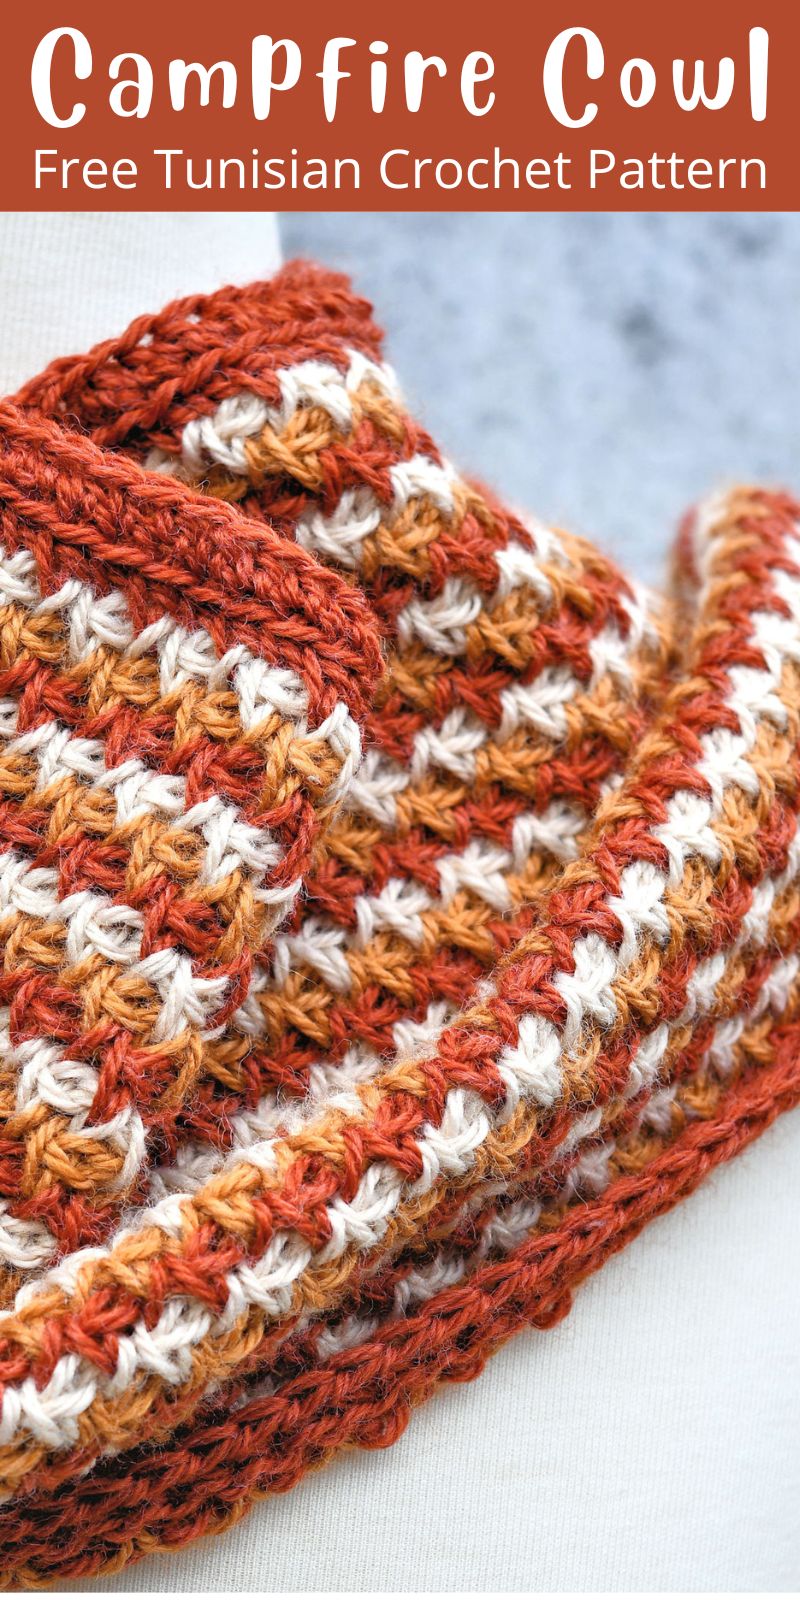
Pin It For Later
Finished Size
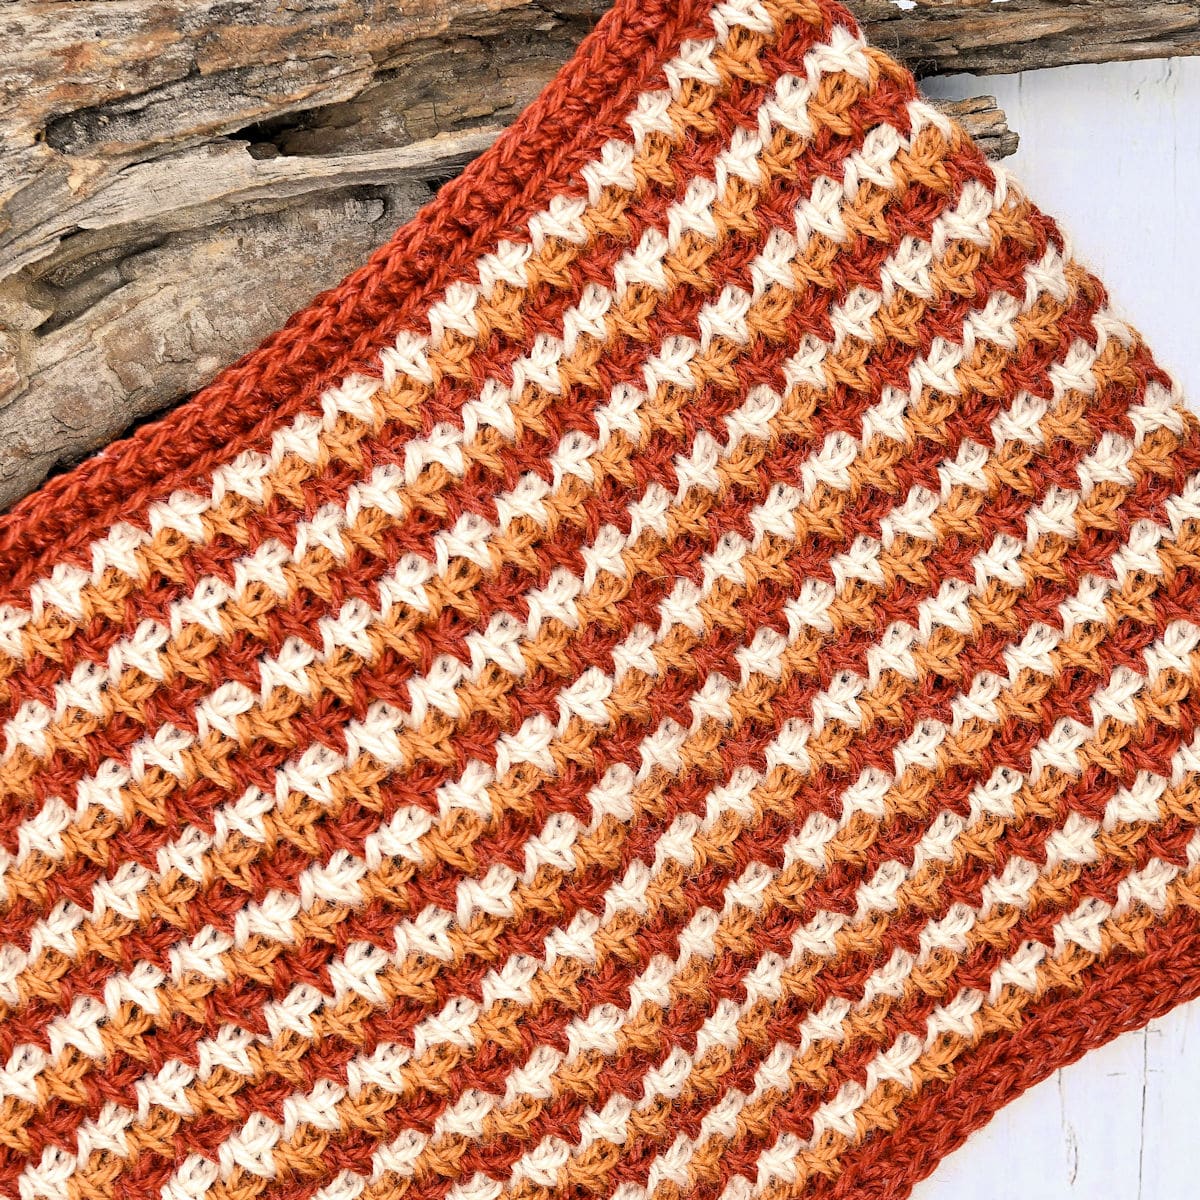
40″ circumference; 10″ height.
Yarn
Lion Brand “Re-Spun Bonus Bundle” yarn, size 4 weight, 100% recycled polyester, 658 yds/602m per 10 oz/284g skein: 1 skein each of Amber, Cornsilk and Parchment, approx. 150 yards of each color.

At the time of writing this pattern, “Re-Spun Bonus Bundle”, an aran/worsted weight yarn, is available in 18 shades.
I was able to find it at Joann.
If you are unable to use Re-Spun, any acrylic or acrylic blend in size 4 should be close enough.
Other Materials
Suggested Tunisian Crochet Hook Size 7mm, or size needed to meet gauge, with at least 12″ flexible cord.
Suggested Crochet Hook Size H-8 (5mm).
Yarn Needle, for seaming and weaving loose ends.
Gauge
Worked in primary stitch pattern, 12 stitches for 15 rows measures 4×4″.
Stitch Multiple
If you would like to modify the width of the project, you will need to chain out in any even number (as long as it’s over 2) to begin.
Special Stitches
Tunisian Twisted Knit Stitch (twks): Using the hook tip, pull the front vertical bar in the direction of the beginning of the row until the back vertical bar can be seen then insert the hook from front of the work to back of the work between the front and back vertical bars of the same stitch (as you would for Tunisian Knit Stitch), yarn over, pull loop through. Right-Handed Video | Left-Handed Video.
Tunisian Simple Stitch (tss): Insert hook in a side to side motion (right to left for right-handers or left to right for left-handers) under front vertical bar, yarn over, pull loop through. Right-Handed Video | Left-Handed Video.
Last Stitch of a Row: The last stitch of each row is worked into the outer 2 vertical bars. It’s basically a knit stitch with an extra loop. You don’t want to work under only one vertical bar since it will cause the loop to stretch too much. Working under both loops makes a nice, clean, sturdy edge. Right-Handed Video | Left-Handed Video.
Abbreviations
This Tunisian crochet pattern is written in US crochet terminology.
ch=chain; hdc=half double crochet; lp(s)=loop(s); RS=right side*; rep=repeat; sk=skip; sl=slip; st(s)=stitch(es); yo=yarn over.
*The right side is specified but that’s easy for Tunisian crochet since you’re not going to turn in this pattern. It’s specified solely because you are attaching yarn for the Trim. It may seem obvious, but I try to be as thorough as possible.
All numbers after the colon at the end of an instruction are stitch counts. Use the stitch count to check your work.
Changing Colors
This project changes to a new color only at the end of each closing of the Tunisian crochet stitches.
When there is only one stitch remaining after closing the stitches, there will be two loops on the hook. At this point, drop the old color and pull the new color through those last two loops.
There is no need to cut off the yarn at this point. Simply drop the unused color until ready to use it again.
Tip On Reading Your Stitches
After you get past row 2, you will be able to read your stitches easily. This helps so you don’t need to constantly backtrack and count your rows to see which one you’re on.
As you’re looking at the previous row, you will see that there are clearly 2 different stitches. One looks shorter and to the back; the other is longer. When you are presented with the stitch that is shorter, you will do the Twisted Knit Stitch. With the longer stitch, you will work a Tunisian Simple Stitch.

Free Crochet Pattern Instructions
Review entire pattern (see above sections) before beginning for special stitches, color changing and reading your stitches.
Note: All of my prior Tunisian crochet patterns indicate to make one chain more and skip the first chain when pulling up the first row of loops. Since this pattern requires that you stitch into the back horizontal bar instead of making it a preference, that first skipped chain isn’t included here. It’s a requirement for the creating of the Trim in order to help with the natural curling.
Note: Every row is closed with a typical Tunisian crochet closing as follows: ch 1 (closing the first st), [yo, pull through 2 lps on hook] across (closing the remaining sts). 1 lp remains on hook which counts as the first st of the next row.
Row 1 (RS): With Amber and Tunisian crochet hook, ch 124, turn the foundation chain over to expose the back horizontal bar. Working under that back horizontal bar throughout, insert hook in first ch (see first Note above), yo, pull lp through, keeping lp on hook, *insert hook in next ch, yo, pull lp through, keeping lp on hook, rep from * to end (124 lps now on hook), close normally (see second Note above), changing to Cornsilk on closing of last st (see Color Changing above): 124 sts.
Row 2: Now with Cornsilk, sk first vertical bar, *twks (see Special Stitches above), tss (see Special Stitches above), rep from * to last st, work last st (see Special Stitches above), close normally, changing to Parchment on closing of last st: 124 sts.
Row 3: Now with Parchment, sk first vertical bar, *tss, twks, rep from * to last st, work last st, close normally, changing to Amber on closing of last st: 124 sts.
Rows 4-33: Rep rows 2-3 working in color pattern repeat of Amber, Cornsilk, Parchment throughout.
Row 34: Rep row 2 in Amber. Do not fasten off.
Binding Off
Slip Stitch Bind Off. Still with Amber, insert hook as you would for Tunisian Simple Stitch then also insert the hook under the top vertical bar of the closing chain behind it, yo, pull lp through AND also pull through the lp on the hook. (Slip Stitch made.) Rep sl st across. Fasten off all colors.
I have typically called this a Modified Simple Stitch and I like to use it for binding off because it produces the slip stitch more evenly across the top of the work instead of in the front. If you’ve ever done a regular Simple Stitch bind off, you will know what I mean. The slip stitch sort of sits in front of the row and I prefer it to be more at the top.
Trim
Note: When working in Back Loops Only, insert your hook under the loop furthest away from you (of the top two typical loops of a stitch).
First Side. With regular crochet hook, with RS facing, join yarn with sl st at the beginning of the last row worked. Work only in the back loops of the Slip Stitch Bind Off, ch 1 (does not count as a st), hdc in each st across, fasten off.
Second Side. Turn the project upside down. There are 2 loops remaining of the initial foundation chain. With RS facing, join yarn with sl st at the bottom of the first row. Work only in the back loops of the chains, ch 1, hdc in each st across, fasten off.
Finishing
Using yarn needle and a 16″ strand of Amber, seam the short sides together. Weave in all ends securely.
Note: Although you can use your favorite seaming method, my preference here is to place the side edges side by side with RS facing up and seam from the front. I insert the needle under 2 or three vertical bars on the first side then 2 or three vertical bars on the second side. Move up one row and insert needle under 2 or 3 vertical bars on the same second side then under 2 or 3 vertical bars back on the first side. So, it’s across, up, across, up, until you reach the top. Don’t pull it too tightly.
I wasn’t really paying attention when I took the photos and the ones on the French mannequin show the seam in front. You can see that, although not completely invisible, it’s certainly a nice seam. I could have retaken the photos, but I wanted you to see how nice the seam can be using this technique.

Twitter | Facebook | Pinterest
All the patterns at Make It Crochet are free. Since many of you have asked how to help with the costs of running a site like this, I’ve made all the patterns into print-ready PDFs and the cost is about the same as a cup of coffee. Every little bit helps.
TERMS: To my fellow crafters, you have my permission to use my patterns to make and sell your projects* anywhere you like. You cannot use my images to sell your projects, though. You must take photos of your own work. All patterns have been tested but mistakes can happen. If you find a mistake, please let me know. Everything at MakeItCrochet.com is protected by copyright to Kim Guzman. Other than the permissions previously given, no one other than Kim Guzman has permission to: reproduce, copy, publish or distribute this pattern, its parts or photos in any way or form, including, but not limited to, translations into foreign languages & video production.
*Not intended to be blanket permission for mass production.


Delitha Kay says
Love it
Kim Guzman says
Thanks so much!
Carolyn says
I love your free designs and am very thank-full for them .Your crochet patterns always work out perfect.Carolyn From Ontario
Kim Guzman says
Thank you so much! You’re very kind. 🙂