This Tunisian crochet pattern creates a beautifully textured and soft knit look with intricate, wandering cables. You will love this visually appealing beanie for your next gift.
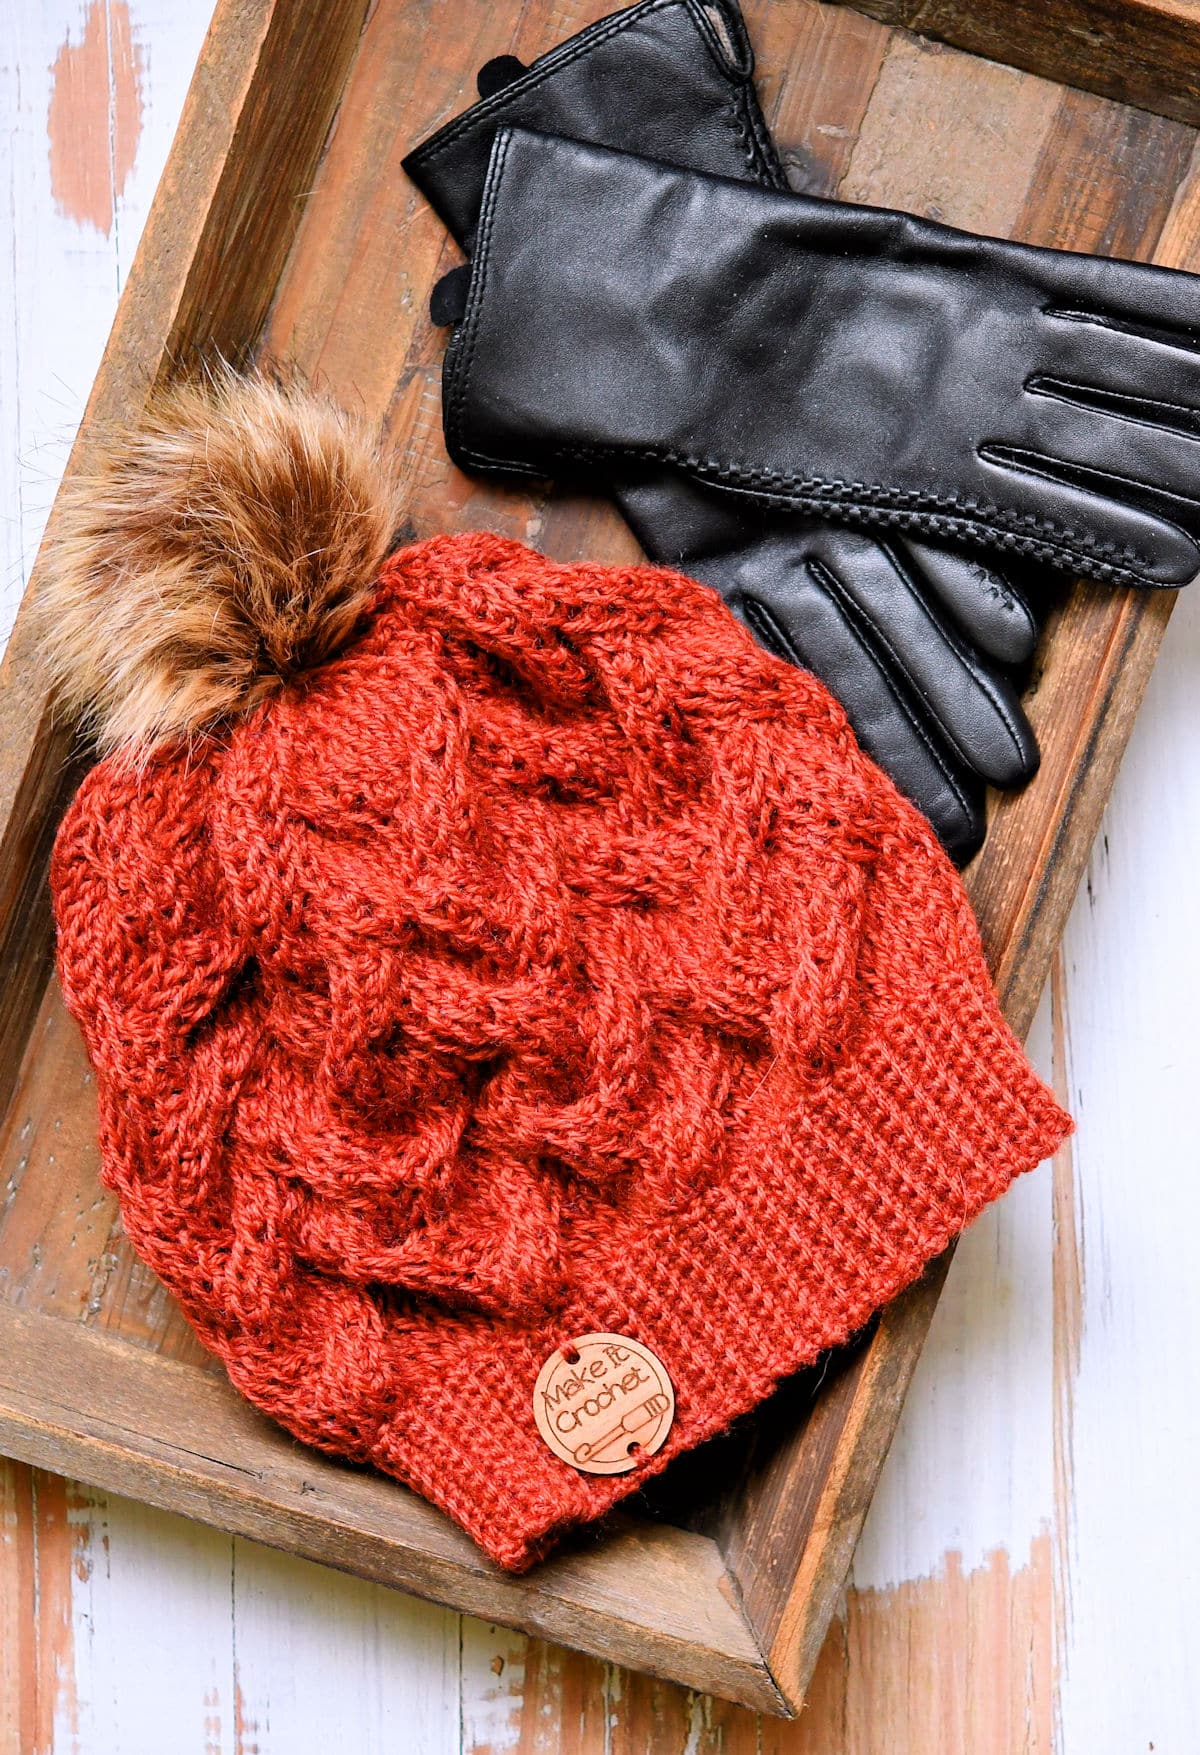
“Wandering Cables Beanie” free Tunisian crochet pattern by Kim Guzman © Jun. 2023. All rights reserved.
Technique: Tunisian Crochet.
Skill Level: Intermediate.

Crochet Pattern At A Glance
Tunisian Crochet Cable Beanie
Designer: Kim Guzman © 2022-24. All rights reserved.Rate the Pattern
Yarn
- Lion Brand “Re-Spun Bonus Bundle” yarn, size 4 weight, 100% recycled polyester, 658 yds/602m per 10 oz/284g skein: 1 skein, approx. 300 yards used, color Amber.
Other Materials
- Suggested Tunisian Crochet Hook Size 9mm, or size needed to meet gauge
- Crochet Hook Size G-7 (4.5mm)
- Cable Stitch Holder
- Stitch Marker, or small piece of contrasting yarn
- Yarn Needle for weaving ends
- Faux Pom Pom, optional
Instructions
- With regular crochet hook, make a 2" back loop single crochet ribbing for 98 rows.
- Pick up and place loops on Tunisian Crochet hook along a long side edge of Ribbing.
- Work 26 rows on Tunisian Crochet hook.
- Work 3 rows of Tunisian Crochet with decreasing.
- Seam the ribbing, edges and cinch the top. Weave in all ends securely.
Full Free Crochet Pattern Below
This is a free crochet pattern and the written instructions are below. If you prefer a printable download, a PDF is also available for purchase.
My Crochet Pattern Notes
This is a more challenging Tunisian crochet technique. You’re simply working the stitches out of order but it warrants a higher skill level solely because of how fiddly it is. This is all in Tunisian Knit Stitch, but switching the loops around to create the cables takes some patience.
This beanie is worked flat then seamed. The body of the hat is built on a standard single crochet ribbing.
How To Make Tunisian Crochet Cables
When I first starting making Tunisian Crochet cables, there was no significant documentation for them. This part of crochet design was more of the wild, wild west and, in many ways, still is.
I started out by learning how to make cables in knitting. And, even in knitting, there are many different ways to make the same cable. It was all a matter of preference and which way was easier. All ways led to the same conclusion, though.
Tunisian crochet is no different and I went on a journey myself, trying to figure out which way was easiest to switch the loops out of order on the hook.

I fell in love with designing and writing Tunisian Crochet Patterns and I even went as far as writing a book for Annie’s Attic called Tunisian Cables to Crochet. See my About Page for more information on my published books.
I started out with many different methods of switching the loops but I finally settled on one way that seemed the easiest for me.
If you’ve done Tunisian cables before, you may have seen these different methods. I don’t consider any one way better than another.
Most of the time, I’ve seen the loops switched during the forward pass (pulling up loops portion). Personally, I no longer like that method because it caused such a drag on the hook that it made it difficult to move the loops.
Step By Step Tutorial
Below, I’m going to demonstrate my preferred method of making cables. To me, it’s not really important how you go about switching the loops. You can switch them at any point. You can use any tool you have handy.
You’ll need to realize that it’s going to take a little bit of practice to find the way to hold the loops as you switch them. Even though I’m giving step-by-step instructions, everyone seems to eventually fall into their own preferred rhythm.
AND, the most important thing is to make a chain in the center of the cable during the chain return pass. This allows your cable to open up and sit on the top of your work.
If you’ve looked at other Tunisian cable designs and the cables seem sort of stretched and flat, it’s because there is no widthwise stretch in Tunisian like there is with knit. Because there is no stretch, you have to provide more space. With a simple 6-stitch cable like this, one extra chain is all it will take.
More Tunisian Cables
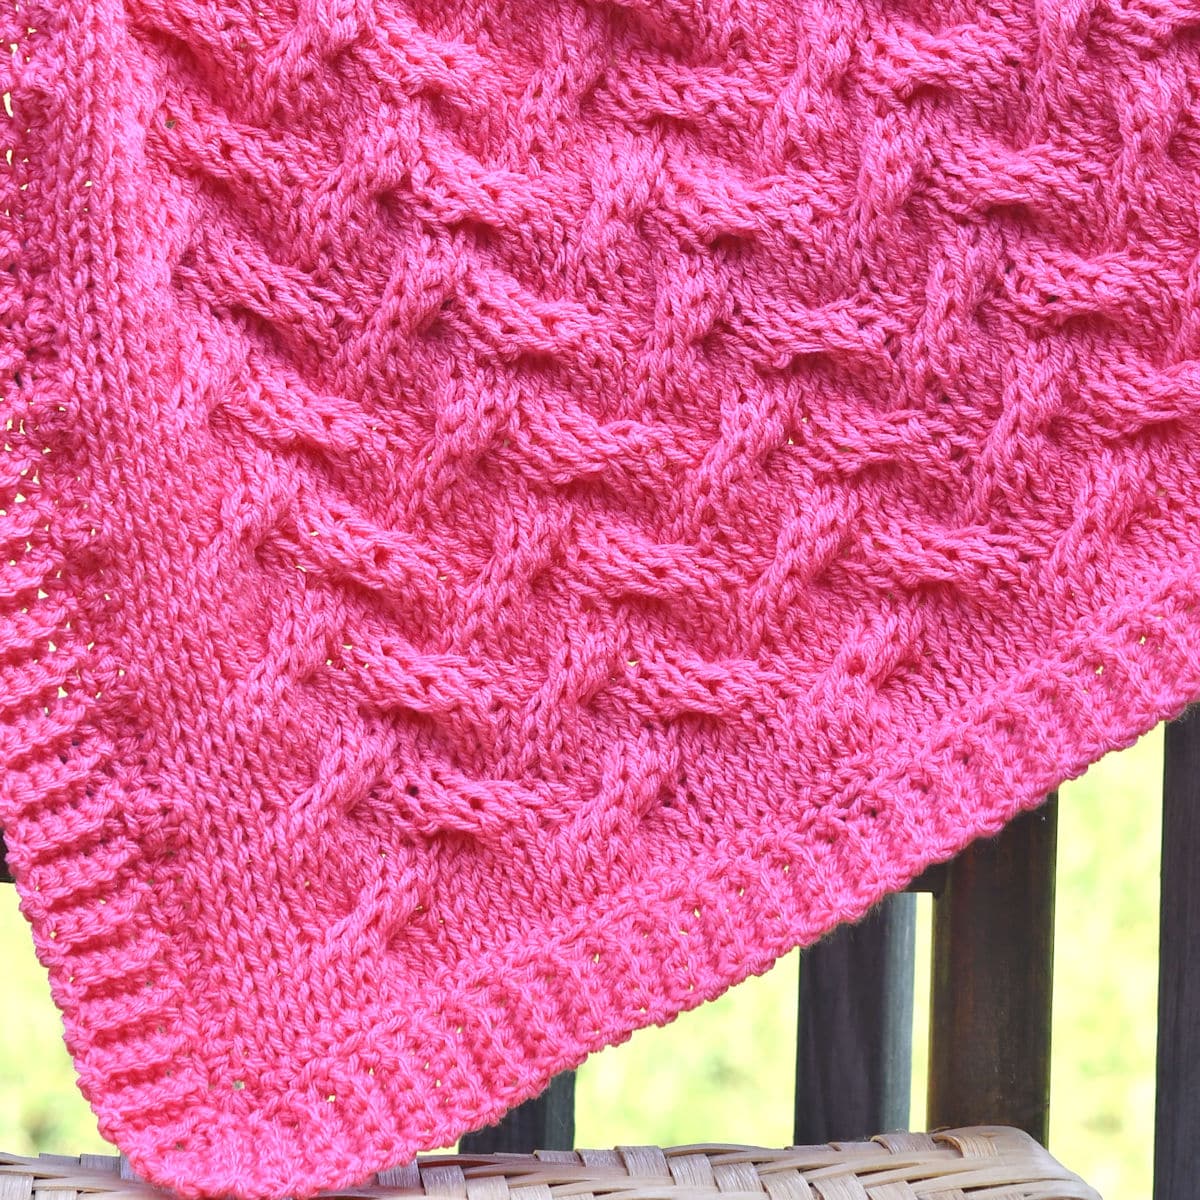
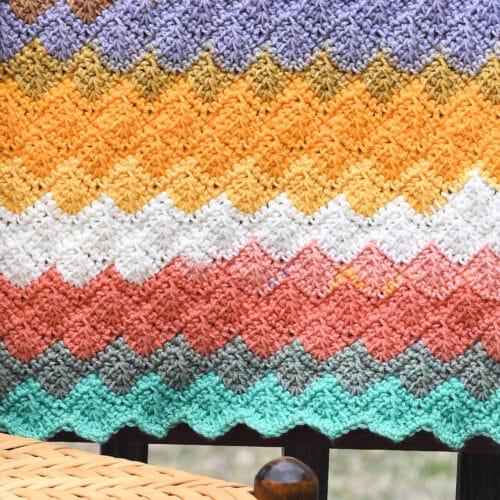
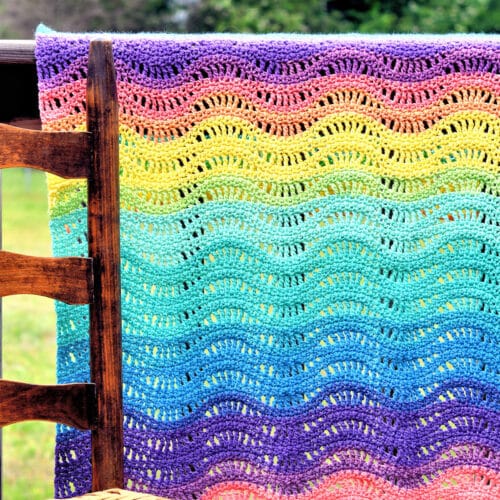
I know that, once you fall in love with Tunisian cables, it’s hard to make just one. Here’s my Wandering Cables Cable Baby Blanket free crochet pattern to try as well.
Pin It For Later

Finished Size
Height 9.5″, Circumference: 20″.
Yarn
Lion Brand “Re-Spun Bonus Bundle” yarn, size 4 weight, 100% recycled polyester, 658 yds/602m per 10 oz/284g skein: 1 skein, approx. 300 yards used, color Amber.

At the time of writing this pattern, “Re-Spun Bonus Bundle”, an aran/worsted weight yarn, is available in 18 shades.
I was able to find it at Joann.
If you are unable to use Re-Spun, any acrylic or acrylic blend in size 4 should be close enough.
Other Materials
Suggested Tunisian Crochet Hook Size 9mm, or size needed to meet gauge.
Suggested Crochet Hook Size G-7 (4.5mm).
Cable Stitch Holder.
Stitch Marker, or small piece of contrasting yarn.
Yarn Needle for weaving ends.
Faux Pom Pom, optional. You can fluff the pom pom with a hair blow dryer on high heat, if it’s flat.
Gauge
Gauge for the ribbing is 11 single crochet measures 2″ and 21 rows of back loop only single crochet measures 4″.
The body of the hat is worked on a gauge of 20 stitches for 15 rows, in stitch pattern, measures 4″ x 4″.
Stitch Multiple
The hat is worked in a stitch multiple of 12 plus 1 stitch at the beginning and 1 stitch at the end. To increase the width, you can add 12 stitches (12 more rows of ribbing) which should give you about a 22″ hat, maybe a little more.
Special Stitches
Tunisian Knit Stitch (tks): Insert hook, from front of work to back of work, between the front and back vertical bars of the same stitch, yarn over, pull loop through, keeping loop on hook. Right-Handed Video | Left-Handed Video
Tunisian Knit Stitch 2 Together (tks2tog): Insert hook as for tks in 2 stitches at the same time, yarn over, pull loop through, keeping loop on hook. This decreases by 1 stitch.
Last Stitch of a Row: The last stitch of each row is worked into the outer 2 vertical bars. It’s basically a knit stitch with an extra loop. You don’t want to work under only one vertical bar since it will cause the loop to stretch too much. Working under both loops makes a nice, clean, sturdy edge. Right-Handed Video | Left-Handed Video
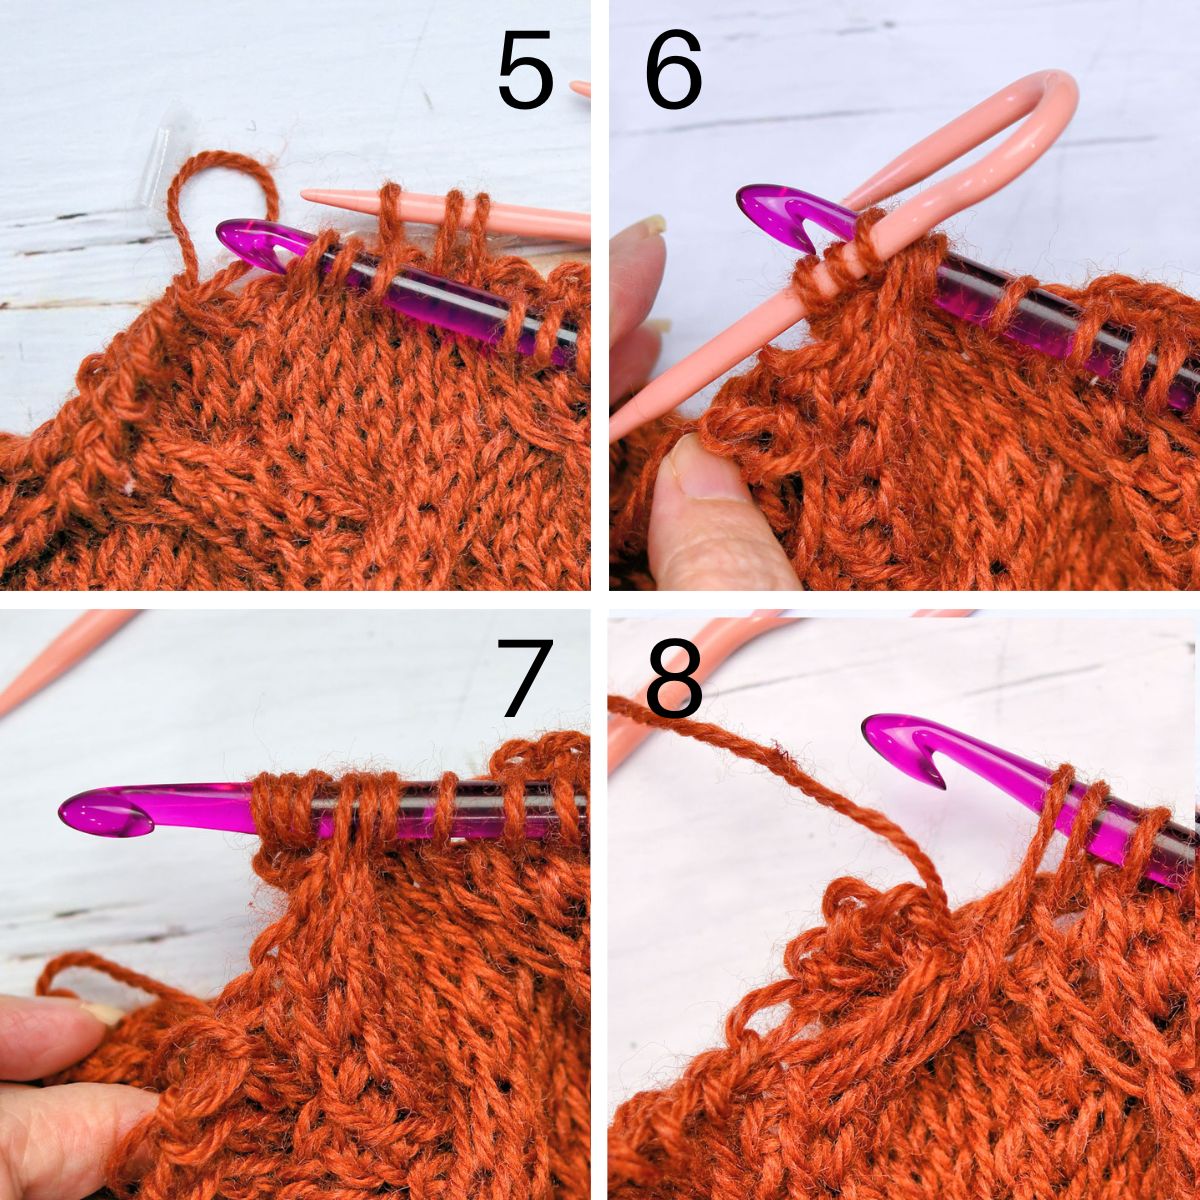
Tunisian Crochet Right Leaning Cable
Right Leaning Cable (rlc): On closing, extend first loop (working loop) and remove from hook, with non-hook hand, pinch next three stitches and place cable holder through next three stitches, move cable holder to back of work, remove all six loops from hook, place pinched stitches back on hook, place stitches on cable holder back on hook (stitches are now crossed), place working loop back on hook and tighten as necessary, [yarn over, pull through two loops on hook] 3 times, chain one, [yarn over, pull through two loops on hook] 3 times.

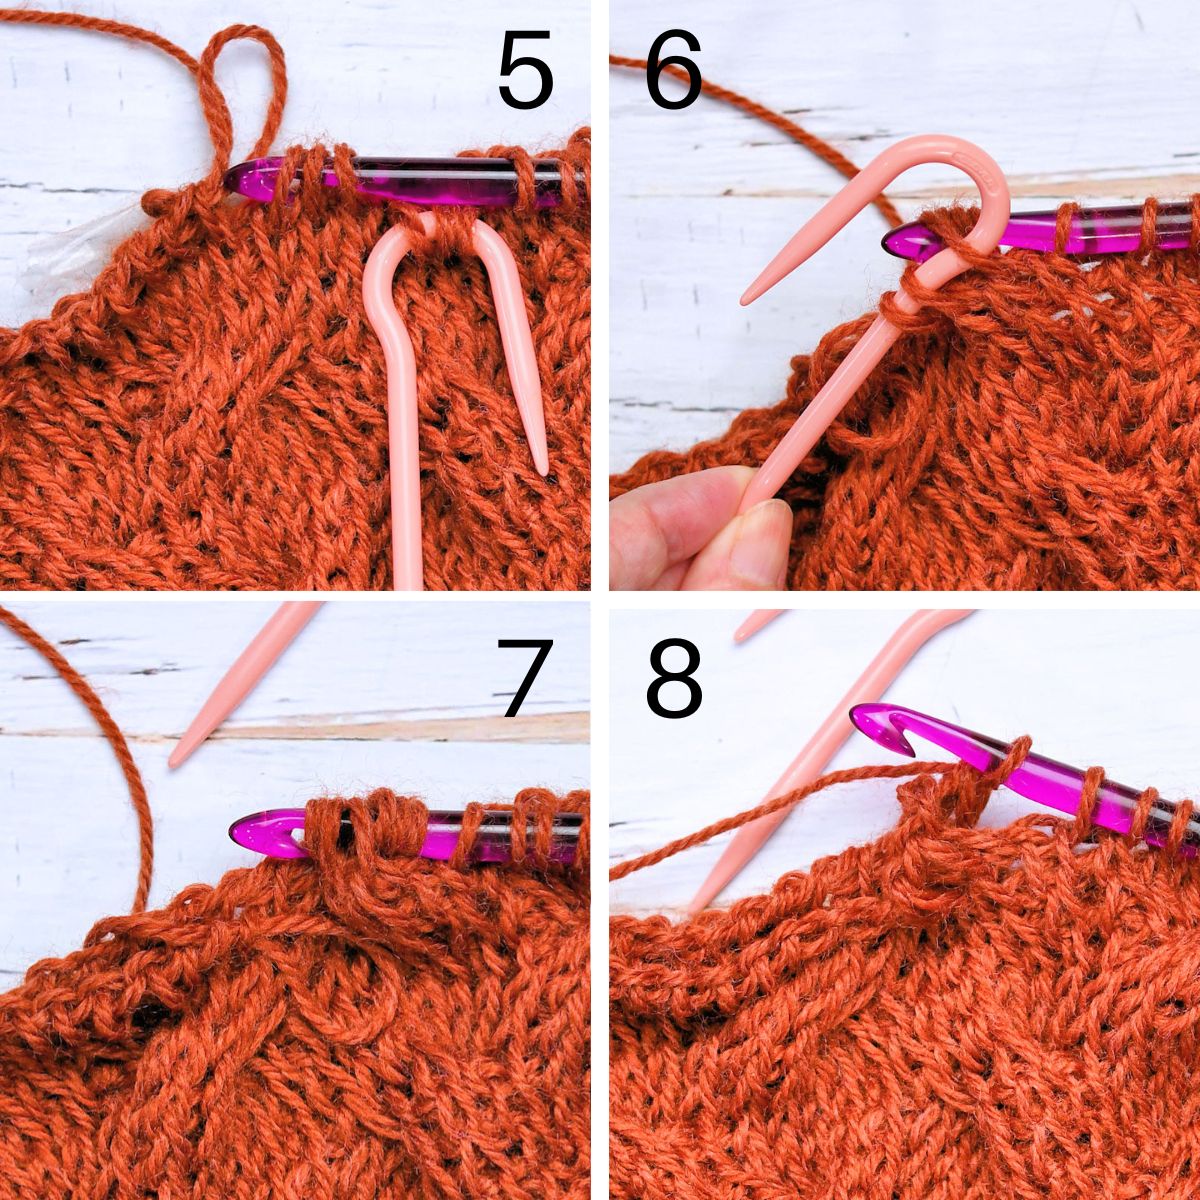
Tunisian Crochet Left Leaning Cable
Left Leaning Cable (llc): On closing, extend first loop (working loop) and remove from hook, with non-hook hand, pinch next three stitches and place cable holder through next three stitches, drop cable holder to front of work, remove all six loops from hook, place pinched stitches back on hook, place stitches on cable holder back on hook (stitches are now crossed), place working loop back on hook and tighten as necessary, [yarn over, pull through two loops on hook] 3 times, chain one, [yarn over, pull through two loops on hook] 3 times.

Abbreviations
This Tunisian crochet pattern is written in US crochet terminology.
ch=chain; lp(s)=loop(s); rep=repeat; sc=single crochet; sk=skip; st(s)=stitch(es); yo=yarn over.
The ribbing (brim) is made in standard crochet and the rest of the hat is made in Tunisian crochet.
Zipper Stitch Join For Seaming
I’ve seamed a lot of Tunisian crochet projects in my time and I’ve recently discovered the best seam for Tunisian Knit stitch is a zipper join (sometimes called flat slip stitch seam). It works perfectly and I’m barely able to see the joining at all.

The seam is there and I can easily find it because the ribbing seam is more easily seen. It’s amazing to me how well this seam works. In the past, I may have been too embarassed to show you. But, I’m so pleased that I don’t mind a bit this time.
I learned how to do the Zipper Join, also known as Flat Slip Stitch Join, from Raffamusa.
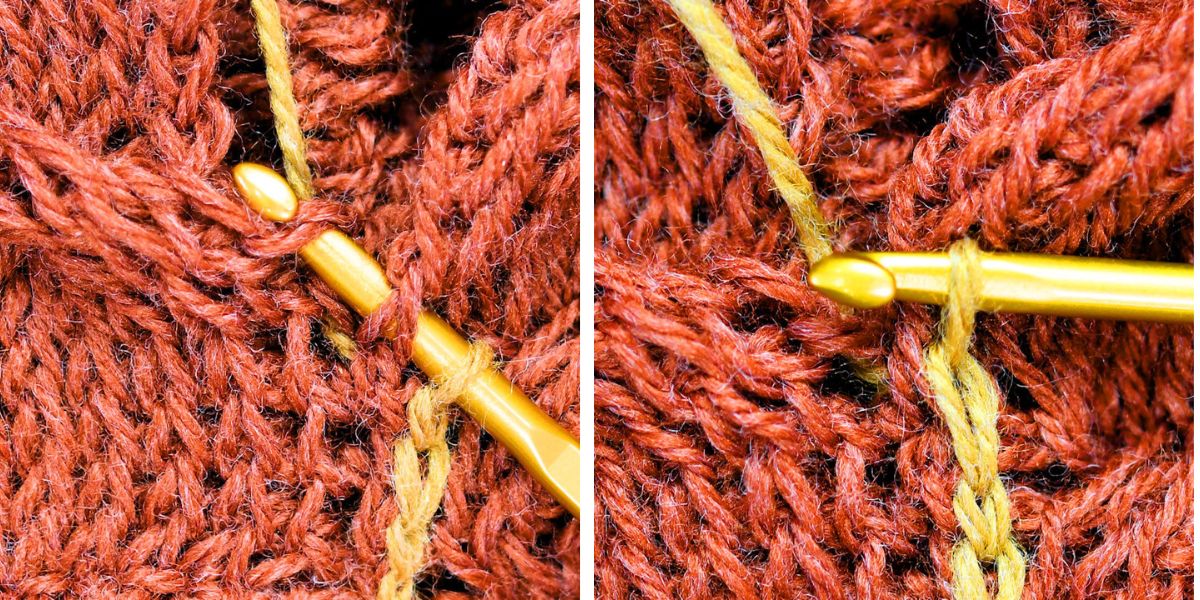
I’ve used an alternate color in this temporary seam so you can see it more easily. It’s a simple slip stitch but you will keep the working yarn under instead of having it to the side.
Holding the edges close together, insert hook in side of one edge then insert hook in side of opposite edge, yarn over and pull through all loops on hook.
It’s not necessary to use this join if you prefer something different, of course. It worked so well for me that I wanted to be sure to recommend it.
Free Crochet Pattern Instructions
Ribbing
Row 1: With regular crochet hook, leaving 10″ strand (for seaming the ribbing later), ch 12, sc in 2nd ch and in each remaining ch, turn: 11 sc.
Rows 2-98: Ch 1, working in back loops only, sc in 10 sc, sc in both loops of last sc (for greater stability), turn: 11 sc. Do not fasten off.
Ribbing measures 18″ unstretched, 20″ when stretched.
Hat
Row 1:
A: Place last lp on Tunisian crochet hook, using regular crochet hook, pull up lps in next side edge of row, pull the lp all the way up and onto the Tunisian crochet hook, continue pulling lps on the Tunisian crochet hook across: 98 sts now on Tunisian Crochet hook.
B: Yo, pull through 1 lp on hook (hereafter referred to as a ch), [yo, pull through 2 lps on hook] across, 1 lp remains on hook which counts as the first lp of the next row here and throughout.
Rows 2-3:
A: Sk first vertical bar, tks (see Special Stitches above) across.
B: Ch 1, [yo, pull through 2 lps on hook] across.
Row 4:
A: Sk first vertical bar, tks across.
B: Ch 1 (it helps to mark this stitch with a marker for the next row for each row 4), *rlc (see Special Stitches above), [yo, pull through 2 lps on hook] 6 times, rep from * until 2 lps remain on hook, yo, pull through 2 lps on hook.
Rows 5-6:
Note: On the first row after a cable crossing here and throughout, pull up on the stitches so you can see them and keep them in place. Ignore the extra chain in the center of the cable.
A: Sk first vertical bar, tks across.
B: Ch 1, [yo, pull through 2 lps on hook] across.
Row 7:
A: Sk first vertical bar, tks across.
B: Ch 1, *[yo, pull through 2 lps on hook] 6 times, llc (see Special Stitches above), rep from * until 2 lps remain on hook, yo, pull through 2 lps on hook.
Rows 8-9:
A: Sk first vertical bar, tks across.
B: Ch 1, [yo, pull through 2 lps on hook] across.
Rows 10-21: Rep rows 4-9.
Rows 22-26: Rep rows 4-8.
Row 27:
A: Sk first vertical bar, [tks, tks2tog] (see Special Stitches above) to last st, tks in last st: 66 sts.
B: Ch 1, [yo, pull through 2 lps on hook] across.
Row 28:
A: Sk first vertical bar, [tks, tks2tog] to last 2 sts, tks in last 2 sts: 45 sts.
B: Ch 1, [yo, pull through 2 lps on hook] across.
Row 29:
A: Sk first vertical bar, tks2tog across: 23 sts.
B: Ch 1, [yo, pull through 2 lps on hook] across. Fasten off, leaving about 10″ strand to cinch the top.
Note: If you are familiar with Tunisian crochet, there is usually a binding off row. This project purposely has no binding off row. It isn’t necessary and would just add extra bulk to the top of the hat.
Finishing
Seam the brim/ribbing, first row to last row. Seam the sides of the hat body (zipper slip stitch join recommended, see above). Weave yarn in and out through the top stitches and cinch together gently. Weave in all ends securely. Attach faux pom pom, if desired.

Twitter | Facebook | Pinterest
All the patterns at Make It Crochet are free. Since many of you have asked how to help with the costs of running a site like this, I’ve made all the patterns into print-ready PDFs and the cost is about the same as a cup of coffee. Every little bit helps.
TERMS: To my fellow crafters, you have my permission to use my patterns to make and sell your projects* anywhere you like. You cannot use my images to sell your projects, though. You must take photos of your own work. All patterns have been tested but mistakes can happen. If you find a mistake, please let me know. Everything at MakeItCrochet.com is protected by copyright to Kim Guzman. Other than the permissions previously given, no one other than Kim Guzman has permission to: reproduce, copy, publish or distribute this pattern, its parts or photos in any way or form, including, but not limited to, translations into foreign languages & video production.
*Not intended to be blanket permission for mass production.





Alexandra says
Such a beautiful beanie! I can see where it gets it’s name from. Very neat design!
Violeta says
I’d totally love to learn how to crochet, so I can whip up this awesome beanie hat! Your pattern is absolutely wonderful, and I admire your skill. I’ve featured your post on Crafts on Display here: https://craftsondisplay.com/crochet/tunisian-crochet-cable-beanie-free-pattern-59786/
All the best,
Kim Guzman says
Thanks so much!