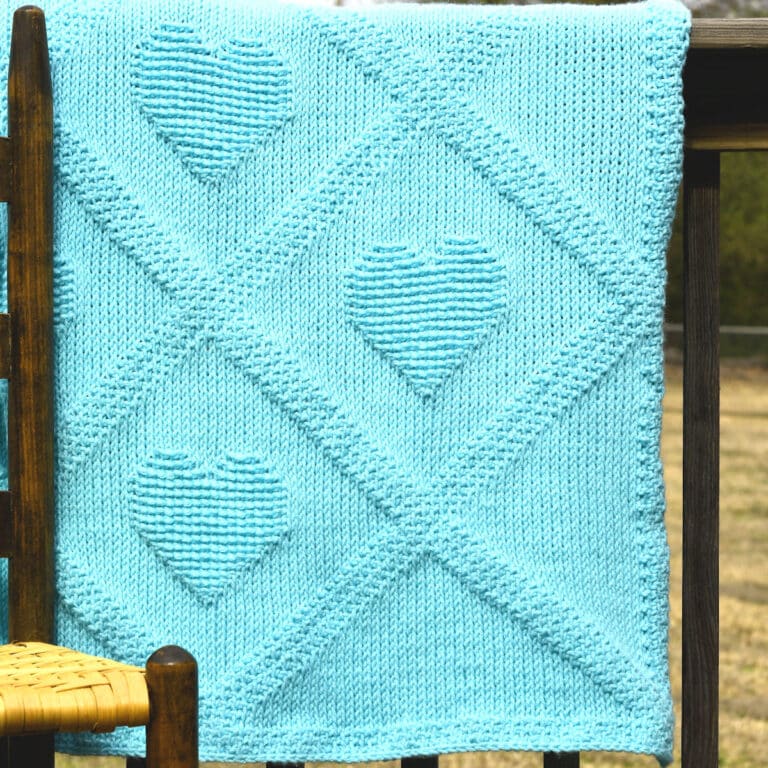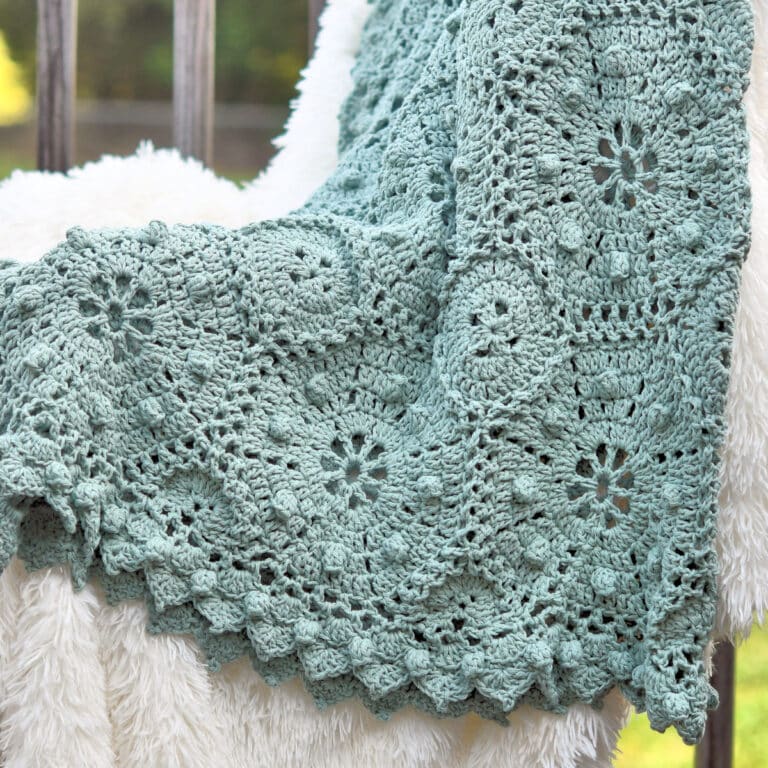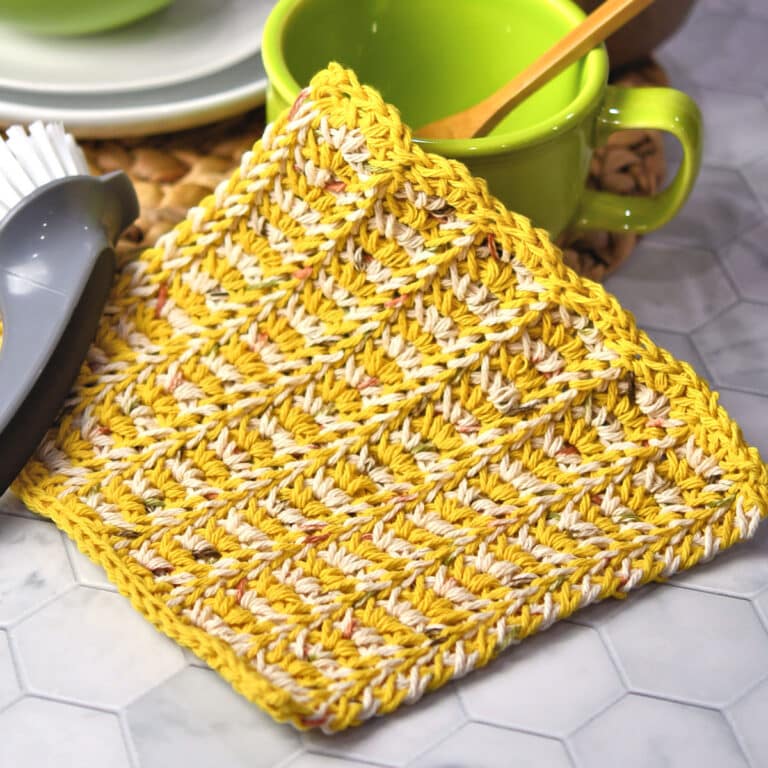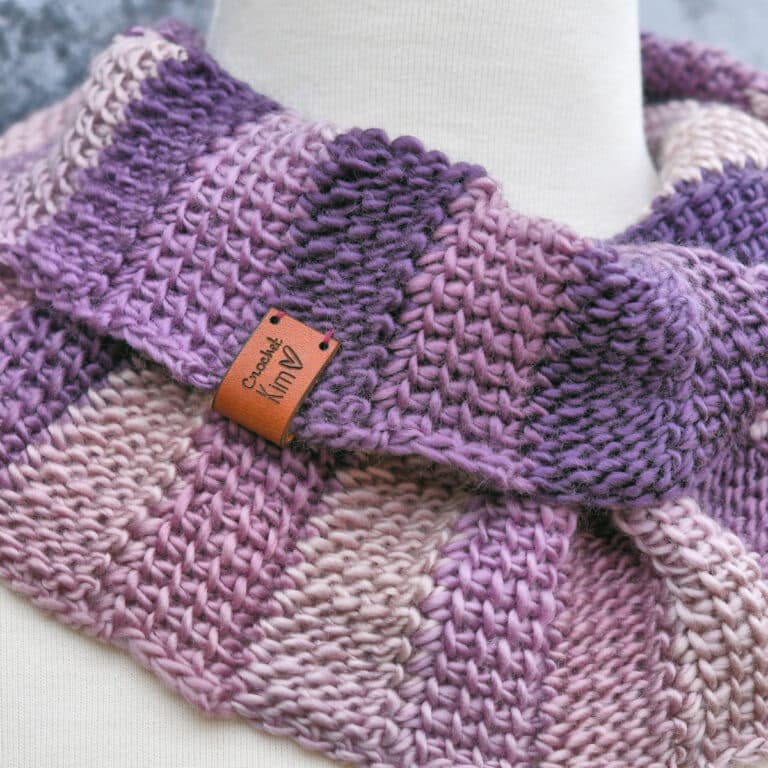
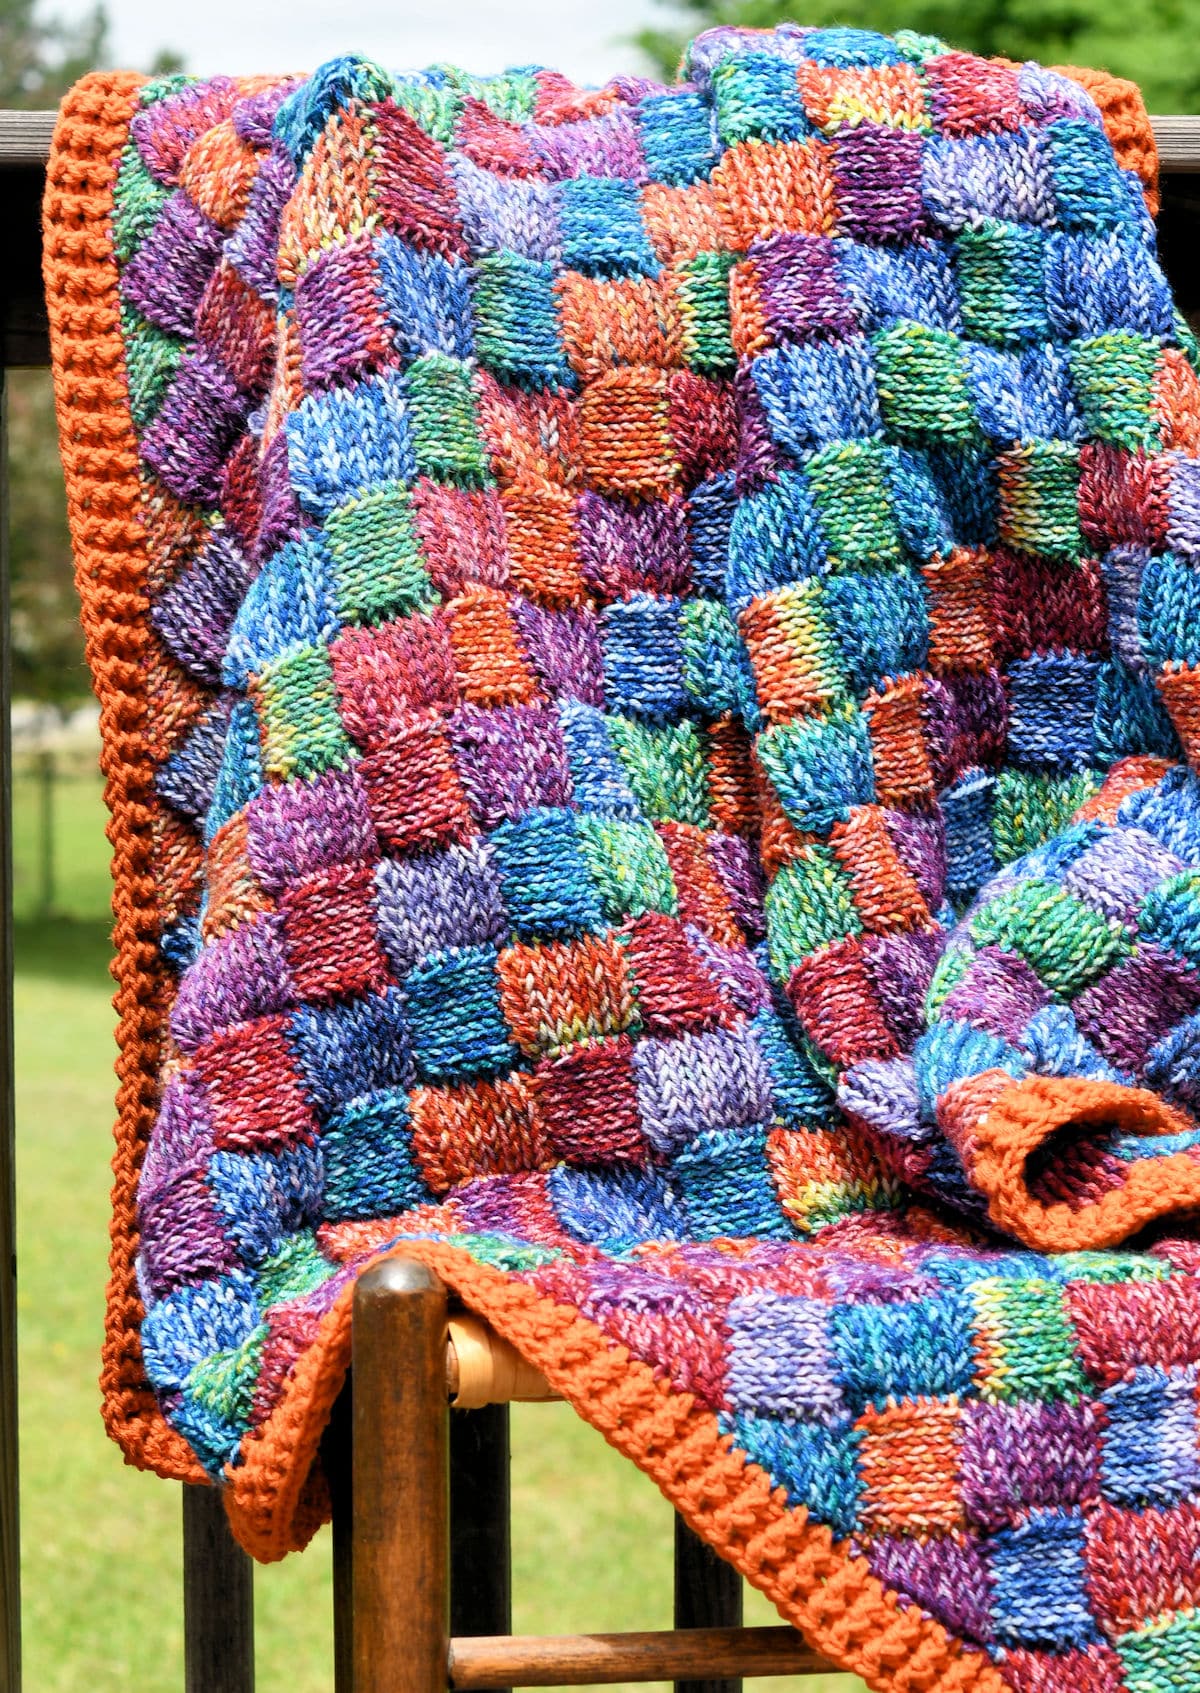
This is part 2 of 4 of the tutorial on the Tunisian Faux Knit Entrelac Blanket. Click to part 1 to get all the basic information and beginning of the free pattern, or click to the Ravelry listing to purchase the convenient full ebook.
This won’t be a full copy of part 1 since some of it is general information about the pattern. You’ll need to visit part 1 in order to start.
Special Stitches
Tunisian Knit Stitch (tks): Insert hook, from front of work to back of work, between the front and back vertical bars of the same stitch, yarn over, pull loop through, keeping loop on hook. Right-Handed Video | Left-Handed Video.
Tunisian Full Stitch (tfs): Insert hook from front of work to back of work, between the stitches, yarn over, pull loop through. Right-Handed Video | Left-Handed Video.
Last Stitch of a Row: The last stitch of each row is worked into the outer 2 vertical bars. It’s basically a knit stitch with an extra loop on the outside of the insertion stitch. You don’t want to work under only one vertical bar since it will cause the loop to stretch too much. Working under both loops makes a nice, clean, sturdy edge. Right-Handed Video | Left-Handed Video.
Close Normally: Chain 1, [yarn over, pull through 2 loops on hook] across.
Part 2 Project Video: Right-Handed Video | Left-Handed Video
Other Abbreviations
This crochet pattern is written in US crochet terminology.
ch=chain; dc=double crochet; lp(s)=loop(s); rep=repeat; sk=skip; sl=slip; st(s)-stitch(es); yo=yarn over.
All numbers after the colon at the end of an instruction are stitch counts. Use the stitch count to check your work.
Posting Schedule
This pattern is the equivalent of four separate patterns so I’m releasing it in four parts. It is way too much information to put on one page.
Each part will be released by the dates below and linked here.
Entrelac Faux Knit Throw Part 1 – released
Entrelac Faux Knit Throw Part 2 – released
Entrelac Faux Knit Throw Part 3 – release by October 16
Entrelac Faux Knit Throw Part 4 – release by October 23
If you purchase the PDF at the Ravelry link above, it will be 30% off through the end of October. The PDF will be updated on the additional release dates. For example, if you purchase the PDF before October 9, it will only include the first part, but after part 2 release, the PDF will be updated with the new information. Beginning in November, the PDF will be full price.
Since this is a multi-part pattern, it’s not eligible for the email newsletter signup.
Video (Will Not Play If There Is An Ad Blocker)
Free Crochet Pattern Instructions
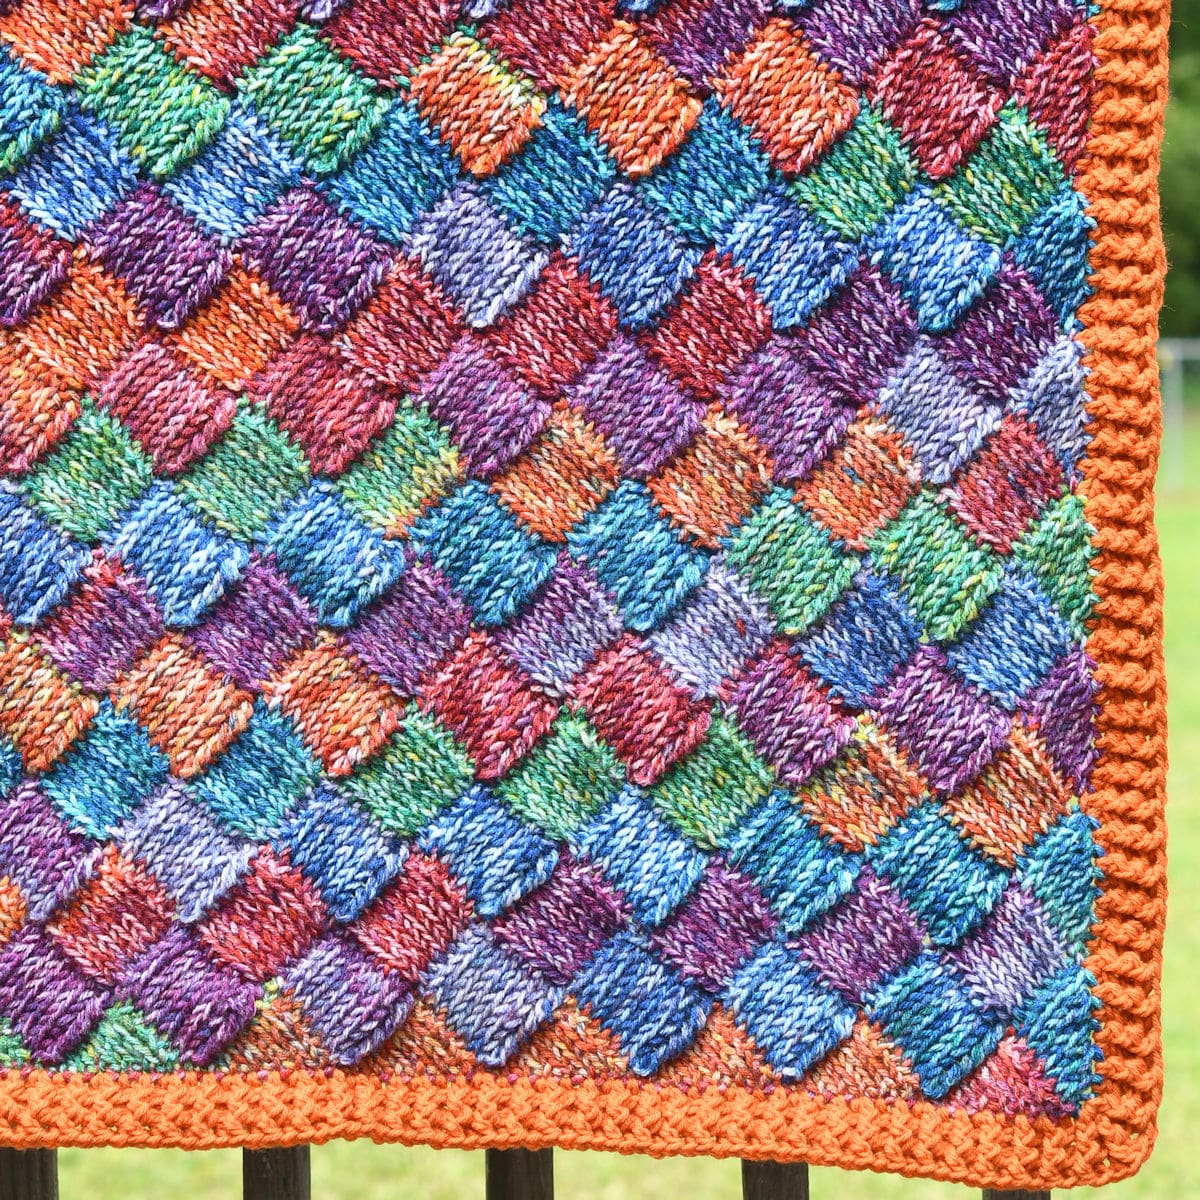
NOTE: These instructions create the second tier which consists of a triangle on each side and rectangles across. When working chains and any slip stitches, try to work loosely since you will be working into them later. When I refer to elements of the tier, each element is either a triangle or rectangle.
Before you even get started, you need to understand that this isn’t something that’s going to be traditional. Keep in mind that there’s a reason why regular Tunisian entrelac doesn’t look like real entrelac. It turns out that trying to come up with a way to get real entrelac had me doing some hand acrobats. It’s taken me a long tme to come up with this because it’s not copied from anywhere else.
It’s been my experience that, when I do something wild and crazy in Tunisian crochet, it eventually becomes accepted. Look what happened after I introduced Tunisian Reverse Stitch into modern publications. These days, no one even knows it was missing. LOL
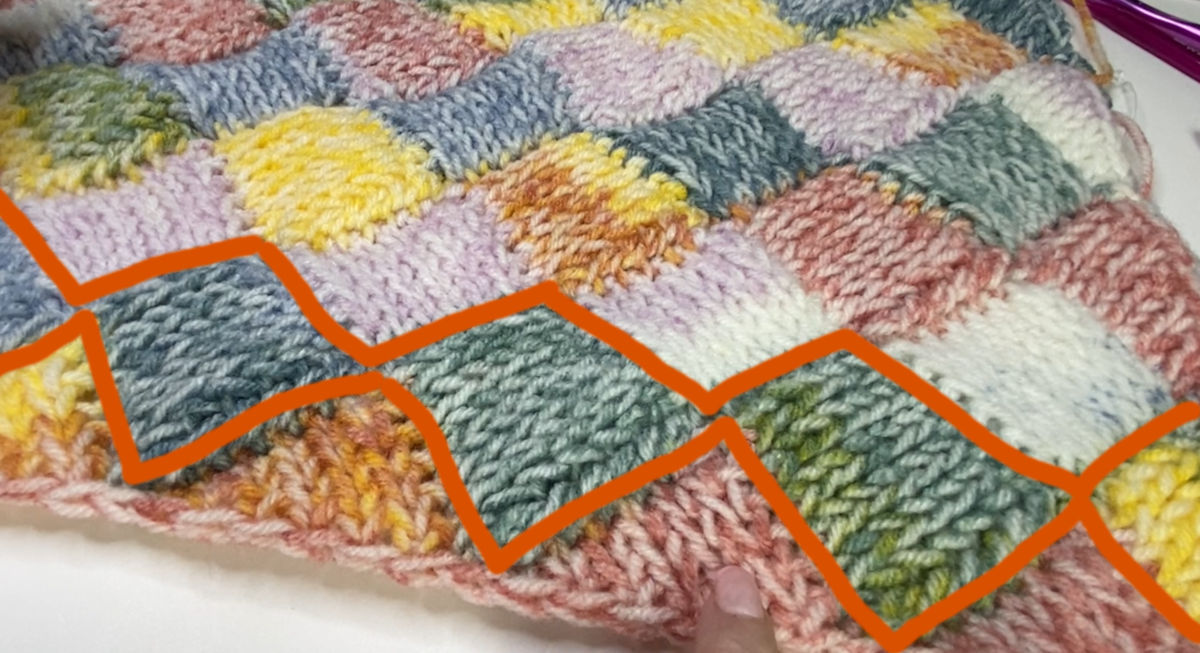
First Triangle
Row 1: Join yarn with sl st in marked st from previous tier, *insert hook in side of next row, pull lp through, rep from * 5 times more: 7 sts. Close: normally (see Special Stitches).
Row 2: Sk first st, 5 tks (see Special Stitches), work end st (see Special Stitches): 7 sts. Close: normally until last 2 sts, yo, pull through 3 lps on hook.
Row 3: Sk first st, 4 tks, work end st: 6 sts. Close: normally until last 2 sts, yo, pull through 3 lps on hook.
Row 4: Sk first st, 3 tks, work end st: 5 sts. Close: normally until last 2 sts, yo, pull through 3 lps on hook.
Row 5: Sk first st, 2 tks, work end st: 4 sts. Close: normally until last 2 sts, yo, pull through 3 lps on hook.
Row 6: Sk first st, tks, work end st: 3 sts. Close: yo, pull through 3 lps on hook.
Row 7: Ch 1 (place stitch marker), now working down the side, sk the first row (current position), sl st in sides of next 5 rows, sl st in back lp of ch, ch 1, sl st in next 7 sl st, 1 loop remains on hook. Do not fasten off. Continue to next element.
Rectangle
Row 1: Now working along the side edge of next element of the prior tier, pull up lps in sides of next 6 rows: 7 sts. Close: normally. Now connecting to previous element in the reverse direction: Remove the one loop from the hook and pinch it with your non hook hand. Going in the reverse direction, insert your hook in the next sl st, place the pinched loop back on your hook and pull it through. This manuever will attach the rectangle to the previous element, forcing it to lean in the opposite direction. There is no word for this so I’ll be calling it “pinch and move back a stitch” instead of spelling it all out again with each row.
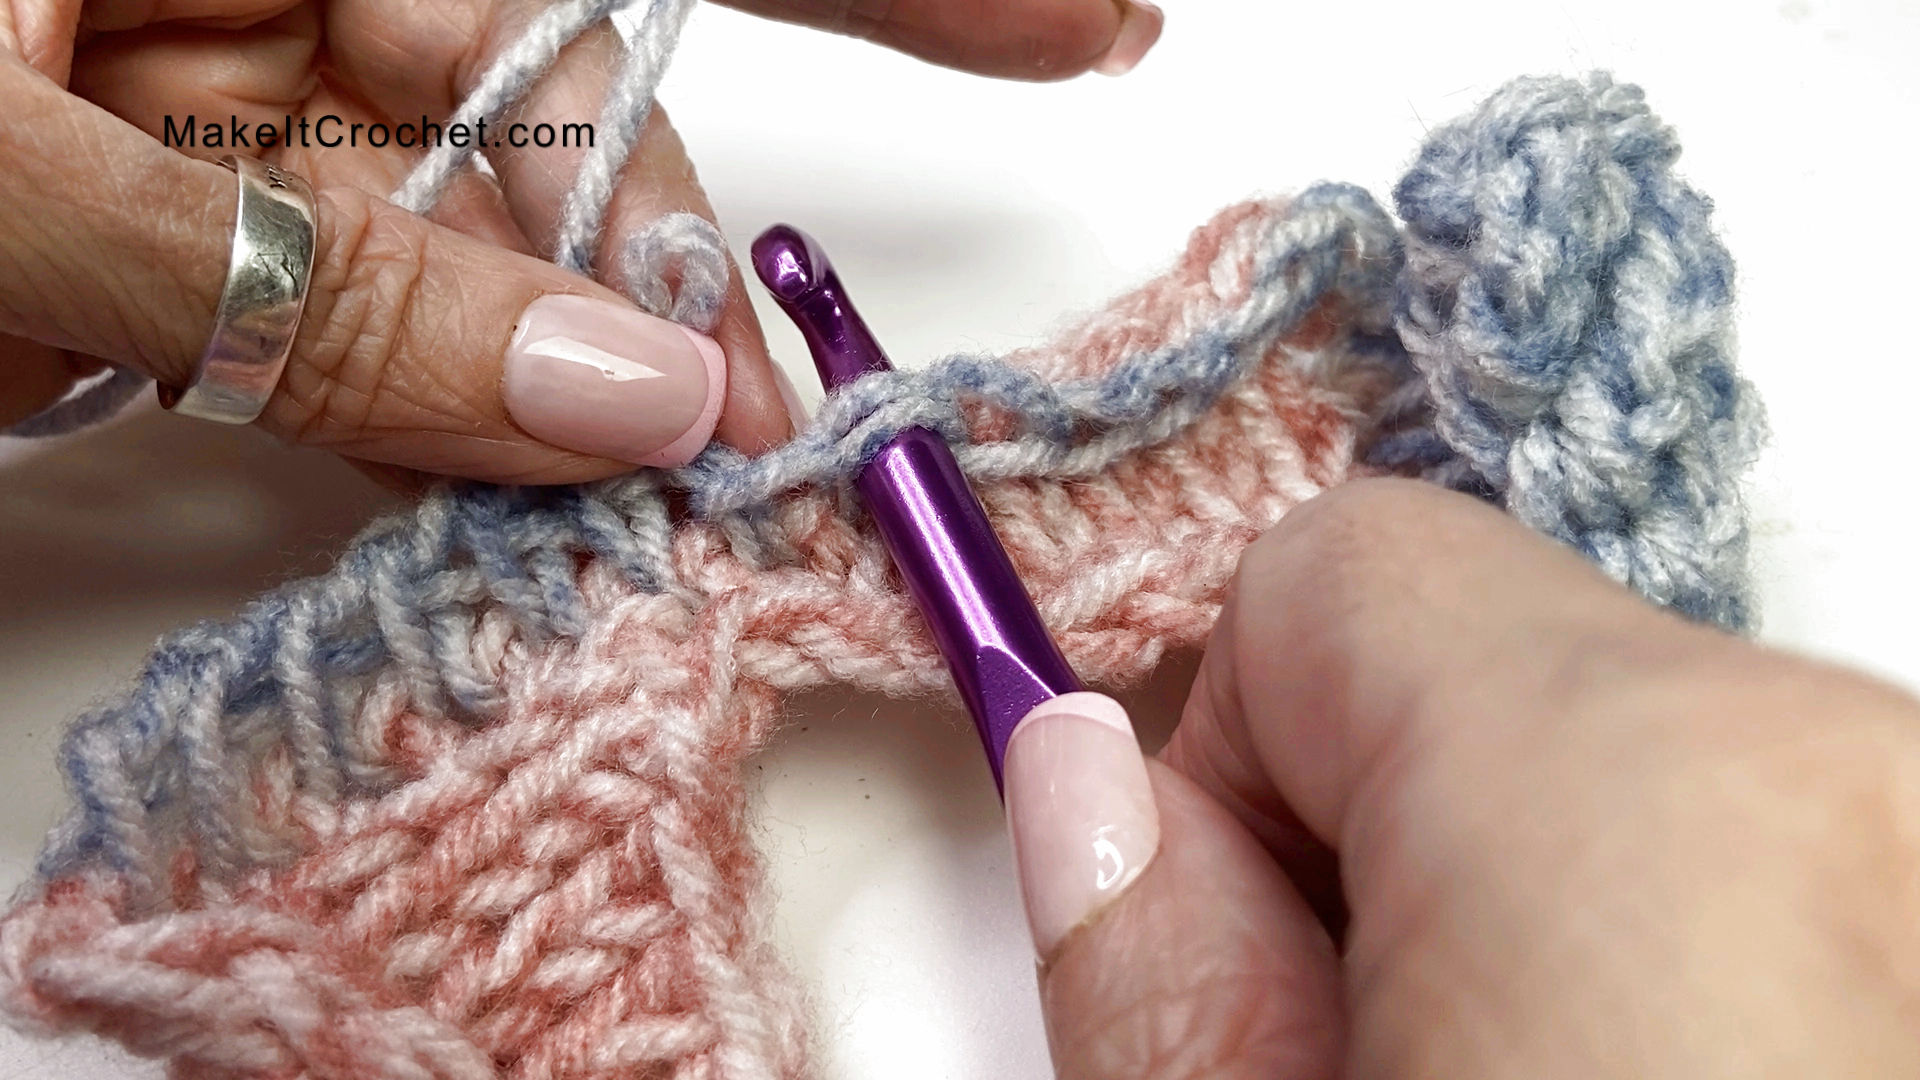
Rows 2-6: Sk first st (will have the slip stitch bunched up beside it), 5 tks, work end st: 7 sts. Close: normally, “pinch and move back a stitch”. Note: If you find that you’re adding a stitch, it’s probably because you are working into the first vertical bar instead of skipping it.
Row 7: Ch 1, sk first st, inserting hook as for established stitches, sl st across 6 sts, now working down the side, sk the first row (current position), sl st in sides of next 5 rows, sl st in in back lp of ch, ch 1, sl st in next 7 sl st, 1 lp remains on hook. Do not fasten off.
Repeat the Rectangles across until you have worked all the way across and you have a single slip stitch in the very last stitch of the prior tier.
Last Triangle
Note: At this point, you’re basically building a triangle from nothing because you’re at the very end. But, don’t worry. It will work.
Row 1: Yo, insert hook in same position as the lp currently on the hook, yo, pull lp through: 3 sts. Close: [yo, pull through 2 lps on hook] 2 times, “pinch and move back a stitch”.
Row 2: Sk first st, tfs (see Special Stitches), work end st: 3 sts. Close: normally, “pinch and move back a stitch”.
Row 3: Sk first st, tks, tfs, work end st: 4 sts. Close: normally, “pinch and move back a stitch”.
Row 4: Sk first st, 2 tks, tfs, work end st: 5 sts. Close: normally, “pinch and move back a stitch”.
Row 5: Sk first st, 3 tks, tfs, work end st: 6 sts. Close: normally, “pinch and move back a stitch”.
Row 6: Sk first st, 4 tks, tfs, work end st: 7 sts. Close: normally, “pinch and move back a stitch”.
Row 7: Ch 1 (I forgot this in the video), sk first st, inserting hook as for established stitches, sl st across 6 sts, fasten off.
This pattern continues. See: Entrelac Faux Knit Throw Part 3 – release by October 16

Twitter | Facebook | Pinterest
All the patterns at Make It Crochet are free. Since many of you have asked how to help with the costs of running a site like this, I’ve made all the patterns into print-ready PDFs and the cost is about the same as a cup of coffee. Every little bit helps.
TERMS: To my fellow crafters, you have my permission to use my patterns to make and sell your projects* anywhere you like. You cannot use my images to sell your projects, though. You must take photos of your own work. All patterns have been tested but mistakes can happen. If you find a mistake, please let me know. Everything at MakeItCrochet.com is protected by copyright to Kim Guzman. Other than the permissions previously given, no one other than Kim Guzman has permission to: reproduce, copy, publish or distribute this pattern, its parts or photos in any way or form, including, but not limited to, translations into foreign languages & video production.
*Not intended to be blanket permission for mass production.