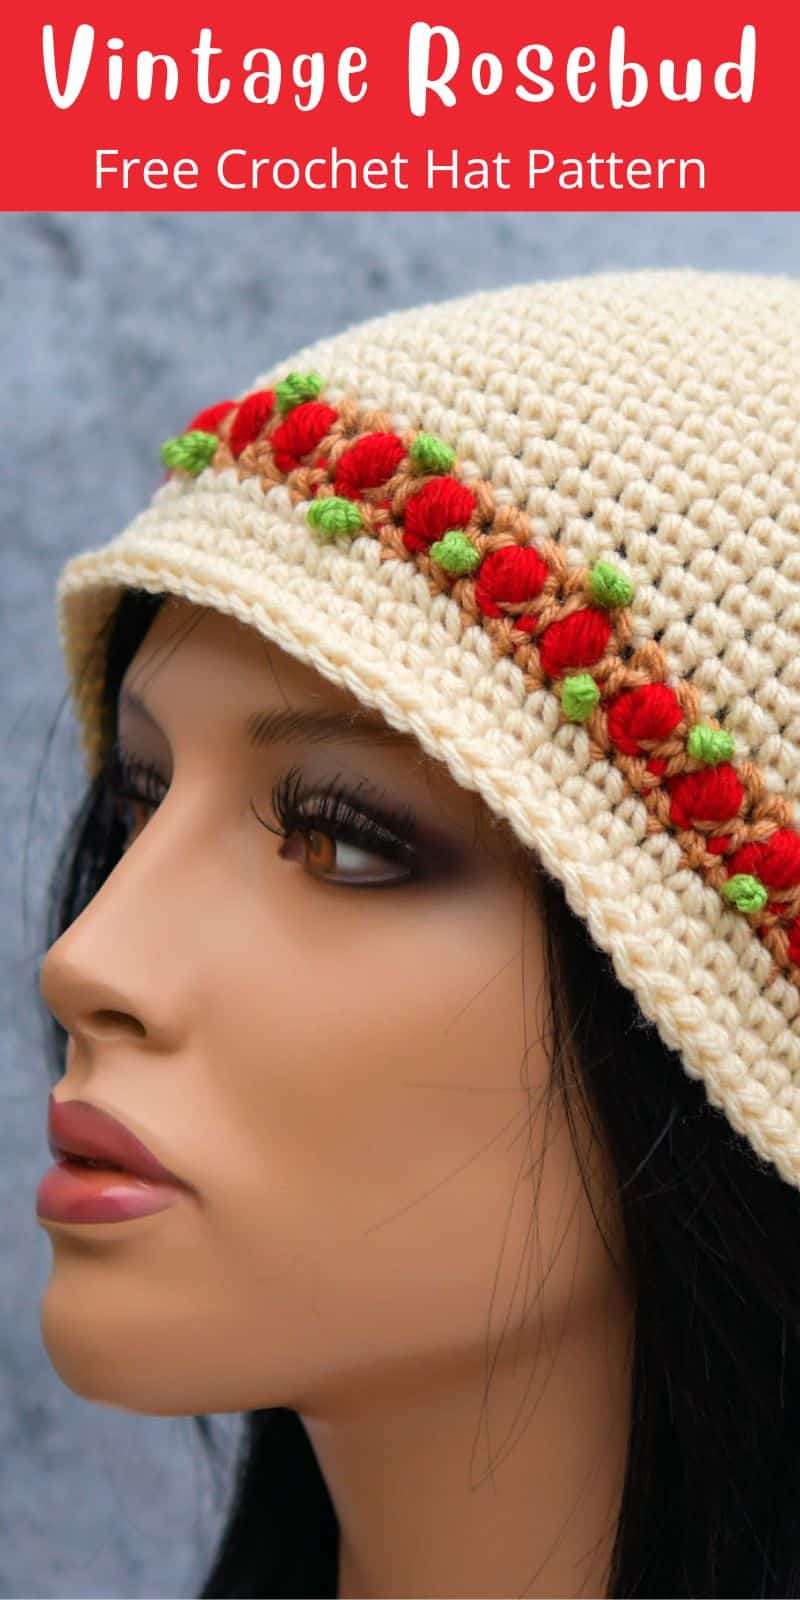
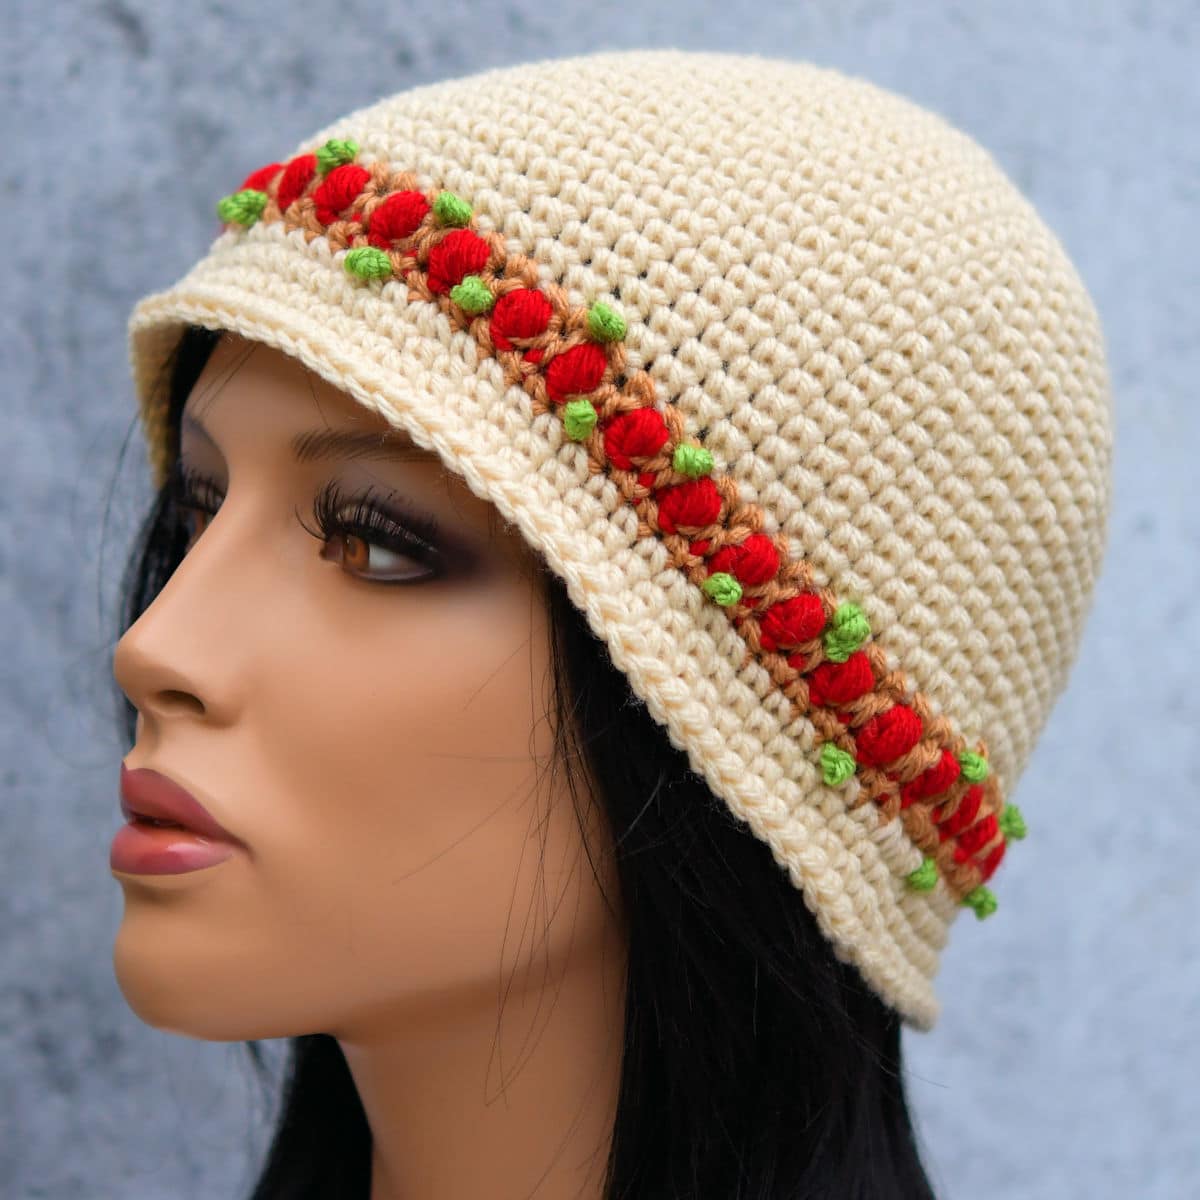
This Womens Bucket Hat is decorated with a vintage-inspired rosebud band. It’s the perfect addition to your wardrobe and an equally wonderful gift for your stylish friends.
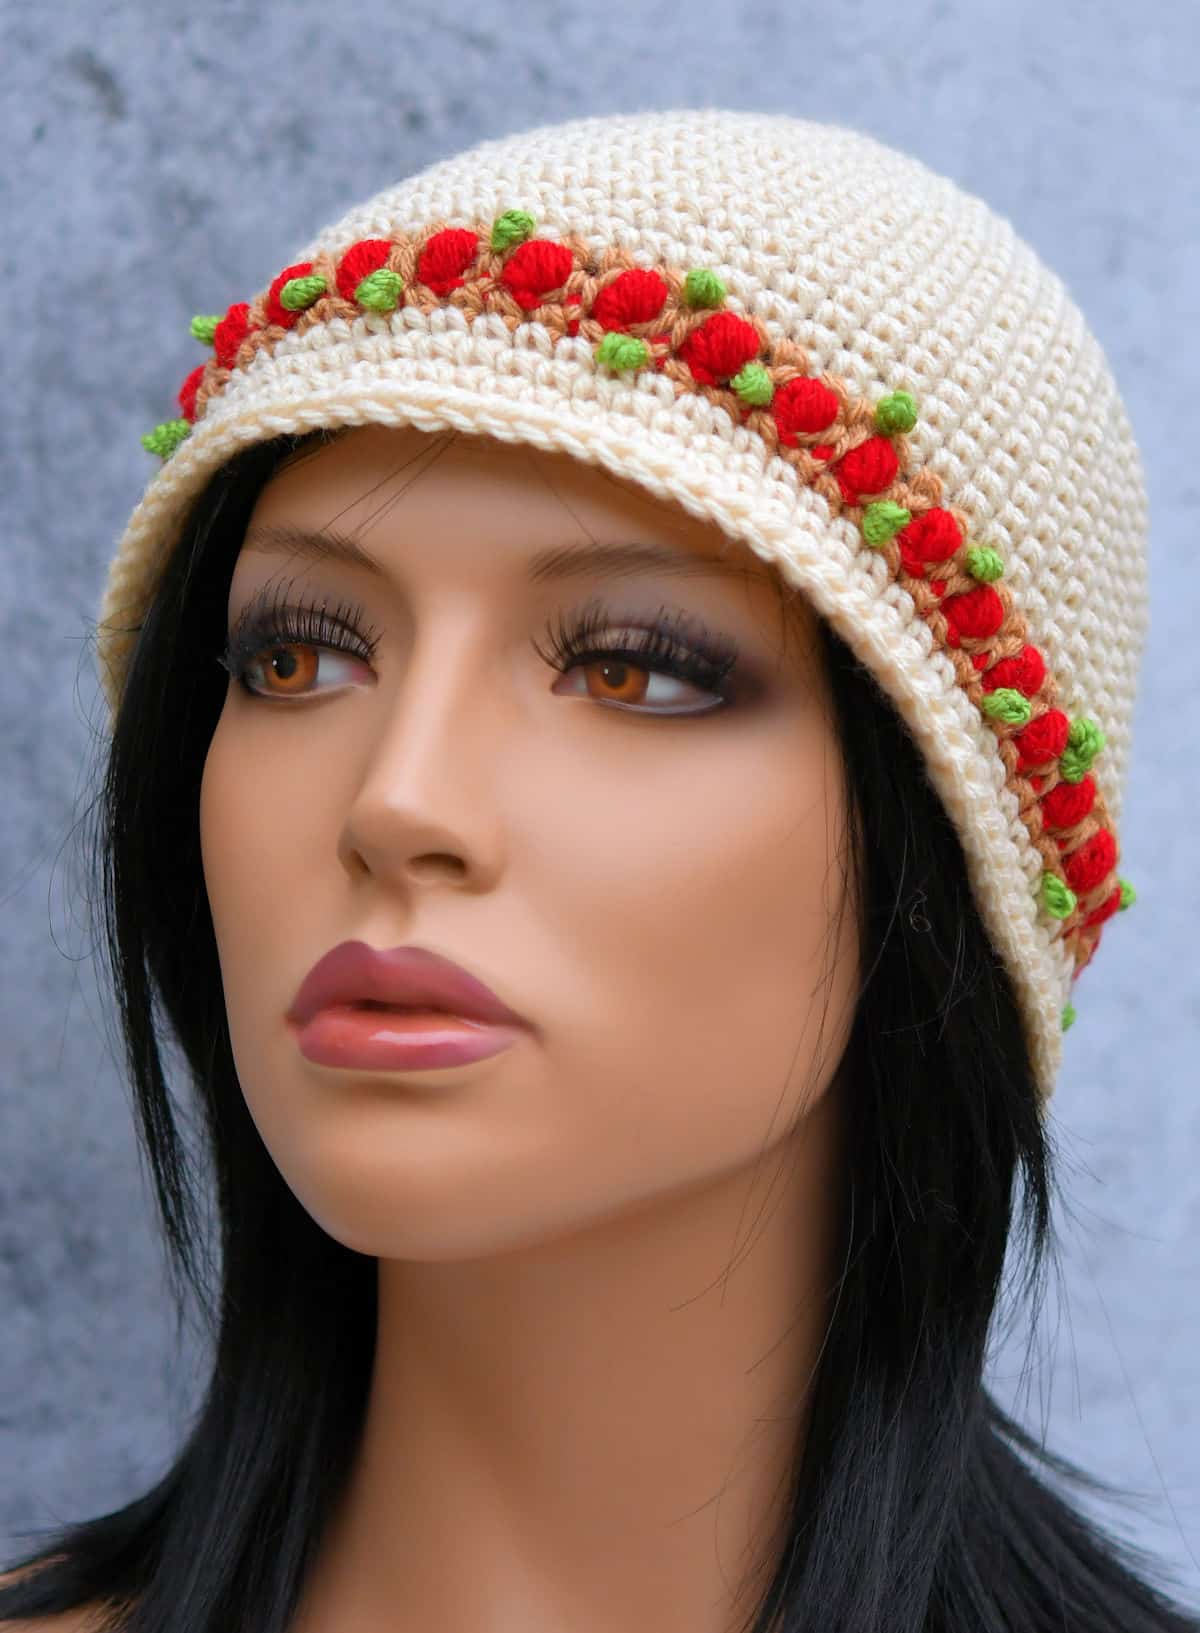
“Rosebud Womens Bucket Hat” free crochet pattern by Kim Guzman © Oct. 2023. All rights reserved.
Technique: Regular Crochet.
Skill Level: Easy.

Crochet Pattern At A Glance
Rosebud Womens Bucket Hat
Designer: Kim Guzman © 2022-24. All rights reserved.Rate the Pattern
Yarn
- JoAnn “Big Twist Value” yarn, size 4 weight, 100% acrylic, 380 yds/347m per 6 oz skein: 4 skeins, approx. 150 yards used, color Cream AND small amounts Deep Red, Light Green and Camel.
Other Materials
- Suggested Crochet Hook Size I-9 (5.5mm) or size needed to meet gauge
- Yarn Needle for weaving ends and making the embroidery French knots
Instructions
- Note: The final cost of the materials will be more if you don't have some scrap materials available to make the decorative band.
- Start at the top of the hat, making continuous rounds with intermittent 8-stitch increases.
- Make the decorative rosebud band with 2 colors.
- Continue working in a spiral with the primary color to make the brim.
- Using an easy embroidery stitch, French Knot, make the little green bits randomly along the decorative band.
- Weave in all ends securely.
Full Free Crochet Pattern Below
This is a free crochet pattern and the written instructions are below. If you prefer a printable download, a PDF is also available for purchase.
My Crochet Pattern Notes
This womens crochet bucket hat is worked from the top, down to the bottom of the brim, in unjoined rounds except for the decorative rosebud band. The random green bits are made with an easy embroidery stitch.
I designed the band to look like a strip of those little silk ribbon roses you find so often in wedding sections and also baby clothes.
I recently did another Womens Cloche Hat crochet pattern. I do love this style. It’s so comfortable and stylish with lots of decorating ideas possible. There’s something so elegant and mysterious about a cloche hat. It will never go out of style.
How Long Does It Take To Make A Bucket Hat?
Like the other Cloche hat above, I’ve made this had with a size 4 worsted/aran weight yarn. The hats like this only take 3 hours to make in this weight yarn. You can put on the Guardians of the Galaxy trilogy and have two hats made!
Working In A Spiral For Continuous Rounds
This design is primarily made by working in a spiral for continuous rounds. This means that you won’t join with a typical slip stitch at the end of each round. By working in continuous rounds, you don’t have that diagonal line going from top to bottom.

I like to use a piece of yarn to mark the last stitch of each round. Because I like to be able to count the rounds easily and adjust the sizing, I tend to use a longer strand of yarn and keep it in the last stitch all the way to the end.
Pin It For Later
Finished Size
Circumference measurement at decorative band: 22″; total height including brim: 8″.
Yarn
JoAnn “Big Twist Value” yarn, size 4 weight, 100% acrylic, 380 yds/347m per 6 oz skein: 4 skeins, approx. 150 yards used, color Cream AND small amounts Deep Red, Light Green and Camel.

At the time of writing this pattern, “Big Twist Value”, an aran/worsted weight yarn, is available in 62 solid shades.
I was able to find it at Joann.
If you are unable to use Big Twist Value, any acrylic or acrylic blend in size 4 should be close enough.
Other Materials
Suggested Crochet Hook Size I-9 (5.5mm), or size needed to meet gauge.
Yarn Needle for weaving ends and making the embroidery French knots.
Gauge
After round 6, approx. 3″ across.
After round 10, approx. 5″ across.
Special Stitches
Puff: Yo, insert hook in st indicated, yo, pull lp through, [yo, insert hook in same st, yo, pull lp through] twice, yo, pull through 7 lps on hook. Note: It makes pulling through 7 loops easier if you really lift those loops up when you pull them up onto the hook.
Embroidery How To Make A French Knot
French Knot: This isn’t a crochet stitch. It’s an easy embroidery stitch. Using a strand of about 18″ of yarn and yarn needle, bring needle up through the back of the hat (through the yarn and not in between single crochets). Once the yarn needle and excess yarn is in front of the hat, wrap the needle 4 times with the yarn, push the needle back through to the back of the hat (not in exactly the same spot) and gently pull it through. The French knot is basically just a knot. If you pull too hard, the knot will go right through so be careful as you’re pulling it through. You can see How to Do A French Knot on YouTube, but with regular embroidery, you may only wrap 2 times. I’ve wrapped 4 times in this hat pattern to make the knot more pronounced.

Other Abbreviations
This free crochet women’s bucket hat pattern is written in US crochet terminology.
ch=chain; lp(s)=loop(s); RS=right-side; rep=repeat; sc=single crochet; sl=slip; st(s)=stitch(es); yo=yarn over.
All numbers after the colon at the end of an instruction are stitch counts. Use the stitch count to check your work.
Free Crochet Pattern Instructions
Note: Except for the decorative band, this hat is worked in continuous rounds with right side facing you throughout. Do not turn and do not join at the ends of rounds unless instructed to do so. Place a marker or spare piece of yarn at the end of each round as work progresses to help keep track of your position in the pattern and to easily count your stitches and rounds.
Round 1 (RS): With cream, ch 2, 4 sc in 2nd ch from hook: 4 sc. Pull on the loose starting strand to cinch up the center to make it easier to see the circle you’ve created.
Round 2: 2 sc in each sc around: 8 sc.
Round 3: 2 sc in each sc around: 16 sc.
Round 4: [Sc in next sc, 2 sc in next sc] around: 24 sc.
Round 5: [Sc in next 2 sc, 2 sc in next sc] around: 32 sc.
Round 6: [Sc in next 3 sc, 2 sc in next sc] around: 40 sc.
Round 7: Sc around: 40 sc.
Round 8: [Sc in next 4 sc, 2 sc in next sc] around: 48 sc.
Round 9: Sc around: 48 sc.
Round 10: [Sc in next 5 sc, 2 sc in next sc] around: 56 sc.
Round 11: Sc around: 56 sc.
Round 12: [Sc in next 6 sc, 2 sc in next sc] around: 64 sc.
Round 13: Sc around: 64 sc.
Round 14: [Sc in next 7 sc, 2 sc in next sc] around: 72 sc.
Rounds 15-24: Sc around: 72 sc. After final round, sl st to next sc, fasten off cream.
Note: Begin working in joined rounds instead of working in a continuous spiral.
Round 25: Join camel in same sc as joining, ch 1, sc around, sl st to first sc: 72 sc.
Note: The next round is simply [sc, Puff] around, except you are changing colors back and forth with each stitch. The instructions seem long but that’s really all it is.
Round 26: With camel, insert hook in first sc, yo, pull lp through, with red, yo, pull through 2 lps on hook (completing sc), with red, Puff (see Special Stitches above) in next sc, switch to camel by making one chain with camel, *with camel, insert hook in next sc, yo, pull lp through, with red, yo, pull through 2 lps on hook, with red, Puff in next sc, switch to camel by making one chain with camel, rep from * around, sl st to first sc, fasten off red.
Note: The next round is simply sc worked in each stitch. Although there is a chain after the Puff, ignore it to ensure you have the correct number of stitches.
Round 27: With camel, ch 1, sc in each st around, sl st to first sc: 72 sc. Fasten off camel.
Note: Return to working in a continuous spiral, marking the rounds to keep track.
Round 28: Join cream with sl st to same sc as joining, ch 1, [sc in next 8 sc, 2 sc in next sc] around: 80 sc.
Round 29: Sc around: 80 sc.
Round 30: [Sc in next 9 dc, 2 sc in next dc] around: 88 sc.
Round 31: Sc around: 88 sc. Sl st to next sc, fasten off.
Finishing
With green, make any desired number of random french knots (see Special Stitches) at the decorative band. Weave in all ends securely.

Twitter | Facebook | Pinterest
All the patterns at Make It Crochet are free. Since many of you have asked how to help with the costs of running a site like this, I’ve made all the patterns into print-ready PDFs and the cost is about the same as a cup of coffee. Every little bit helps.
TERMS: To my fellow crafters, you have my permission to use my patterns to make and sell your projects* anywhere you like. You cannot use my images to sell your projects, though. You must take photos of your own work. All patterns have been tested but mistakes can happen. If you find a mistake, please let me know. Everything at MakeItCrochet.com is protected by copyright to Kim Guzman. Other than the permissions previously given, no one other than Kim Guzman has permission to: reproduce, copy, publish or distribute this pattern, its parts or photos in any way or form, including, but not limited to, translations into foreign languages & video production.
*Not intended to be blanket permission for mass production.



Diana says
easy to follow and quick to make did an extra row of reverse single on last round to finish edge-Still need to grab green for leaves then done,
Kim Guzman says
Great! I’m glad it worked out for you. Thank you for writing!