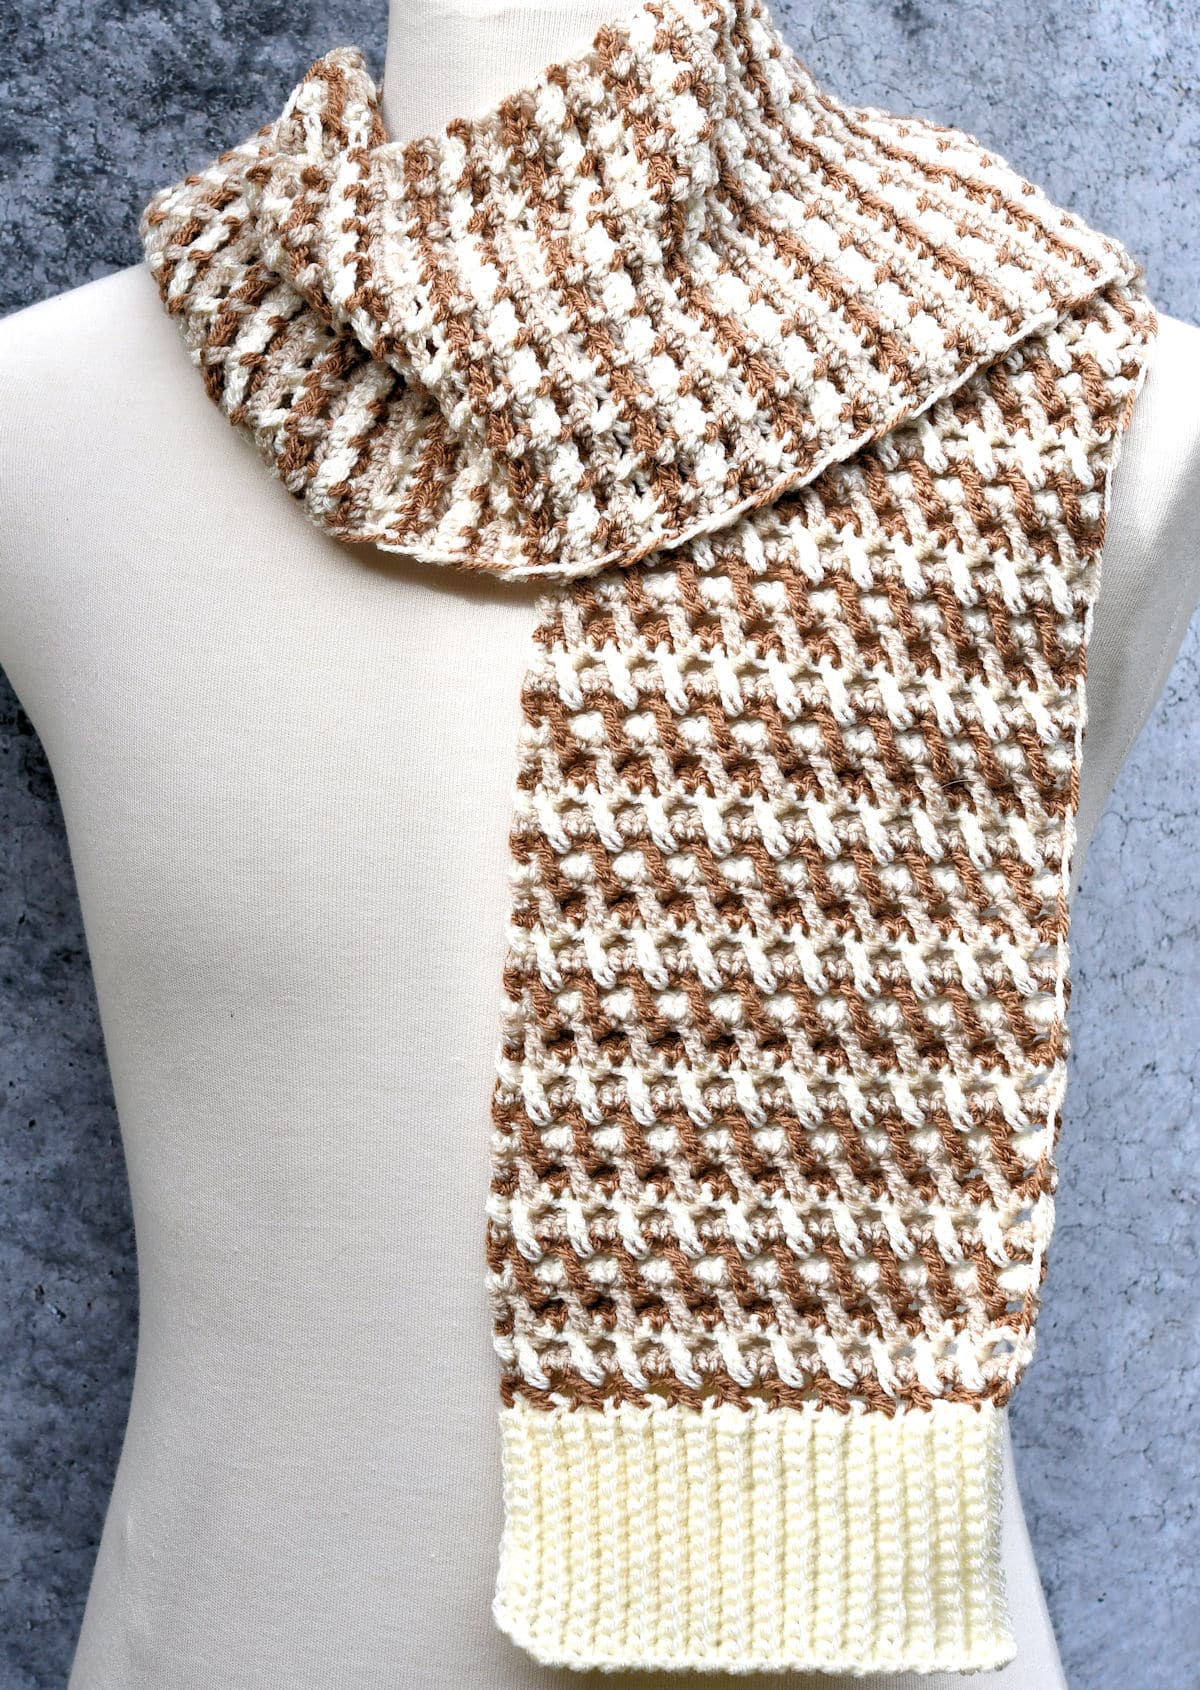
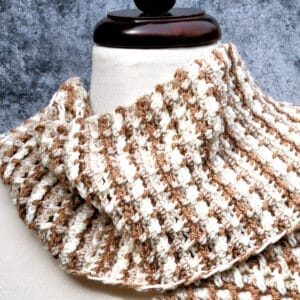
This 3 Color Crochet Scarf is beautifully textured with a unique look on each side. Pick your 3 favorite colors and learn to make stripes without cutting off each color change.
The puffy texture gives the scarf extra warmth because of the post stitches. Suitable for everyone.
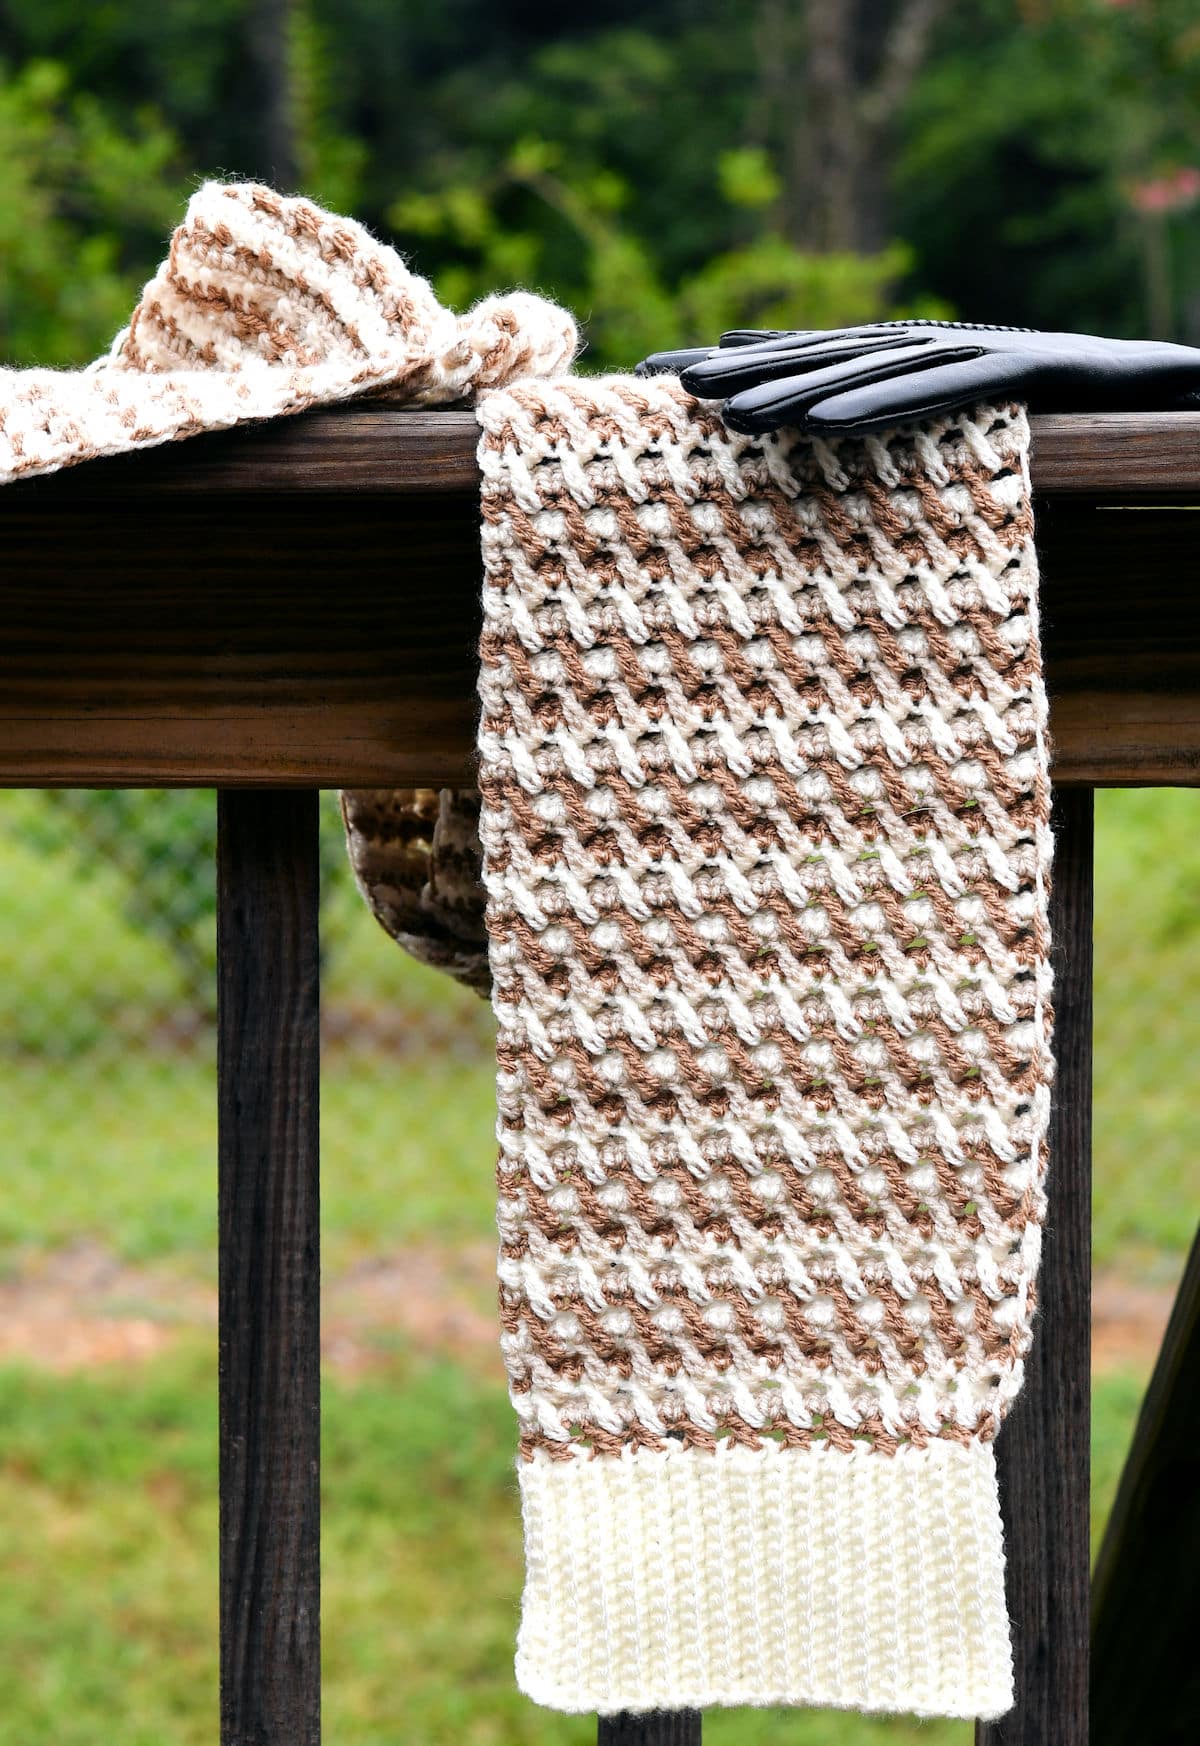
“Diagonal Drifts” 3-Color Scarf free crochet pattern by Kim Guzman, © Oct. 2022 All rights reserved.
Technique: Regular Crochet.
Skill Level: Intermediate.

Crochet Pattern At A Glance
3 Color Crochet Scarf | Diagonal Drifts
Designer: Kim Guzman © 2022-24. All rights reserved.Rate the Pattern
Yarn
- 3 skeins Stylecraft Special DK size 3, 1 skein of each of Cream, Mocha and Parchment, 696 yards used total
Other Materials
- Crochet Hook Size H-8 (5mm) or hook needed to meet gauge
- Crochet Hook Size G-7 (4.5mm) for ribbing
- Yarn Needle for weaving ends
Instructions
- Work 32 rows of back loop single crochet ribbing.
- Work a 2-row foundation.
- Work a 2-row repeat 100 times then 1 final row.
- Work 32 rows of back loop single crochet ribbing.
Full Free Crochet Pattern Below
This is a free crochet pattern and the written instructions are below. If you prefer a printable download, a PDF is also available for purchase.
Pattern updated on July 7, 2023 with new colors.
My Crochet Pattern Notes
All of the stitches used are easy to make but making them in unusual spots will need some practice. It’s not that it’s difficult (because it’s not!). It will just require a little more concentration.
3 Color Stripe Method
One of my favorite techniques is using three colors without cutting off the ends after each color change. At the end of each row, you simply drop the old color, changing to the new color. When you get to the end of the next row, the next color is waiting for you. Working like this throughout, I only had 6 ends to weave in at the end of the project.
Ribbing in Join As You Go Method
Another favorite technique is working the Single Crochet Ribbing directly onto a project in a “join as you go” method. It’s well-known how to make a single crochet ribbing then start the project on the sides of the rows but what do you do when you want the same ribbing along the top as well?
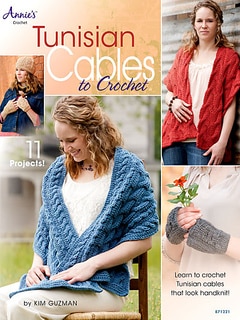
I first introduced this technique in 2012 in my book “Tunisian Cables to Crochet”. I developed the technique because I needed a ribbing along a hat worked vertically. I could have used the more widely-know front/back post ribbing. But, that would have been too thick for a more delicate project.
Over the years, I’ve used this method many times and it’s fun to now see other designers using it in their work too.
A Note for Left Handers
Due to the nature of the diagonal post stitches, they lean to the left when worked with a right hand. They lean to the right when worked with a left hand.
Pin It For Later
Finished Size
6 1/2″ wide, 60″ long. Ribbing is about 3″ high.
Yarn
Stylecraft “Special DK”, 100% acrylic, 322 yds/295m per 3.5 oz/100g per skein: 1 skein of each of Cream, Mocha and Parchment, 696 yards used total.
“Special Double Knit” is classified as a DK weight (size 3) yarn and is currently available in 100 shades.
Available at LoveCrafts (aff link). If you’re in the US, look up at the top right to switch to US Dollars. I’ve purchased from them for years and love the selection.
Yarn Substitution
I’ve used DK weight yarn (size 3) because I love this size. There’s a lot of yardage on a 100g skein of Stylecraft Special DK. You could use any yarn you like, using the hook size you prefer. You may need to make changes to the number of stitches and the amount of yarn required.
If you are unable to use Stylecraft Special DK, any acrylic or acrylic blend in size 3 lightweight yarn will be close enough.
Stitch Pattern Closeups
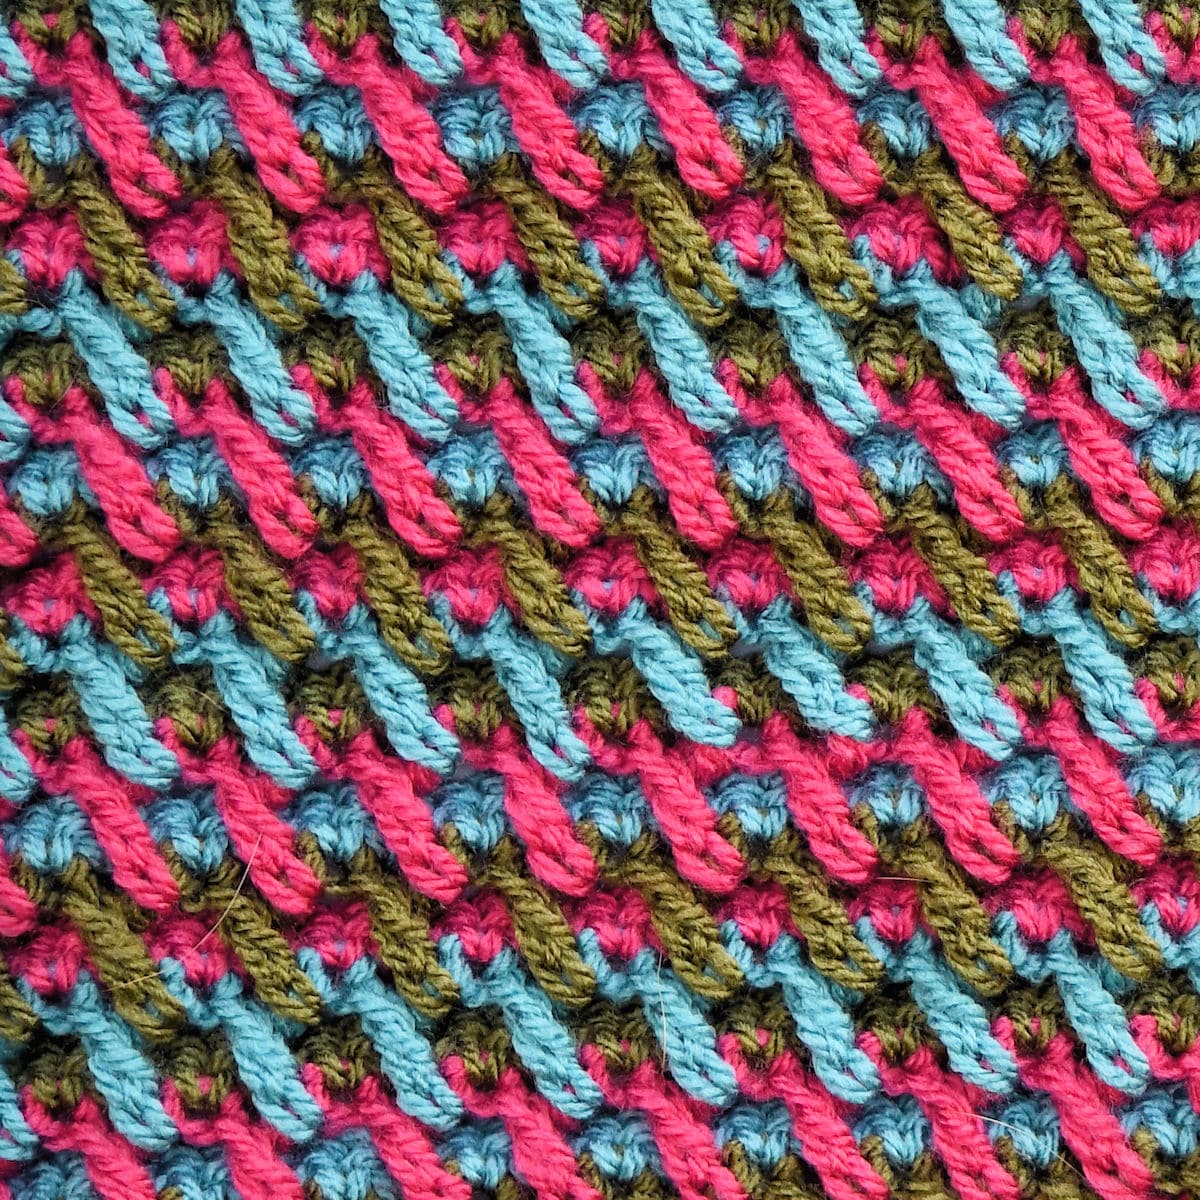
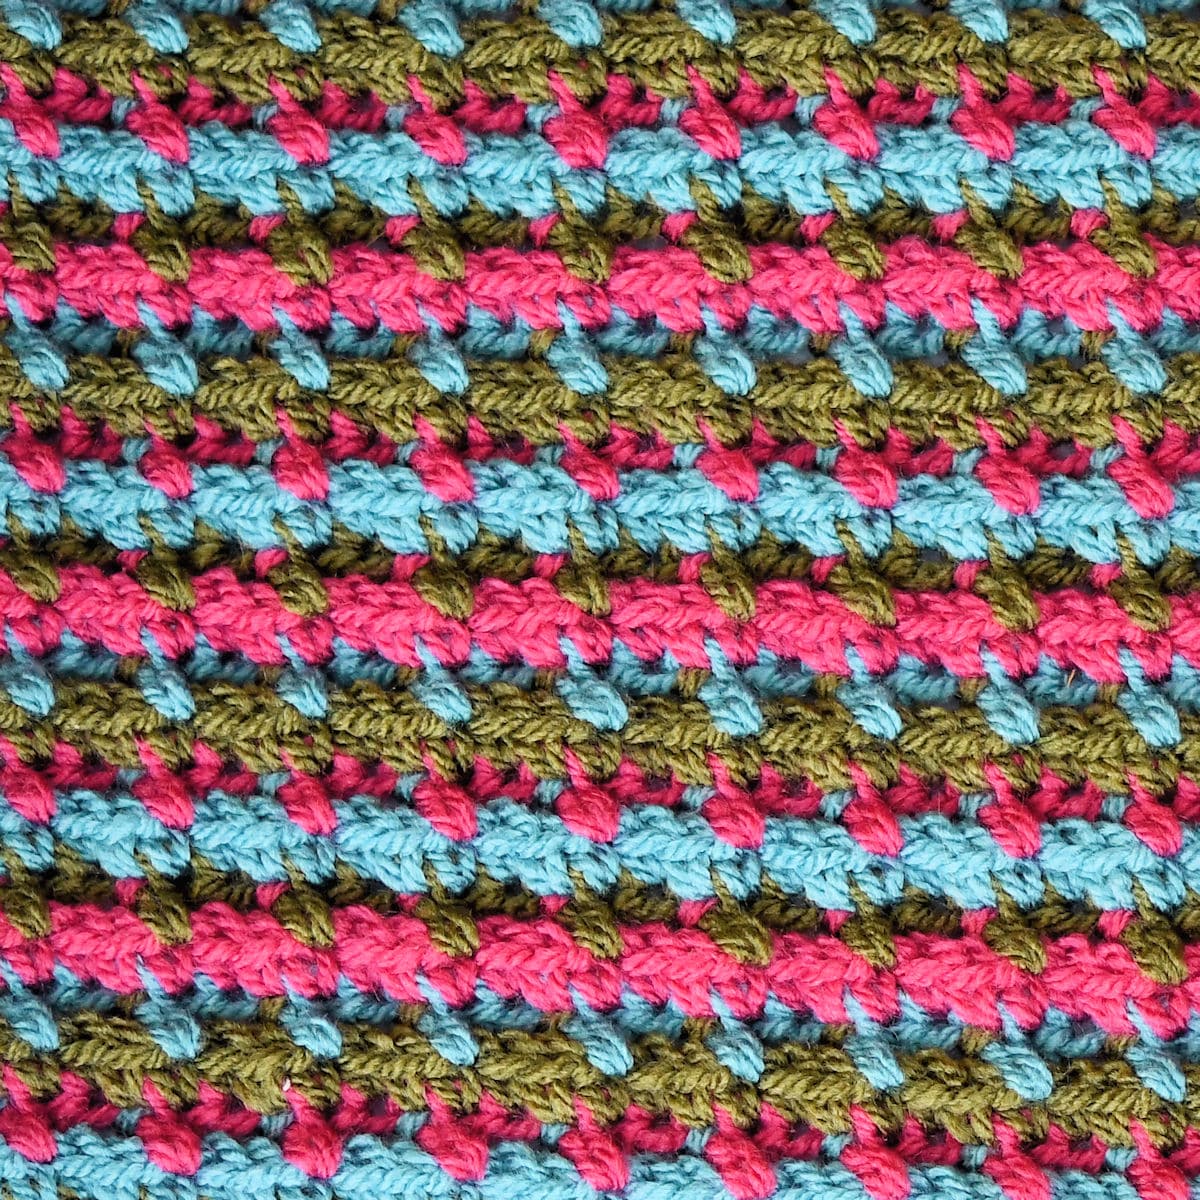
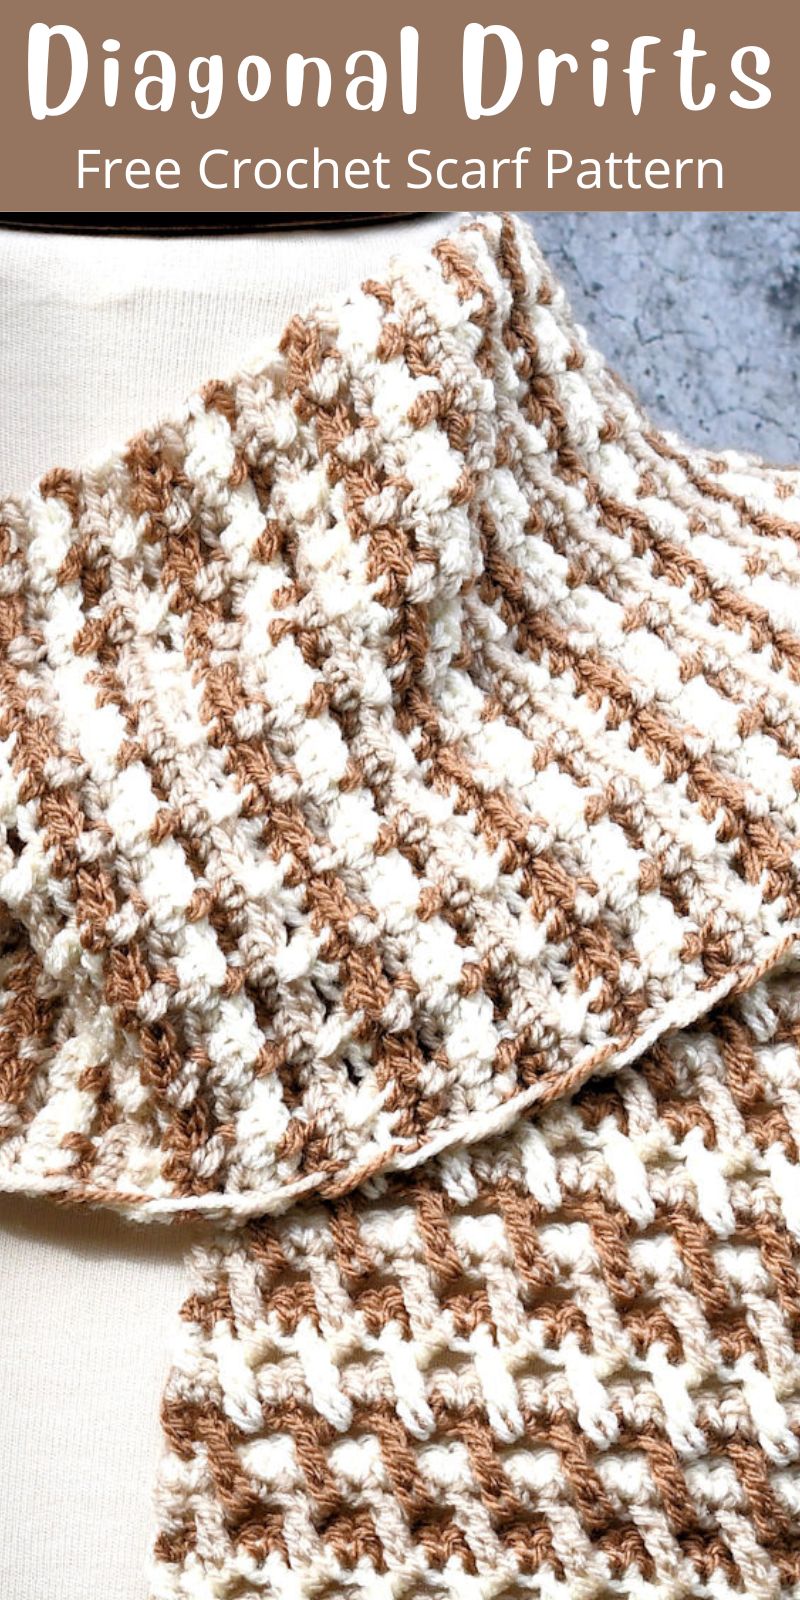
One of the most difficult parts of making this scarf is choosing between the front and the back. The back is actually my favorite!
Other Materials
Suggested Crochet Hook Size H-8 (5mm) or hook needed to meet gauge.
Suggested Crochet Hook Size G-7 (4.5mm) for ribbing.
Yarn Needle for weaving ends.
Gauge
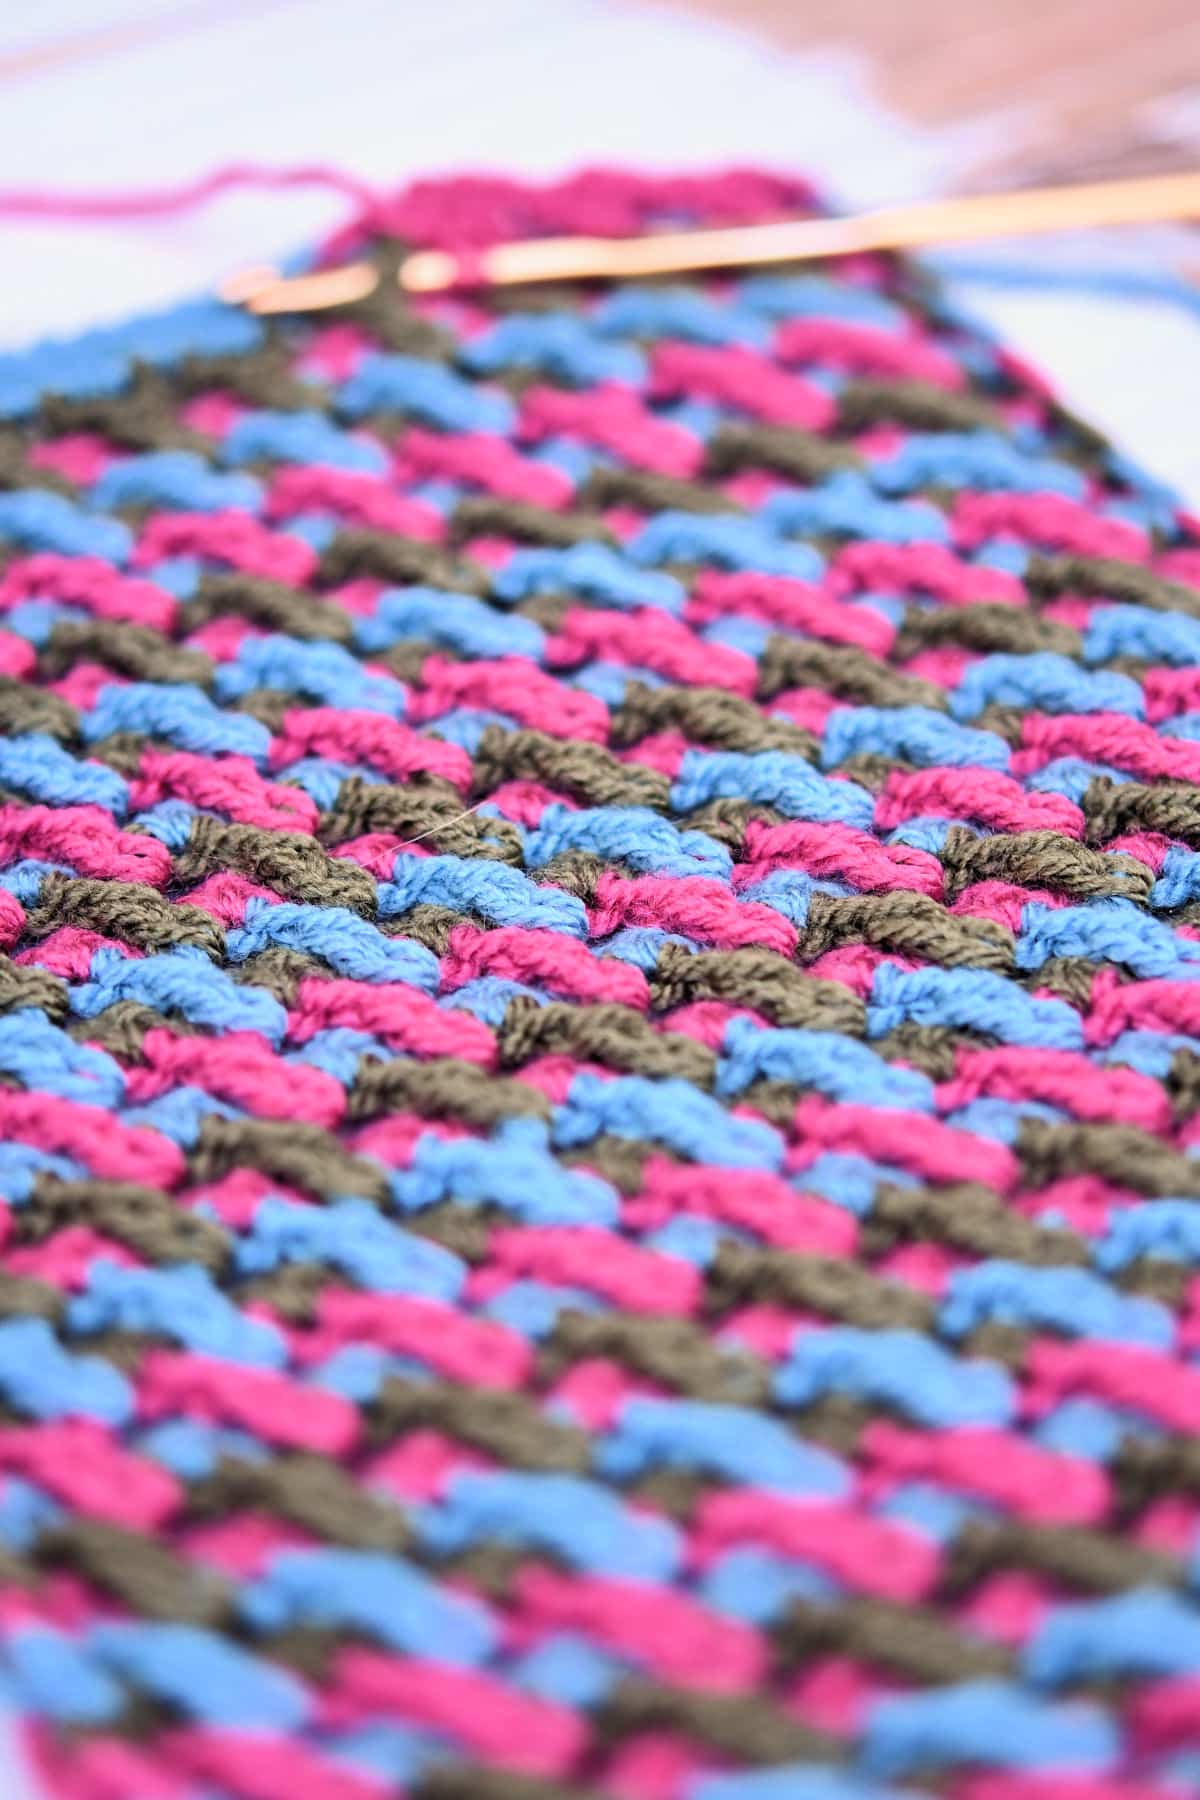
The main body of the scarf is worked at a tension of 20 stitches for 15 rows to measure a 4″ square.
Working at a different tension may require additional materials.
Special Stitches
Back Loop Single Crochet (BLsc): With the back of the stitch facing you, work into the top loop furthest away from you. Working in an allover repeat of BLsc will produce ridges.
Extended Front Post Double Crochet (Ext-FPdc): This stitch is worked in the row below around the first double crochet of the 3-stitch group of crossed doubles. (The 3-stitch group consists of the 2 crossed doubles with the chain space in between.) It is a Front Post Double Crochet but it’s also an “Extended” stitch, which means that there is an extra little chain worked at the bottom to lift it just a smidge higher than a regular double crochet.
Yarn over, insert hook from the side, around the back and out the other side of the indicated stitch, yarn over, pull loop through (3 loops now on hook), yarn over, pull through 1 loop (making it Extended), [yarn over, pull through 2 loops on hook] twice (to complete the double crochet).
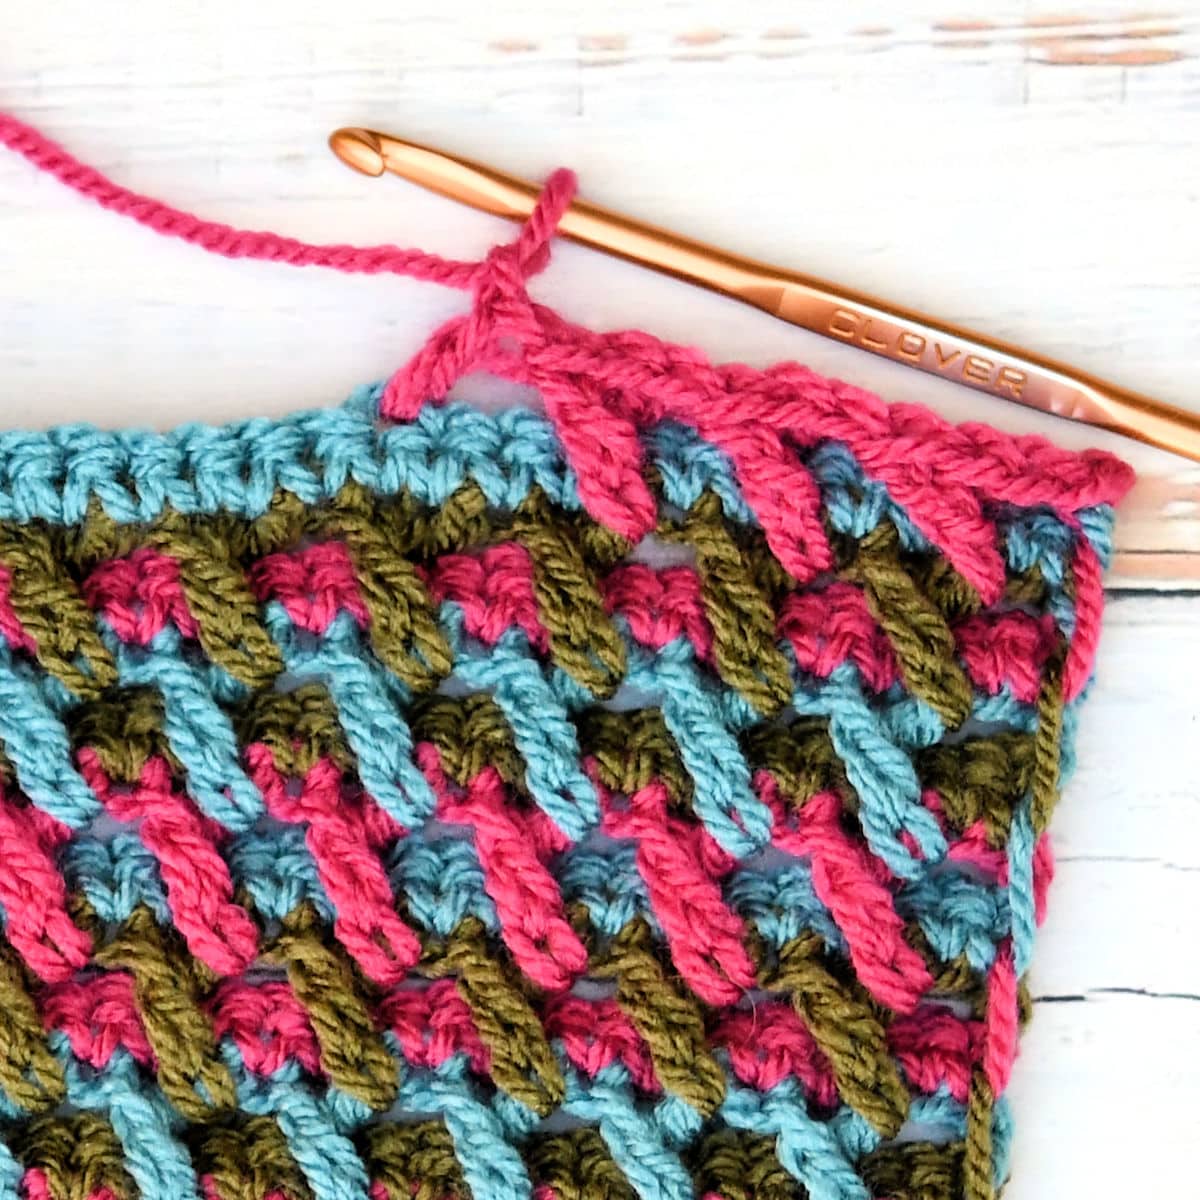
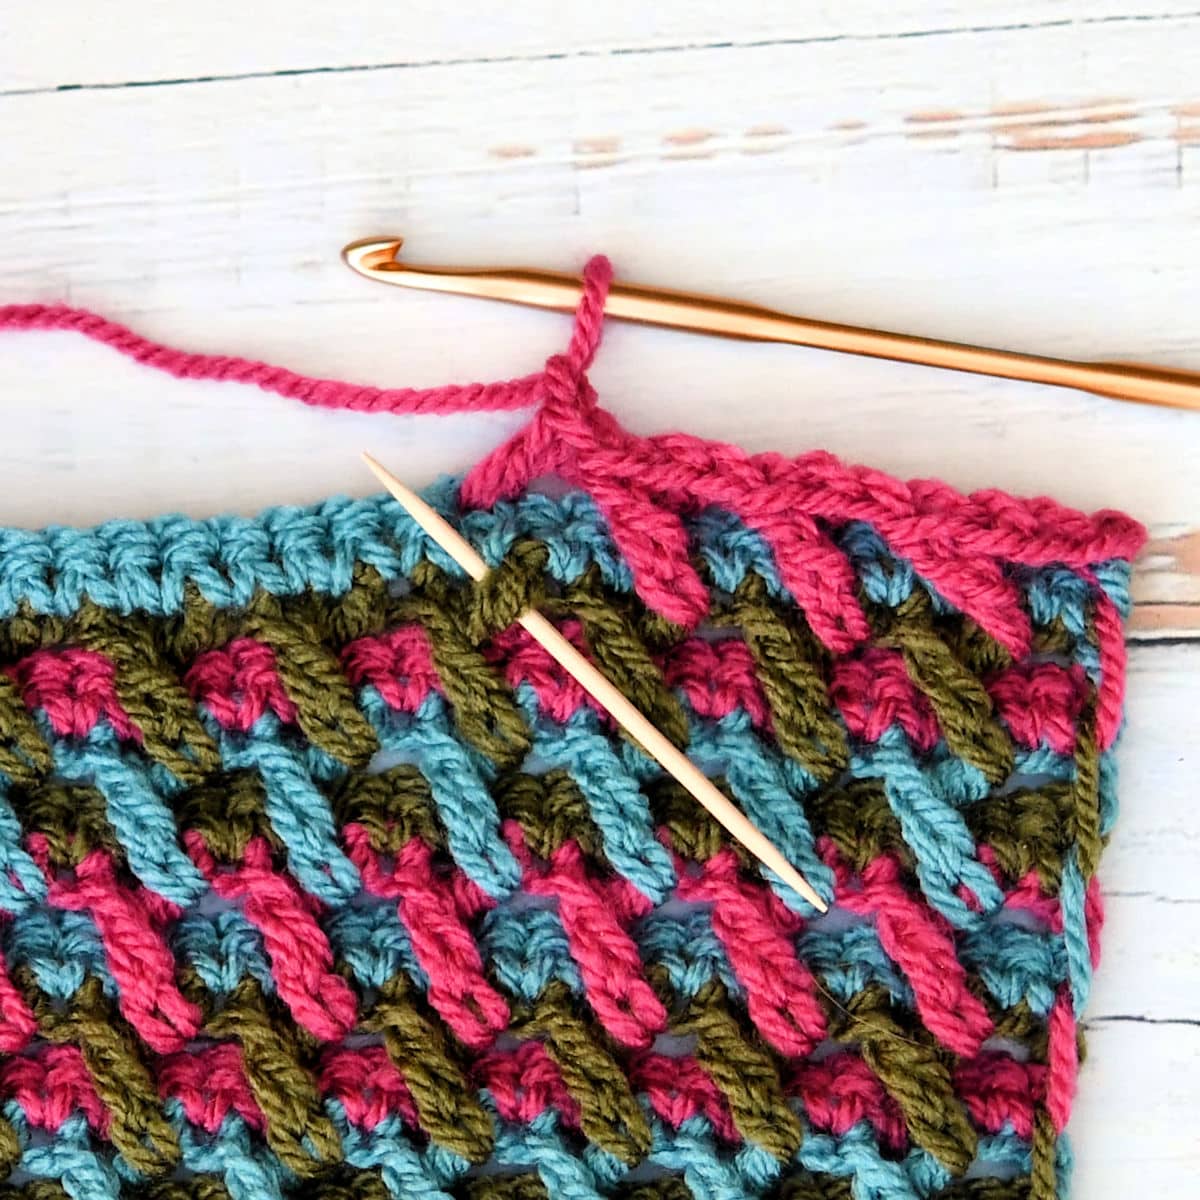
The stitch repeat is made with crossed doubles. Skip 2 stitches then work a double crochet in the next stitch and chain 1 (first photo). Skip one row and work an Extended Front Post Double Crochet (Ext-FPdc) around the first double crochet of the crossed doubles below (second photo).
Other Abbreviations
This 3 Color Crochet Scarf pattern is written in US crochet terminology.
ch=chain; dc=double crochet; lp(s)=loop(s); rep=repeat; sc=single crochet; sk=skip; sp(s)=space(s); st(s)-stitch(es); yo=yarn over.
All numbers after the colon at the end of an instruction are stitch counts. Use the stitch count to check your work.
Free Crochet Pattern Instructions
If you would like to make a wider scarf, start off with any multliple of 3 rows of Ribbing then add 2 more rows of Ribbing. (Mult of 3, plus 2).
When you finish using a color, drop it but don’t cut it. When you get to the end of the next row, your next color will be there.
When changing colors at the end of the row, switch the color on the final yarn-over-pull-through of the last stitch.
Ribbing
Row 1: With smaller hook (see Materials) and Cream, ch 16, sk first ch, sc in each remaining ch, turn: 15 sc.
Row 2: Ch 1, BLsc (see Special Stitches) in 14 sc then sc in both lps for last sc (for stability), turn: 15 sc.
Rows 3-32: Rep row 2. Change to Mocha on final st of final row.
Main Scarf
Begin working along sides of rows of long side of ribbing. Main Scarf worked solely in larger hook.
Row 1 (RS): With larger hook and Mocha, ch 3 (counts as dc here and throughout), sk first row, *sk 2 rows, dc in next row, ch 1, dc in first skipped row of 3-row group, rep from * to last row, dc in last row, turn, changing to Parchment on final st, drop Mocha (do not cut).
Row 2: With Parchment, ch 1, sc in each st and ch-1 sp across, turn, changing to Cream on final st, drop Parchment (do not cut): 32 sc.
Note: Yes, you are technically skipping 3 stitches in the first repeat of row 3. But, the first skipped stitch actually counts as the first double crochet.
Row 3: With Cream, ch 3, sk first st, *sk 2 sc, dc in next sc, ch 1, Ext-FPdc (see Special Stitches above) in indicated st, rep from * to last st, dc in last st, turn, changing to Mocha on final st, drop Cream (do not cut).
Rows 4-203: Rep rows 2-3 with established 3-color repeat, changing to Cream on final row, fasten off other 2 colors.
Opposite Ribbing
Opposite Ribbing is worked vertically, joining after ever other row to the Main Scarf in join-as-you-go method. When turning, don’t try to turn the entire scarf after each row of the Ribbing. It’s easier to simply flip over the Ribbing to work on the opposite side.
Remember to count a ch-1 sp as a stitch when counting the stitches while applying the Ribbing.
Row 1: With smaller hook and Cream, ch 16, sc in second ch from hook and in next 14 ch, on Main Scarf, sk 1 st from row 203, sl st in next st, turn ribbing.
Row 2: BLsc in 14 sc then sc in both lps for last sc, turn: 15 sc.
Row 3: Ch 1, BLsc in 15 sc, on Main Scarf, sk 1 st from row 203, sl st in next st, turn ribbing.
Rows 4-32: Rep rows 2-3. Fasten off all colors.
Finishing
Weave in all ends securely.
Twitter | Facebook | Pinterest
All the patterns at Make It Crochet are free. Since many of you have asked how to help with the costs of running a site like this, I’ve made all the patterns into print-ready PDFs and the cost is about the same as a cup of coffee. Every little bit helps.
TERMS: To my fellow crafters, you have my permission to use my patterns to make and sell your projects* anywhere you like. You cannot use my images to sell your projects, though. You must take photos of your own work. All patterns have been tested but mistakes can happen. If you find a mistake, please let me know. Everything at MakeItCrochet.com is protected by copyright to Kim Guzman. Other than the permissions previously given, no one other than Kim Guzman has permission to: reproduce, copy, publish or distribute this pattern, its parts or photos in any way or form, including, but not limited to, translations into foreign languages & video production.
*Not intended to be blanket permission for mass production.

Judy Wheeler says
It is so good to see you back online on your own website. You’ve been missed!
Kim Guzman says
Thanks so much!
Ruth says
I’m sitting here visualizing this in other colors for a baby blanket. It’s beautiful and I’m going to try it. Thank you for the pattern and I’ve been enjoying seeing your recipes on FB
Kim Guzman says
It will make a lovely baby blanket. Enjoy!
Linda says
I am wondering, could you make this without the ribbing? If so what would be the number of chains needed to do that? And I am wondering if you have a video tutorial for making this stitch? TIA
Kim Guzman says
If you would like to omit the ribbing, I would start with a row of straight single crochet to begin. It’s just easier than making the crossed stitches on a chain. You’ll need 32 sc. You can ch 33 or work 32 foundation sc. Then begin with row 1, substituting those sc in the first row for the sides of the rows that would be there with the ribbing. I hope that helps!
Kiri says
I just stumbled on this pattern while looking for a good pattern using 3 colors. I LOVE it. I too wanted to do it without the ribbing and the row of single crochet worked perfectly!
Thank you so much for the pattern and the work around to not wanting the ribbing on it.
Kim Guzman says
That’s great! I’m glad it worked out for you. 🙂 Thank you for writing!