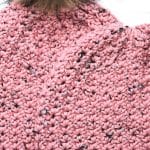
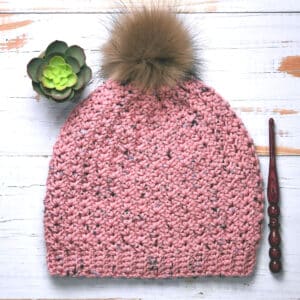
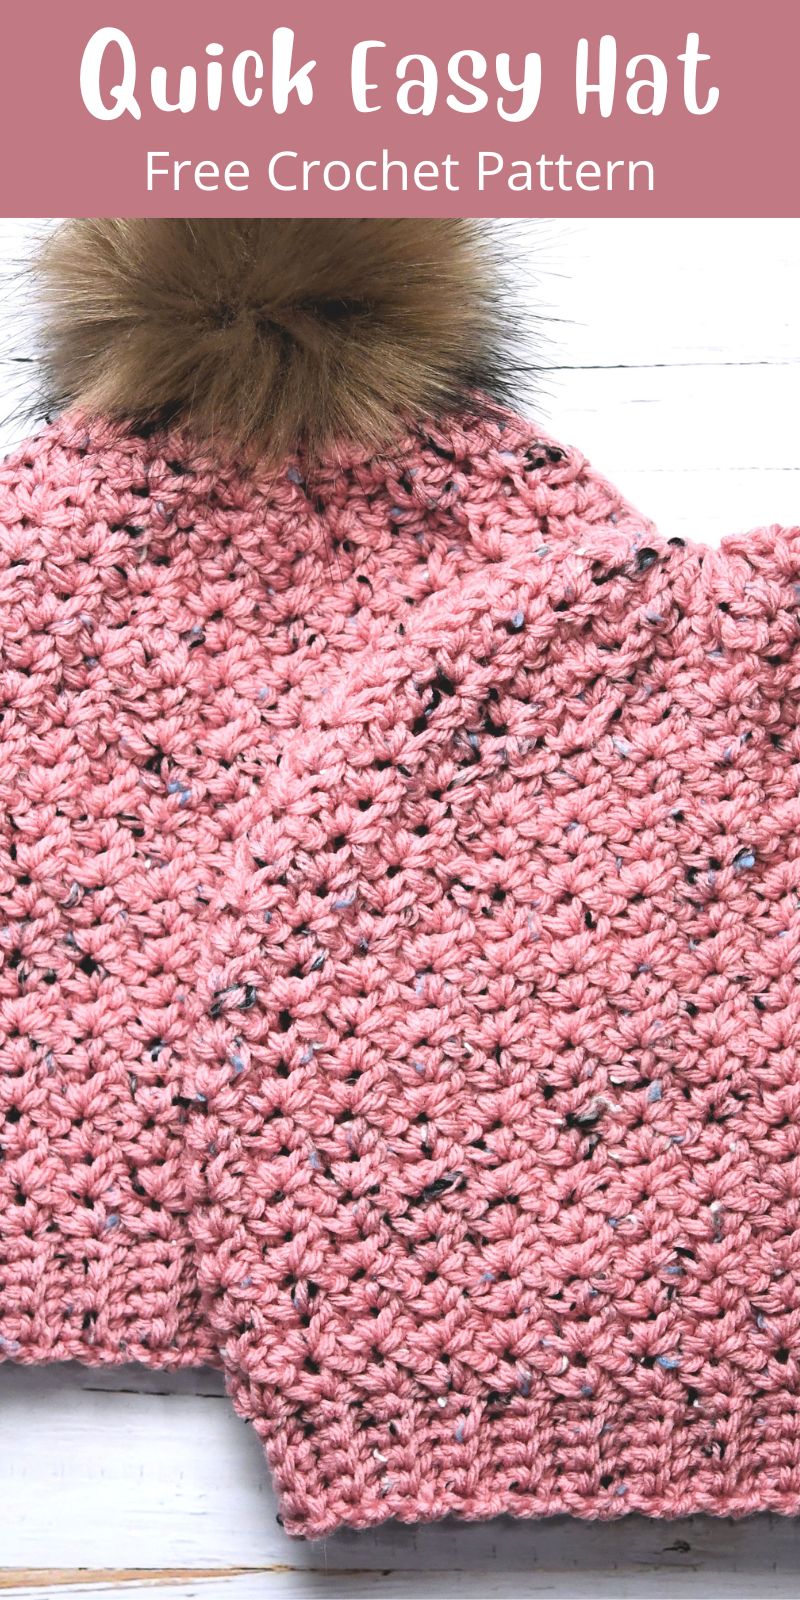
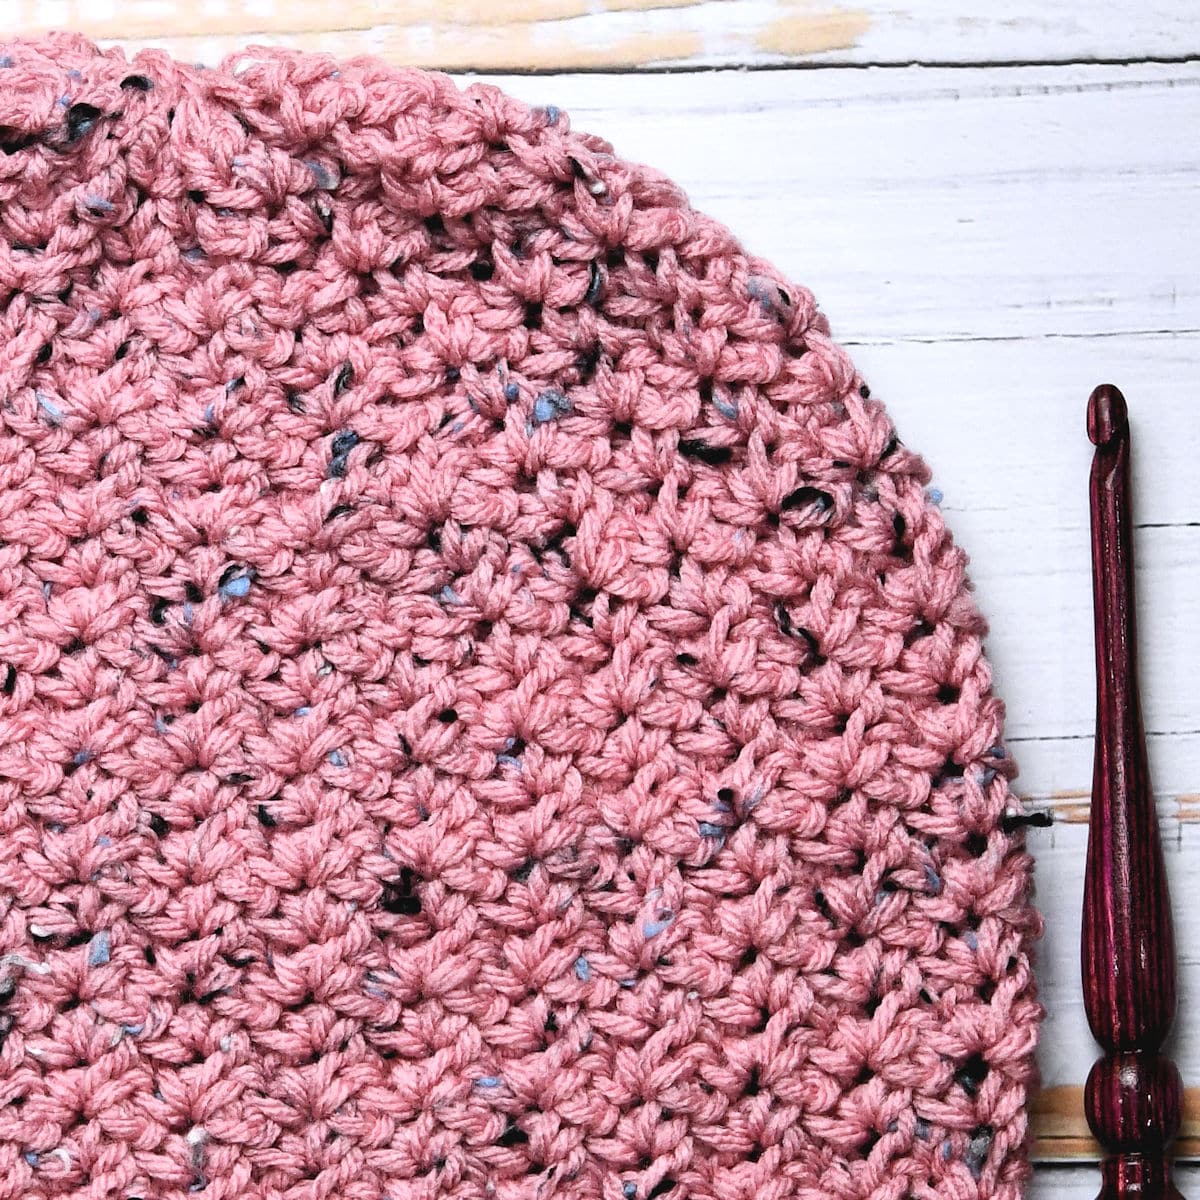
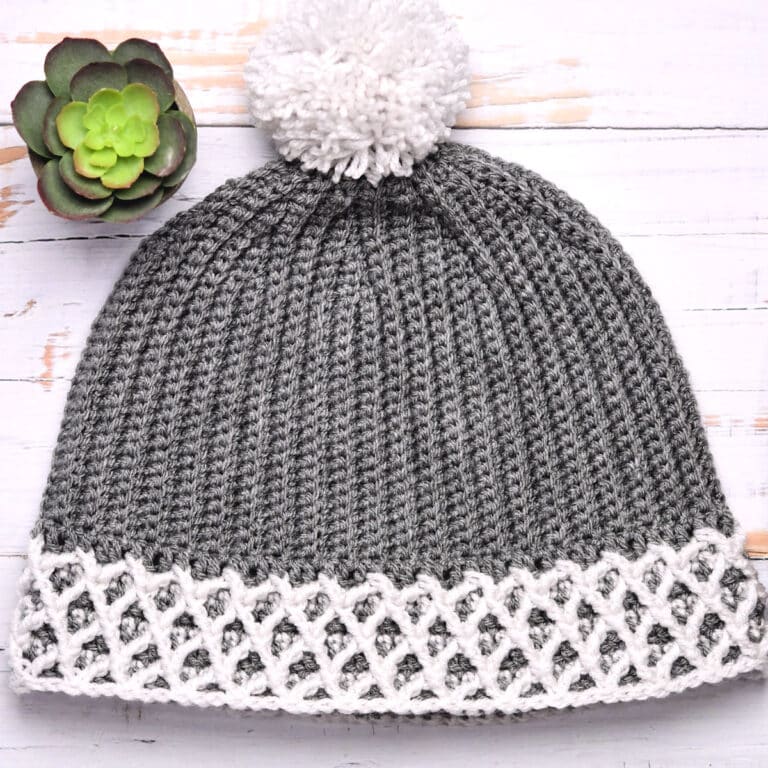
Learn how to crochet an easy hat with this free crochet pattern. Just single crochet and chains will give you a warm, lightly textured hat in less than two hours.
Made in Loops & Threads’ Impeccable Tweed, you’ll lovely the softness. The little tweed flecks add even more unique detail.
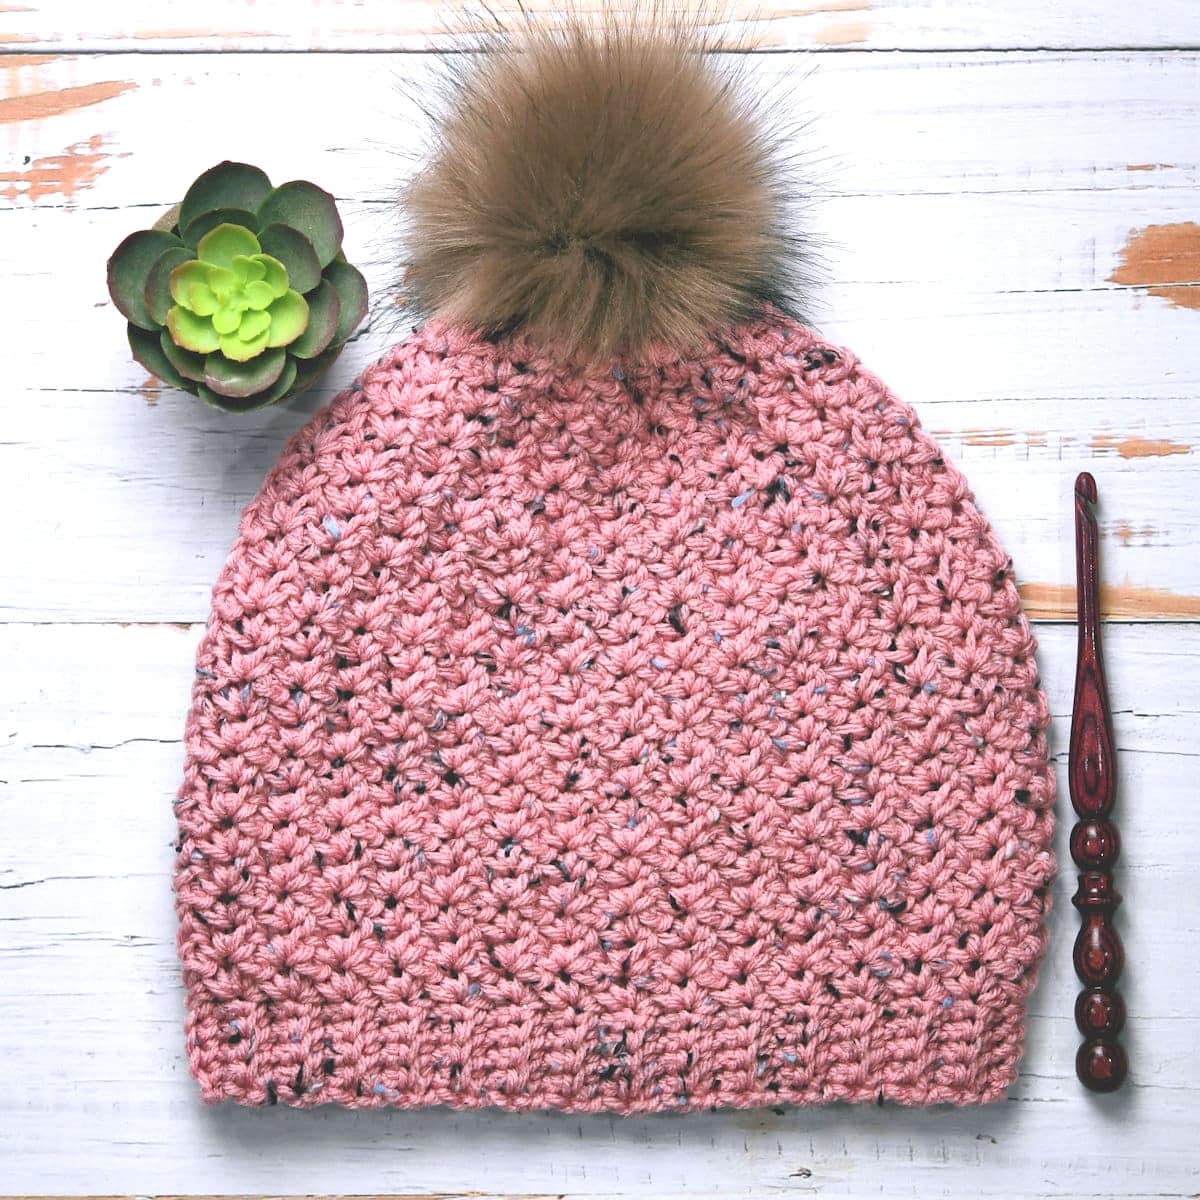
“Impeccable Tweed Hat” free crochet pattern by Kim Guzman © Jan. 2023. All rights reserved.
Technique: Regular Crochet.
Skill Level: Easy.

Crochet Pattern At A Glance
How to Crochet an Easy Hat
Designer: Kim Guzman © 2022-2026. All rights reserved.Rate the Pattern
Yarn
- Loops & Threads “Impeccable Tweed”, 97% acrylic, 190 yds/174m per 3 oz/85g per skein: 1 skein color Soft Rose
Other Materials
- Suggested Crochet Hook Sizes K-10 1/2 (6.5mm) (larger hook) or hook needed to meet gauge and J-10 (6mm) (for ribbing only)
- Yarn Needle for weaving ends
- Ready Made Pompom optional
Instructions
- Ribbing is made in back loop only single crochet.
- Work round 1 directly onto the long edge of the Ribbing.
- Work 12 more rounds without decreasing.
- Work 9 rounds with decreasing.
- Using yarn needle, cinch the top and seam the Ribbing. Attach pom pom, if desired.
Full Free Crochet Pattern Below

This is a free crochet pattern and the written instructions are below. If you prefer a printable download, a PDF is also available for purchase.
My Crochet Pattern Notes
This hat is worked from the bottom to the top, starting with ribbing worked horizontally and the remainder built onto the long edge of the ribbing.
You can attach a pom pom, if you like. Or not. This yarn can be used to make the pom or you can purchase one ready-made.
The hat took me exactly 1 1/2 hours to make. It’s a one skein project. There’s enough yarn remaining to make a pom pom, but not much more.
Purchased faux fur pom poms usually arrive misshappen or squished. Use a blow dryer on high heat to give life back to your pom pom.
There is a little elastic loop attached to the inside of the pom pom. You can sew a button on the inside top of the hat. Pull the loop through and attach to the button. This allows easy removal for laundering.
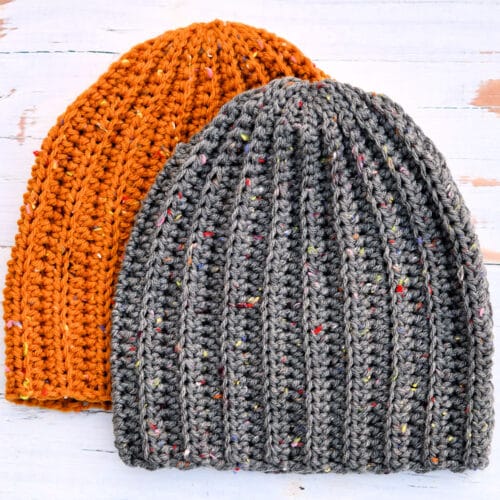
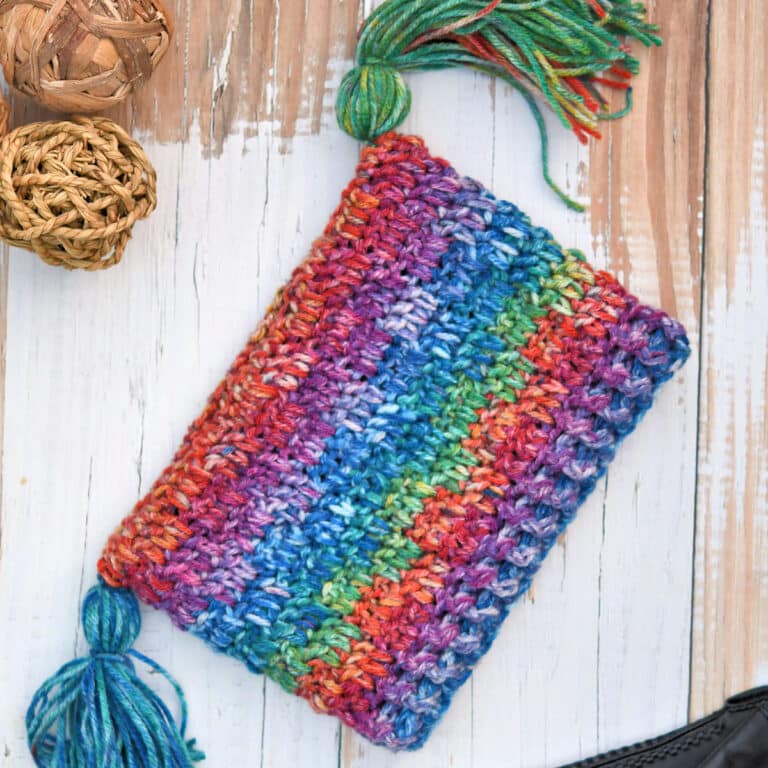
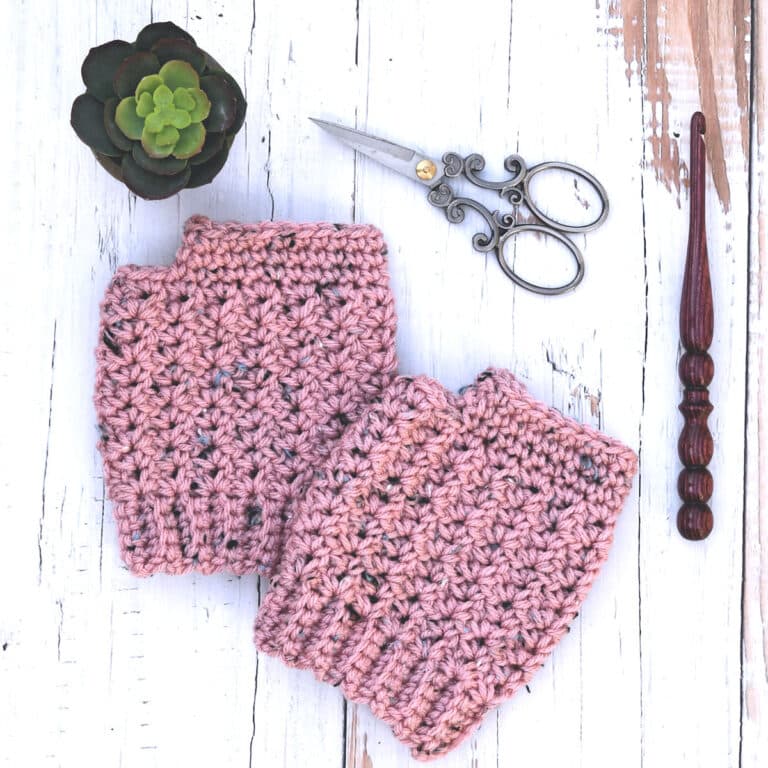
Matching Set Hat, Mitts and Scarf
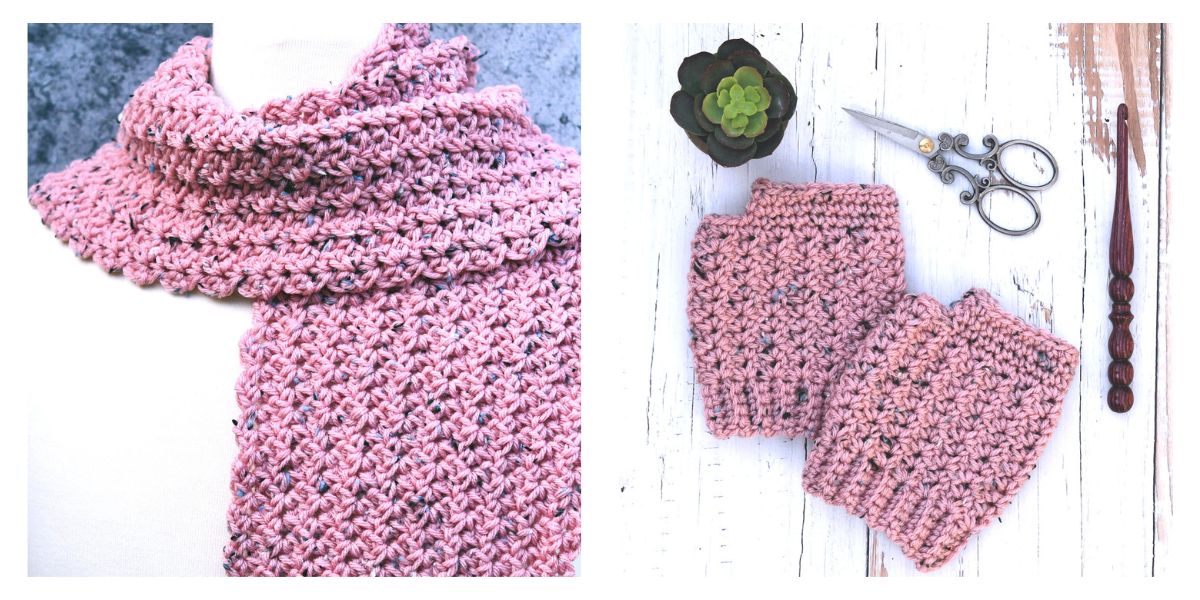
If you like making matching sets when making gifts, this hat is a set with the Easy Tweed Crochet Scarf and the Impeccable Fingerless Mitts. If you make all three, it will take you a little over five hours of crochet time and four skeins of yarn.
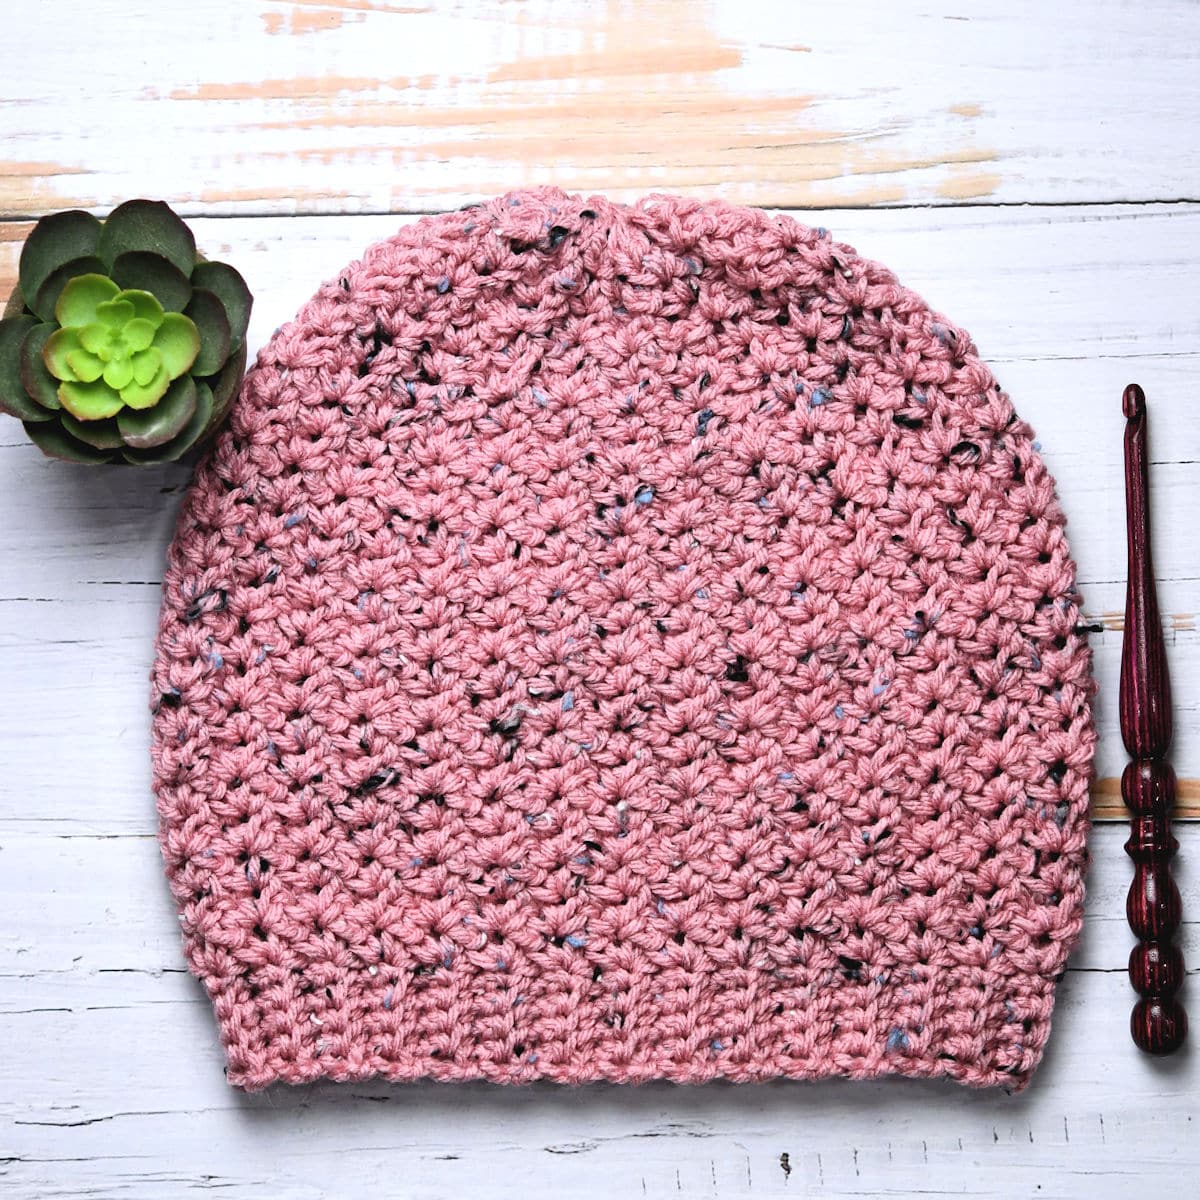
Pin It For Later
Finished Size
Height: 9″, Circumference: 20″.
Yarn
Loops & Threads “Impeccable Tweed”, 97% acrylic, 190 yds/174m per 3 oz/85g per skein: 1 skein color Soft Rose.

“Impeccable Tweed” is classified as a worsted (size 4) yarn and is currently available in 12 colorways.
Available at Michaels. Loops & Threads is the in-house brand.
If this is your first time using a flecked yarn. Just ignore the flecks. They are there to give the yarn its distinct characteristics. There is no need to do anything to “hide” it. When you’re seaming or weaving ends, it may be helpful to remove the flecks from those strands only.
Other Materials
Suggested Crochet Hook Sizes K-10 1/2 (6.5mm) (larger hook) or hook needed to meet gauge and J-10 (6mm) (for ribbing only).
Yarn Needle for weaving ends.
Ready Made Pompom optional.
Special Stitches
Shell (sh): [Sc, ch 2, sc] in same st or sp.
Working in back loops: Of the top two loops, the “back loop” is the one furthest away from you.
Other Abbreviations
This easy crochet hat pattern is written in US crochet terminology.
ch=chain; rep=repeat; sc=single crochet; sk=skip; sl=slip; sp(s)=space(s); st(s)=stitch(es).
All numbers after the colon at the end of an instruction are stitch counts. Use the stitch count to check your work.
Gauge
When completed, ribbing is 1″ wide and the length is 17″ unstretched, 20″ stretched. In stitch pattern, 6 shells=4″, 11 rounds=4″.
Turning While Working in Rounds
This hat pattern is a bit unusual because you will work in joined rounds, but you will turn after each round. That doesn’t mean it’s difficult, though.
This stitch pattern simply looks better when worked with turns. Working on the same side produces a spiraling effect that I wanted to avoid.
You won’t have to turn the hat inside out each time. Once you have a couple of rounds completed, you will begin simply working from the inside of the hat then working from the outside of the hat.
Free Crochet Pattern Instructions
Ribbing
Row 1: Leaving a 10″ strand (for seaming), with smaller hook (see Materials above), ch 6, sc in 2nd ch from hook and in each remaining ch across, turn: 5 sc.
Rows 2-60: Ch 1, working in back loops, sc in first and next 3 sc, work last sc in both loops for stability, turn: 5 sc.
Begin working in rounds across long edge of ribbing. Do not fasten off.
Ribbing measures 17″ unstretched, 20″ when stretched.
Hat
Round 1: With larger hook, ch 1, working into sides of rows of Ribbing, sk first row, sh (see Special Stitches above) into side of next row and into every second row across, without twisting the ribbing, pull the first and last row of the ribbing together and sl st to the first sc, turn: 30 sh.
Tip: Once you’ve joined round 1, you can seam those 5 stitches of the ribbing together, if you like, or wait until later.
Rounds 2-13: Ch 1, *sh in ch-2 sp of next sh, rep from * around, sl st to first sc, turn: 30 sh.
Round 14 (Decreasing): Ch 1, *[sh in ch-2 sp of next sh] 5 times, sl st in ch-2 sp of next sh, rep from * 4 times more, sl st to first sc, turn: 25 sh.
Note: On the round after a Decreasing round, work only in the chain-2 spaces of the shells and ignore the slip stitches.
Rounds 15-16: Ch 1, *sh in ch-2 sp of next sh, rep from * around, sl st to first sc, turn: 25 sh.
Round 17 (Decreasing): Ch 1, *[sh in ch-2 sp of next sh] 4 times, sl st in ch-2 sp of next sh, rep from * 4 times more, sl st to first sc, turn: 20 sh.
Rounds 18-19: Ch 1, *sh in ch-2 sp of next sh, rep from * around, sl st to first sc, turn: 20 sh.
Round 20 (Decreasing): Ch 1, *[sh in ch-2 sp of next sh] 3 times, sl st in ch-2 sp of next sh, rep from * 4 times more, sl st to first sc, turn: 15 sh.
Rounds 21-22: Ch 1, *sh in ch-2 sp of next sh, rep from * around, sl st to first sc, fasten off, leaving 15″ strand: 15 sh.

Finishing
With yarn needle, weave yarn through the tops of each shell on the final round. Carefully pull to cinch together the top and secure.
With yarn needle and first strand, seam the first and last rows of the ribbing together, if you haven’t done so already.
Weave in all ends securely. Attach pom pom, if desired.

Twitter | Facebook | Pinterest
All the patterns at Make It Crochet are free. Since many of you have asked how to help with the costs of running a site like this, I’ve made all the patterns into print-ready PDFs and the cost is about the same as a cup of coffee. Every little bit helps.
TERMS: To my fellow crafters, you have my permission to use my patterns to make and sell your projects* anywhere you like. You cannot use my images to sell your projects, though. You must take photos of your own work. All patterns have been tested but mistakes can happen. If you find a mistake, please let me know. Everything at MakeItCrochet.com is protected by copyright to Kim Guzman. Other than the permissions previously given, no one other than Kim Guzman has permission to: reproduce, copy, publish or distribute this pattern, its parts or photos in any way or form, including, but not limited to, translations into foreign languages & video production.
*Not intended to be blanket permission for mass production.

this was a fun and eady pattern. thanks for sharing.
You’re welcome! I’m glad you are enjoying it. 🙂
WOW…Beautiful!
Thanks so much!
Hi, trying this pattern but after I get done with the first round of the sc, ch 2, sc, and I attach to start row 2, there is a gap right above the attaching if the ribbing. Why do I have that gap? Hope the explanation is sufficient. Thank you
I believe you’re talking about the bottom of round 1? This is normally joined with a slip stitch when you don’t have the ribbing. Since this doesn’t start with a beginning chain, the bottom of the round is just sort of hanging out there. You will join it when you weave in the ends and complete the seaming of the ribbing. I hope this helps! 🙂
Thank you
You’re welcome. I hope you enjoy the hat! 🙂
Hi, not sure if my comment went thru. Why do I have a cap between rows 1 and 2, right at the beginning where the ribbing ends?
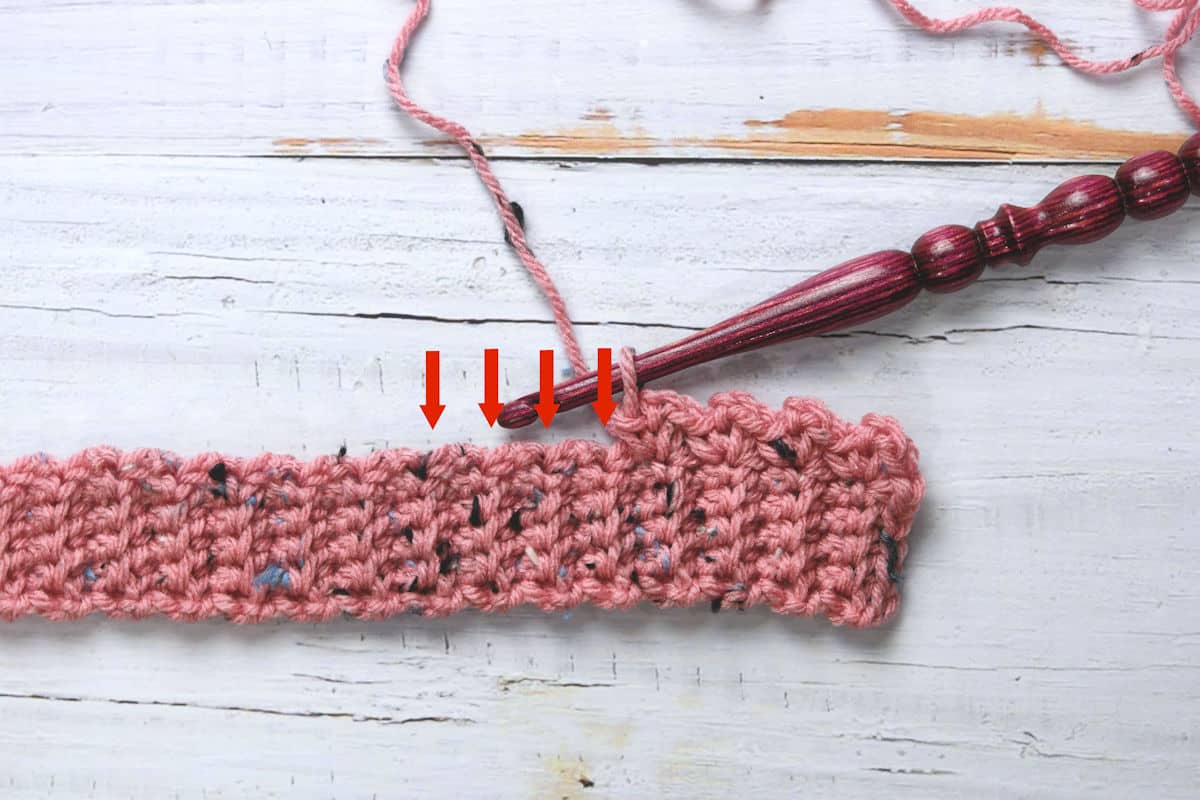
very confusing. do not understand “With larger hook, ch 1, working into SIDE of rows of Ribbing” does this mean in the side of the ribbing the short side i am making the top of hat across the 5 sc row???
When you are stitching into the stitches, you are stitching into the tops of the stitches like normal. You’ve created the rows of the ribbing. Now, you will stitch into the sides of those rows to start the hat.
To check your work, I have provided a photo indicating where you will place these stitches. You will see a flat shot of the ribbing, some of the stitches already worked and arrows indicating the next placement of stitches.
I hope that helps!
This is a very nice and unique pattern. It works up beautifully and your instructions are very clear. I crochet many hats for charity and this is my new favorite. Thanks for making this pattern available.
Thank you so much and thank you for being so generous. I so appreciate you writing. 🙂